UI widgets - Joysticks
It takes about 10 minutes to read this article
This article provides an overview of the various property and instructions of UI widget—Joystick.
What is the joystick?
Joystick It is a tool that can be used to make control character movement through the virtual joystick control character of movement and turningJoystick, hold down the fire button to turn the camera while shooting, skills that require aiming, etc.
- Transform/align/generic/render properties are available at The basic properties of a UI widget
joystick property - joystick settings
Joystick type
- None: Developers need to write their own controls
- Movement Control: control character the joystick of the move
- Camera Control: control camera the joystick of the move
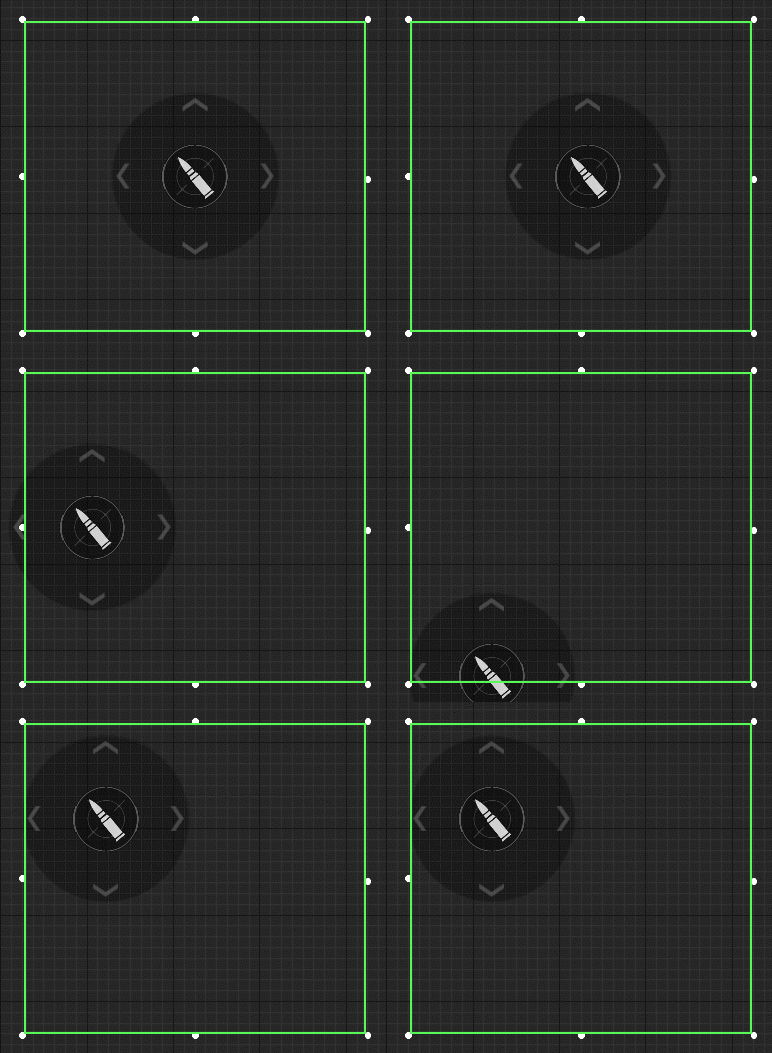
joystick position
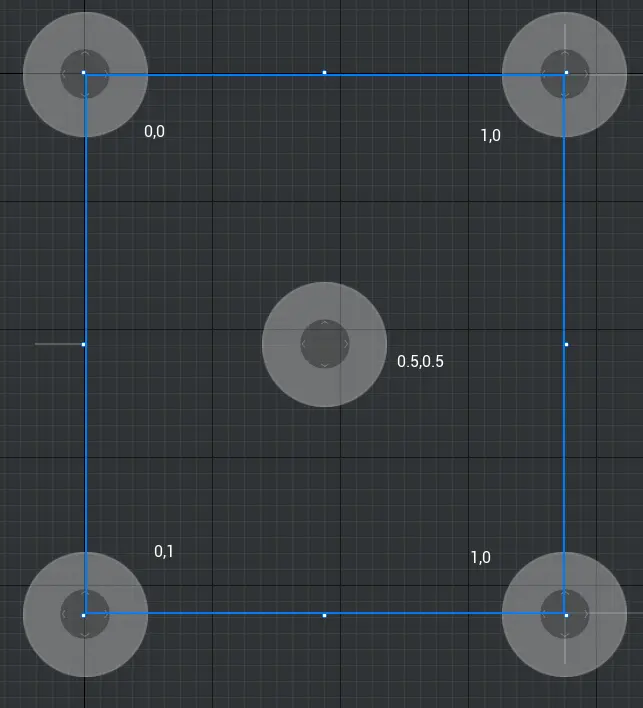
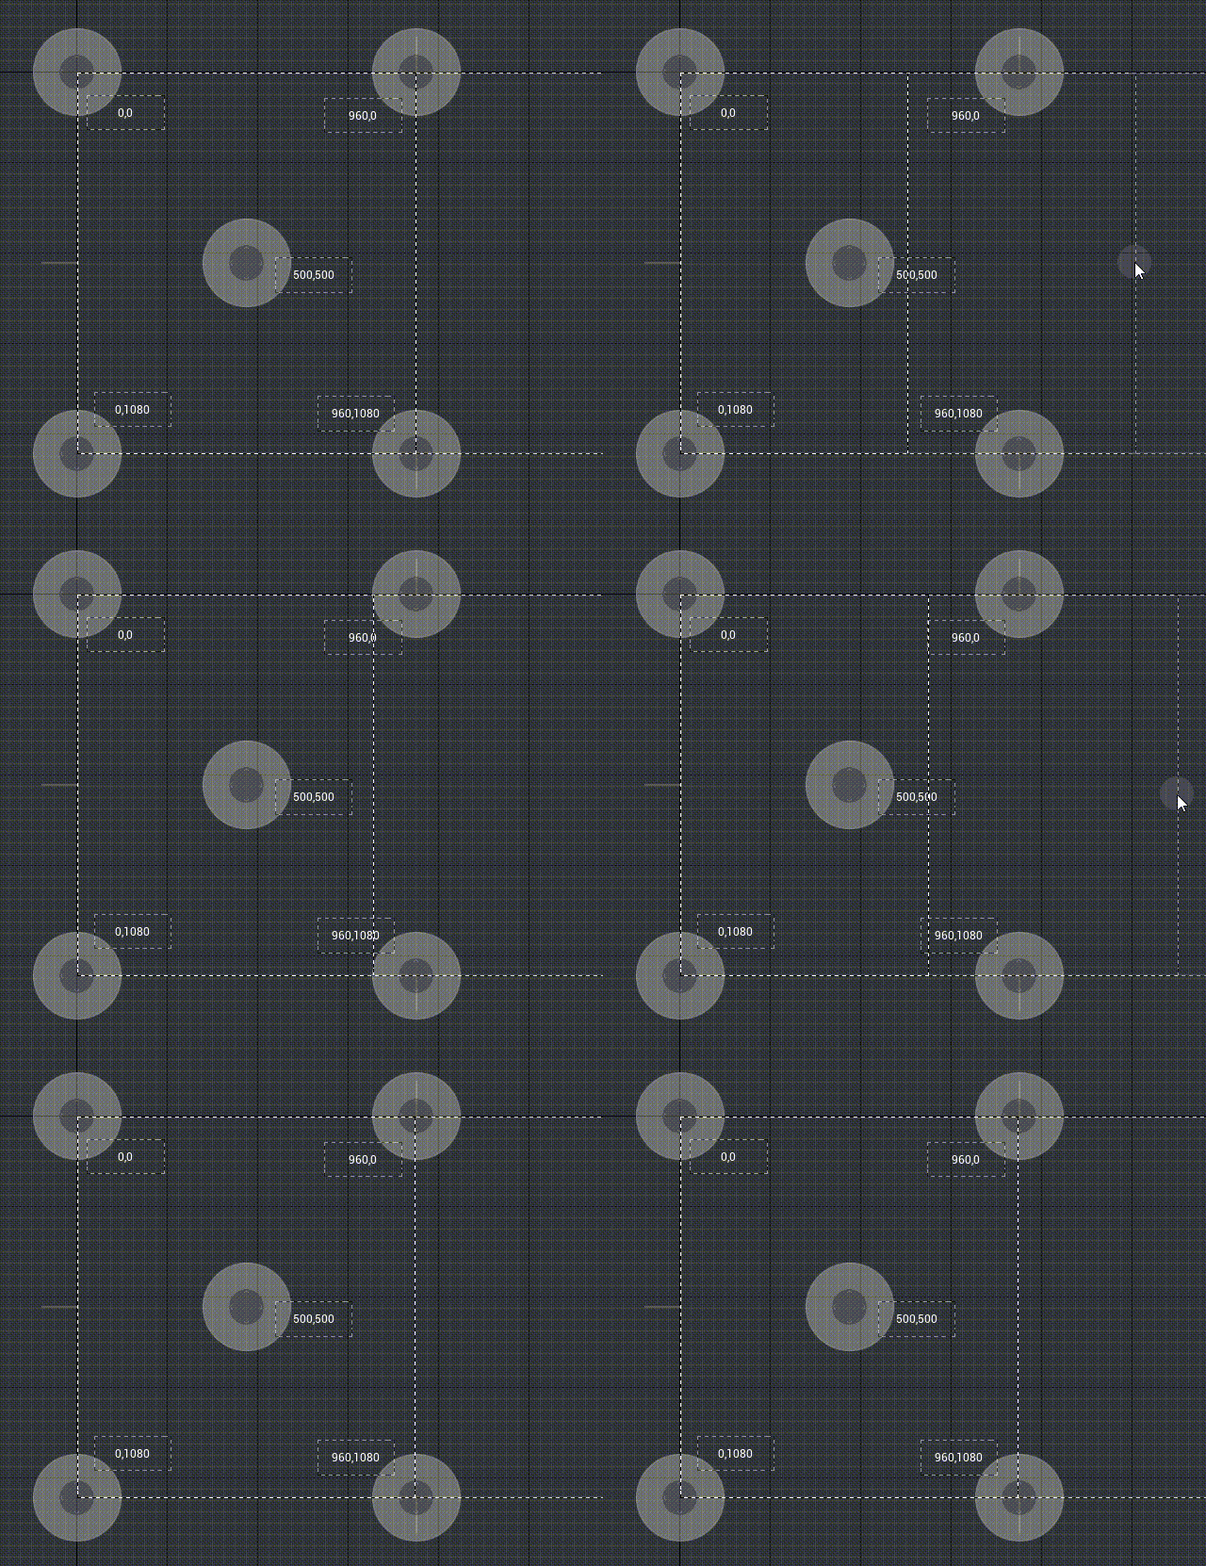
- Feature description: modify joystick in the widgetPositions
- Diagram:
If the X or Y value set by joystick position is ≥0 and ≤1, joystick graph is relative to the joystickwidget the size of the relative position/joystick widget in the upper left corner = (X,Y), which will be based on this(X,Y). ratio to determine which of the entire joystick widget it rendersPositions
- If you joystick widget use up-and-down align/fully-justified/adaptive, after the parent size changes, joystick graphics modify as the size of the joystick widget changesPositions
- In order to adapt to the screen of different ratio, it is recommended to occupy a large range of joystick joystick widgetposition] Use X and Y values of ≥0 and ≤1
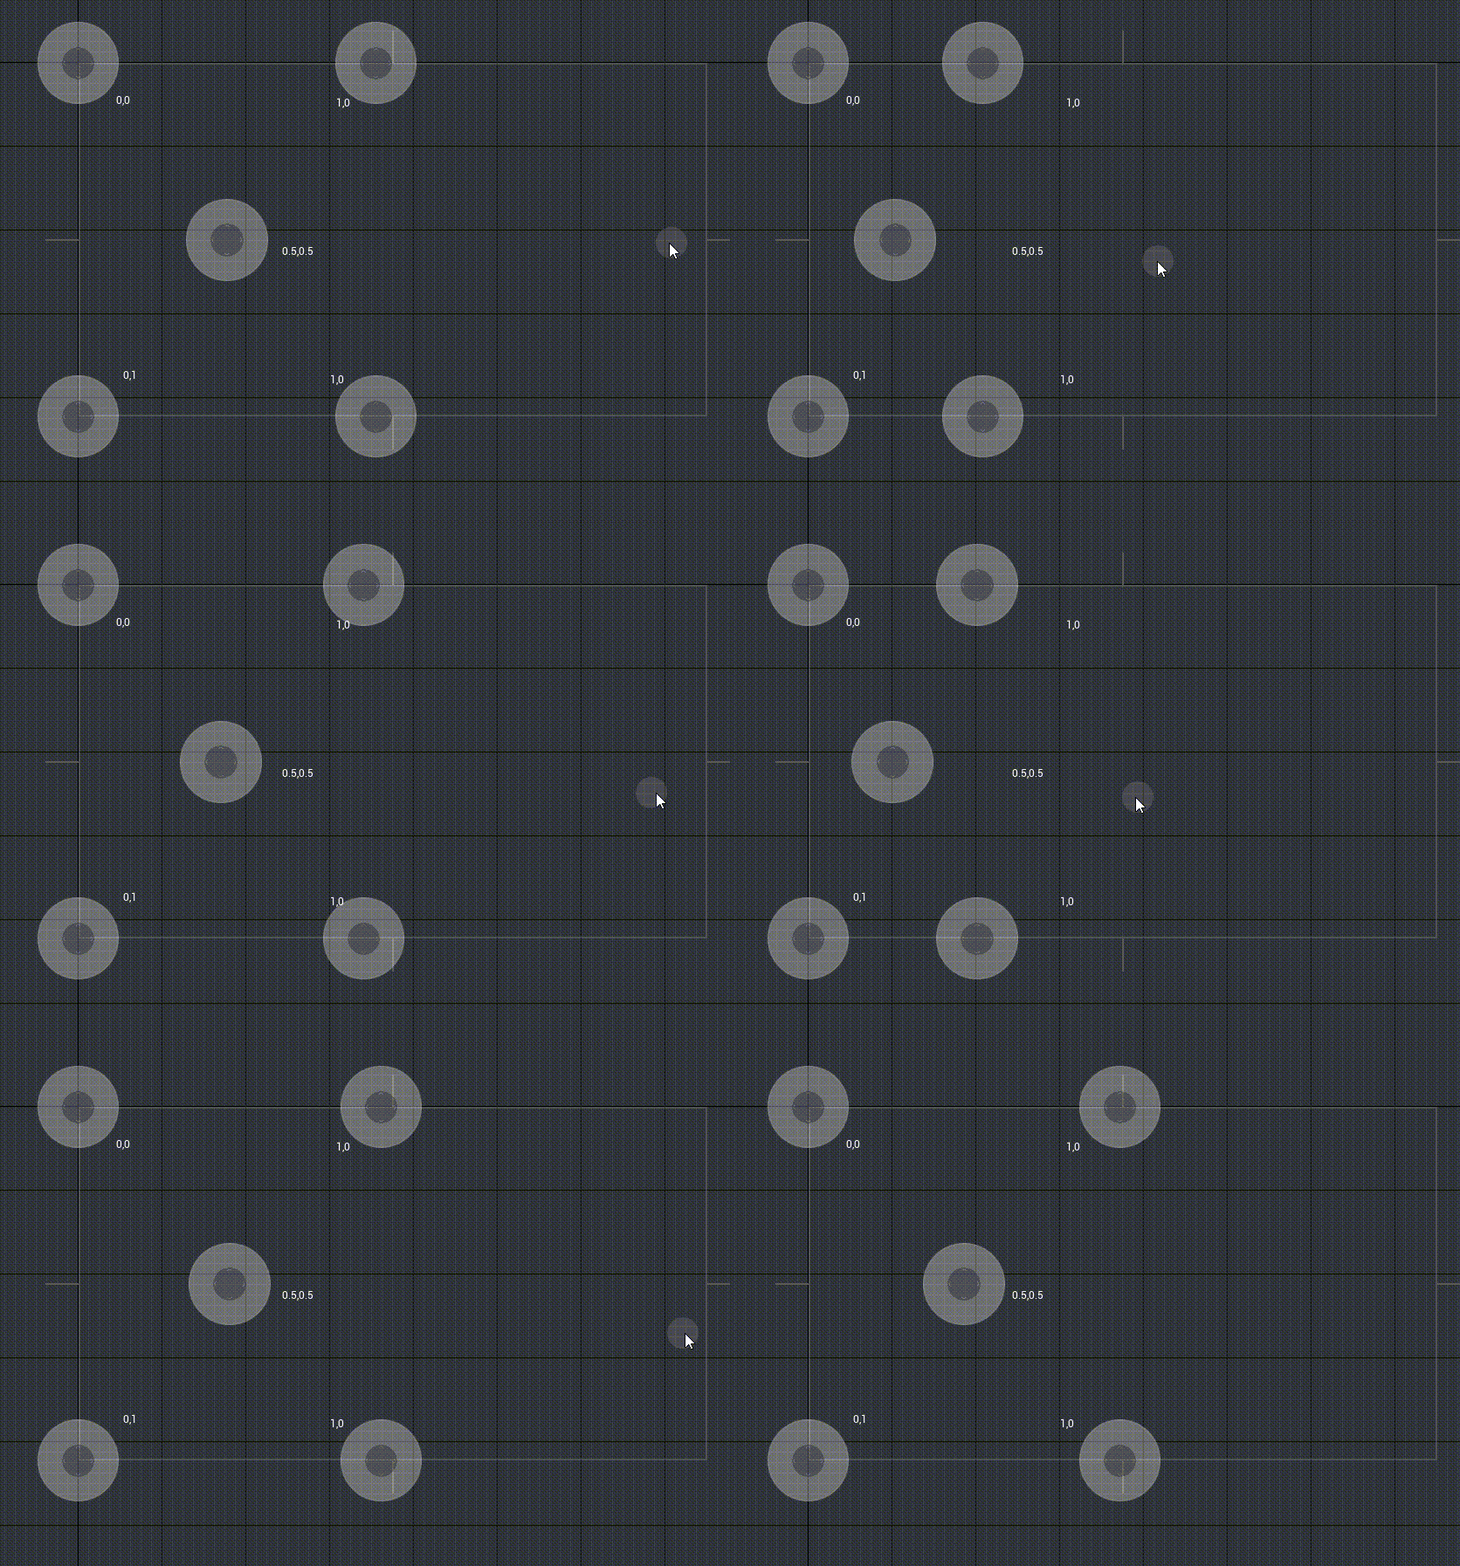
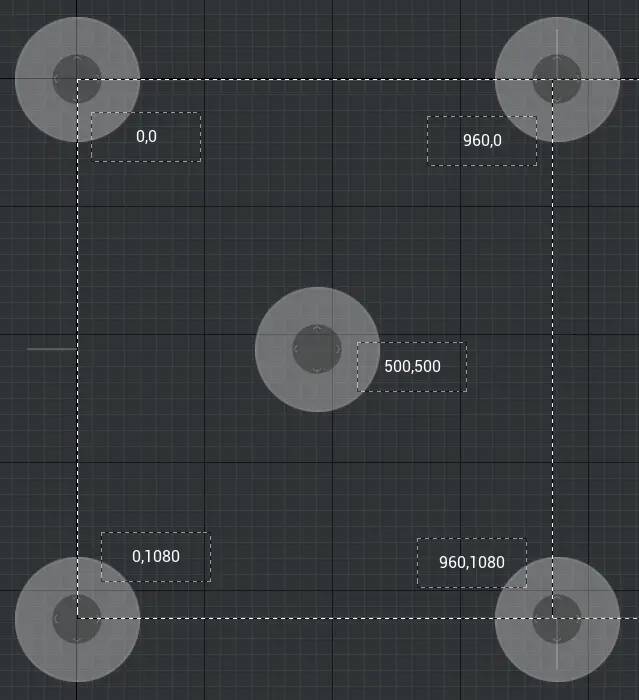
- If the joystick position setting has an X/Y value greater than 1, the joystick graph is relative to the joystickThe relative position in the upper left corner of the widget = (X,Y), the actual rendered joystick graphics will be the same as the joystickThe upper-left corner of the widget remains in a relative position fixed to (X,Y)
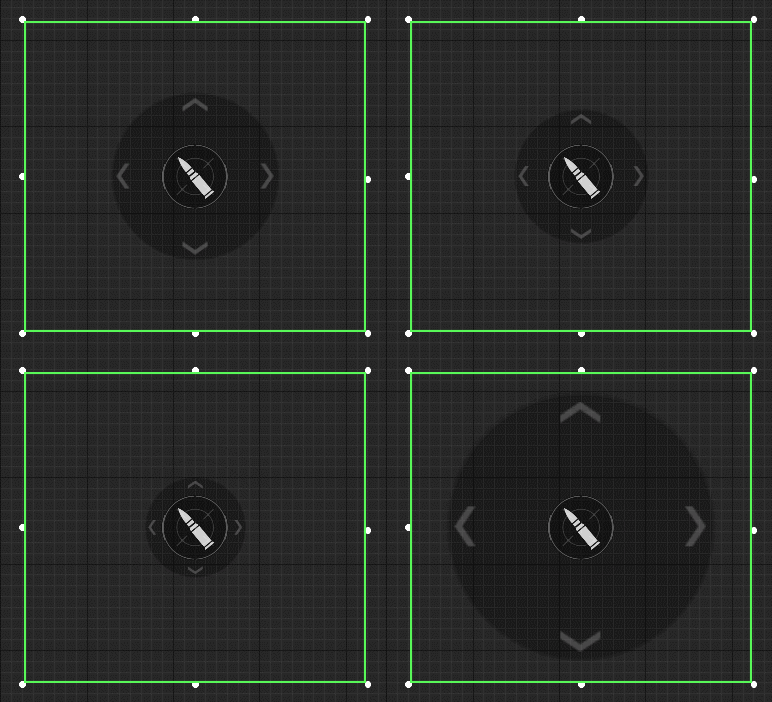
background image size
- Feature description: modify joystick the size of the background image
- Diagram:
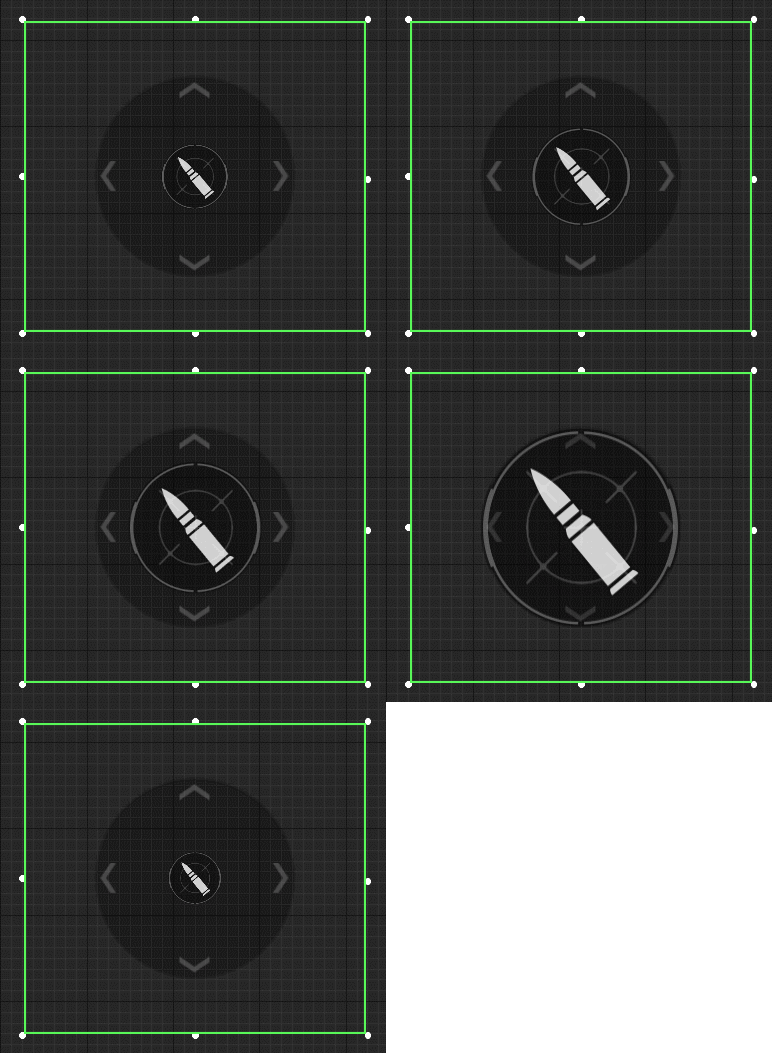
center image size
- Functional description: the size of the image in the center of the modify joystick; Pay attention to the size of the joystick background image and the joystick center imagedetermine the size of the joystick image visible screen while theThe size of the widget's operational range is determined by the parameter transform-coordinates-size
- Diagram:
Sensitivity
- Function description: The higher the value of this property, the higher the sensitivity of the joystick.
opacity when activate
- Function description: When using the joystick, the center of the joystick in the activated state The overall opacity of the button and the background image.
time until inactive
- Function description: The time it takes for the joystick to become faint when the joystick is not in use.
- Diagram:
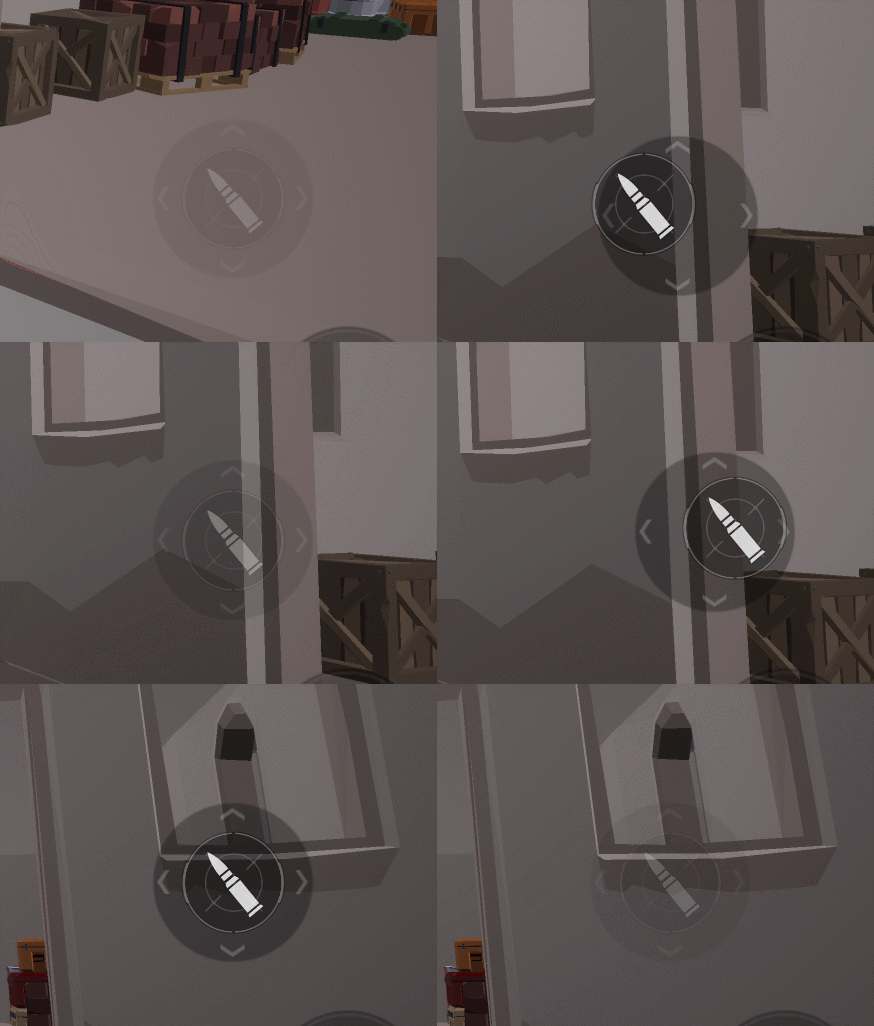
opacity when inactive
- Function description: The opacity of the joystick after entering the fade, that is, the opacity of the faded state after the joystick is stopped in the above figure.
Reset time
- Function description: After not using the joystick, the joystick returns to the original from the used positionPositioning.
- Diagram:
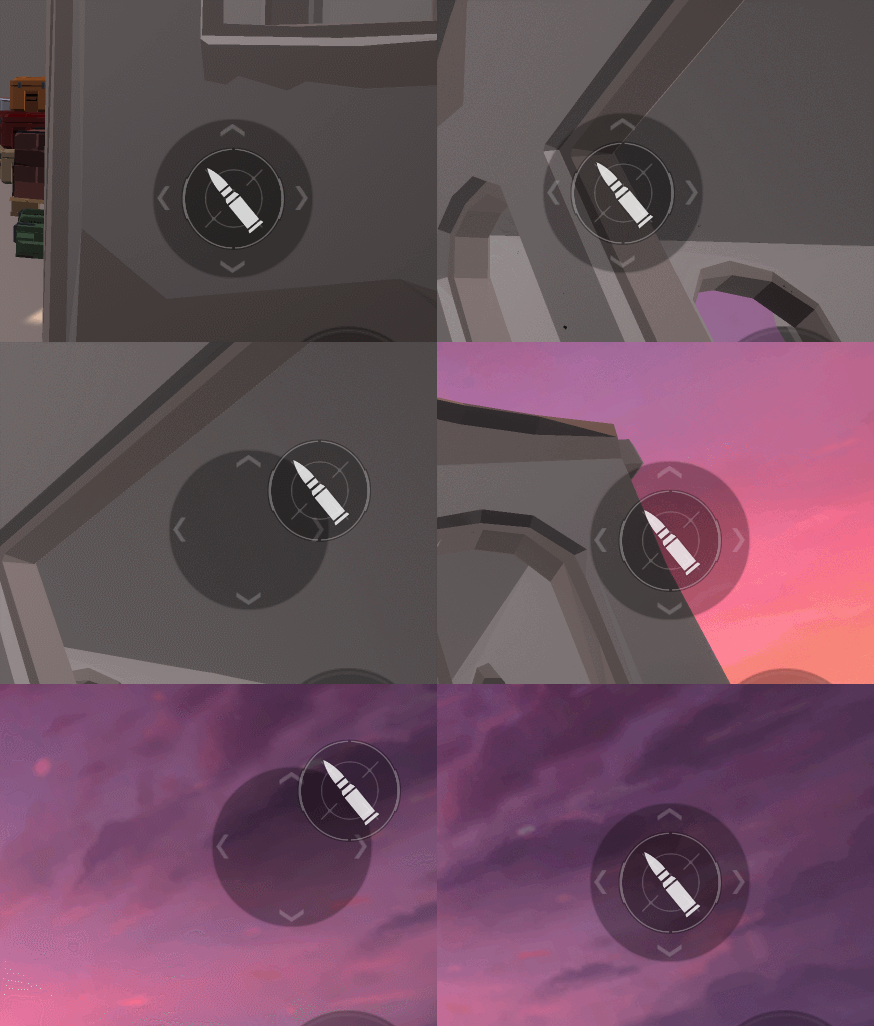
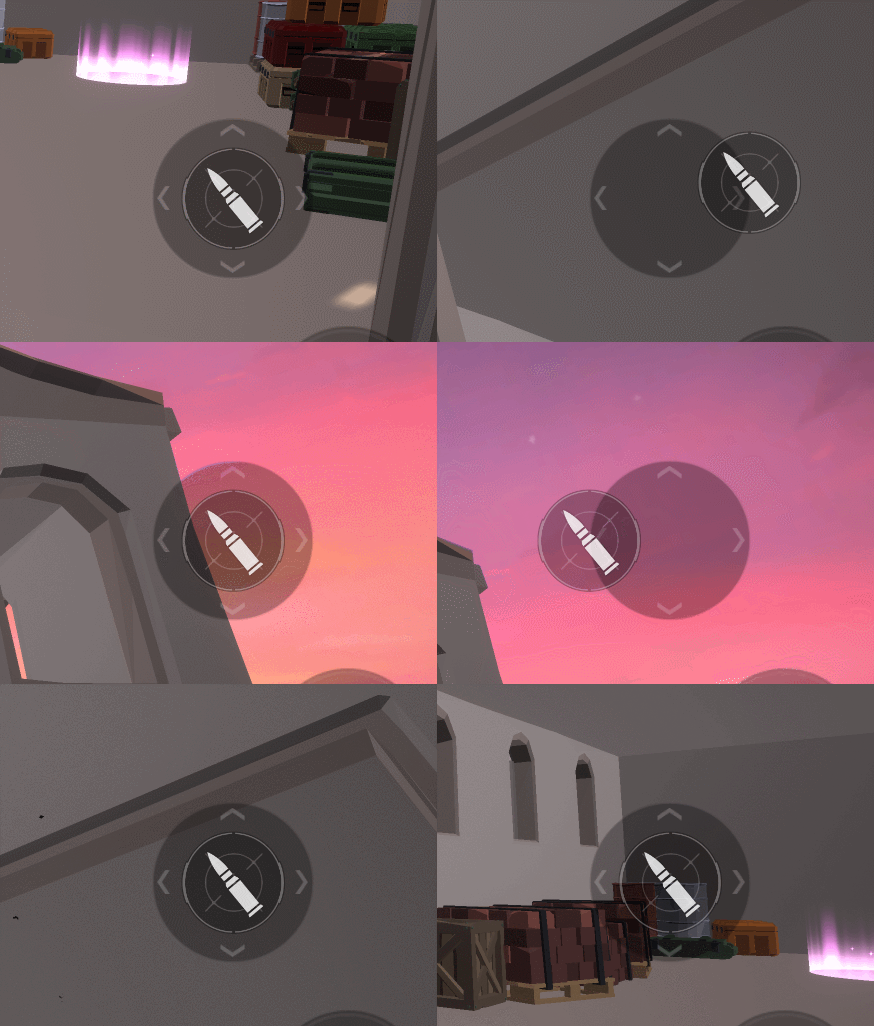
Fixed joystick position
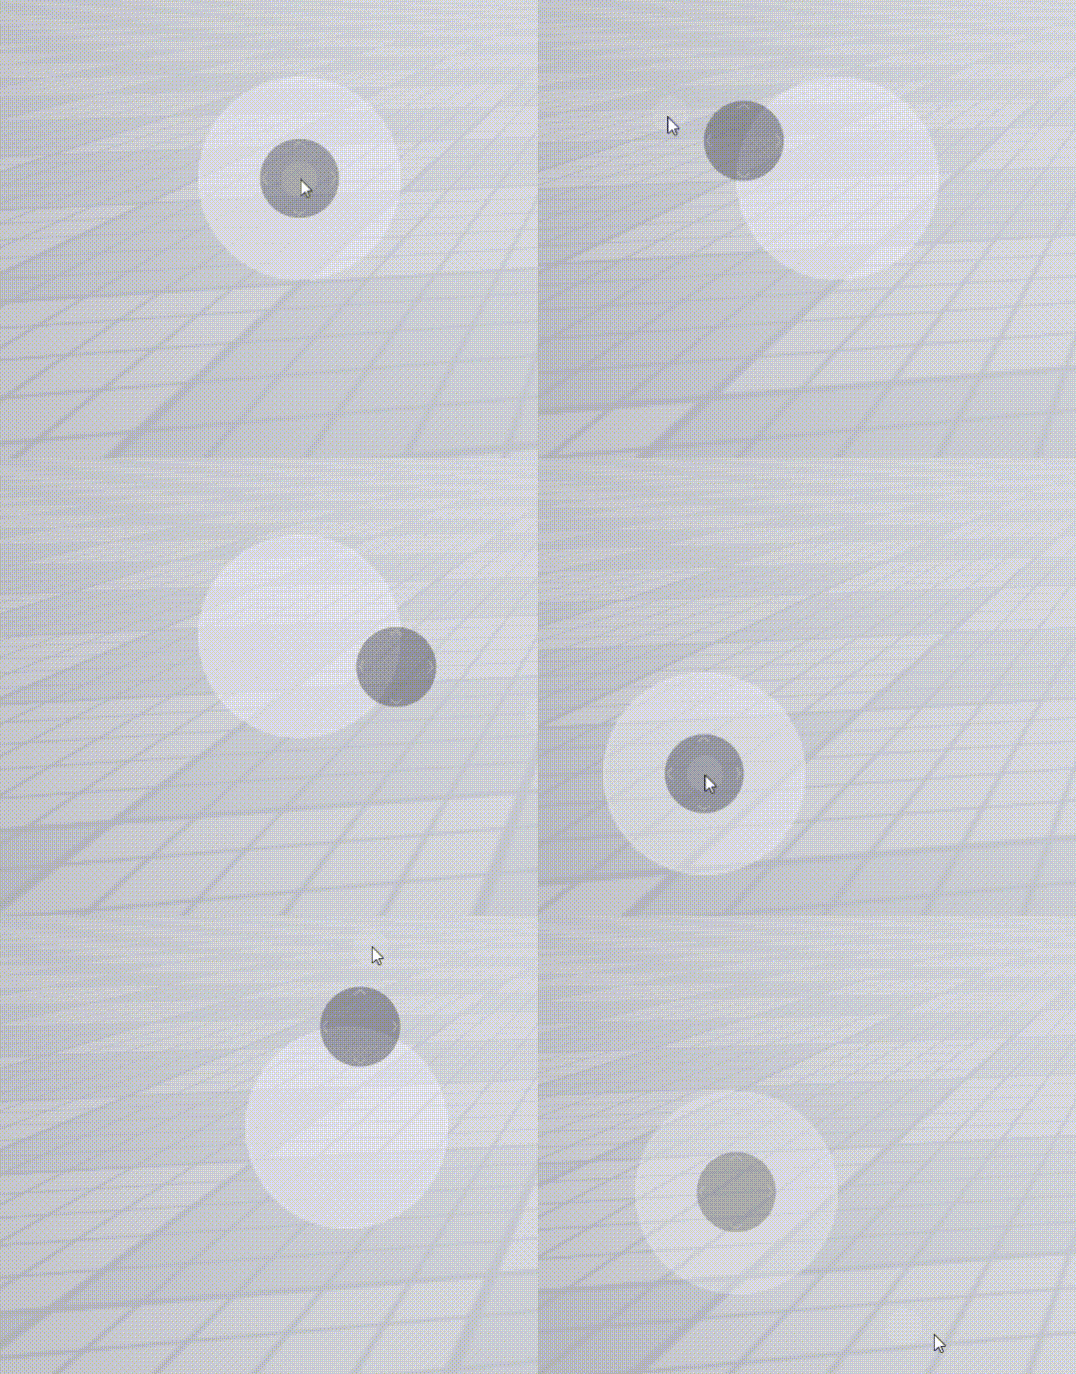
- Functional description: When the joystick position is fixed, joystickThe position will not changing, as shown in the figure below; When the joystick position is not fixed, the joystick position moves toPlayer first touch joystick widget position, as shown in the picture above
- Diagram:
Enable Mouse Control
Function description: Set whether this joystick is allowed to be mouse controlProperties only apply to the PC side and do not affect the mobile side
When designing controls for PC experienced players, in order to:Avoid keybindings withdirectClicking on the UI creates a conflict, you need to use this properties wisely, for example:
- Many experience use the mouse left button as the firing button
- The default logic of the editor is that clicking directly on the UI takes precedence over key bindings, that is, if the joystickThe widget occupies a large area on the screen, and the mouse clicks onjoystick control will be prioritized in joystick widget range instead of triggering fire
- Therefore, it is recommended that a larger range of joystick widget be checked whether it is mouse control; If you want PC players to also use the mouse to control this joystick, you need to check whether to be mouseControls
For more information on keyboard and mouse keybindings, please seeKey bindings (for PC) and preset UI
Diagram:
joystick property-style
Joystick Default image
- The role of press image and disable image related property is: inMake the joystick background when the joystick is pressed/disabledThe image produces different effects, similar to the transition mode of a button.
- Diagram:
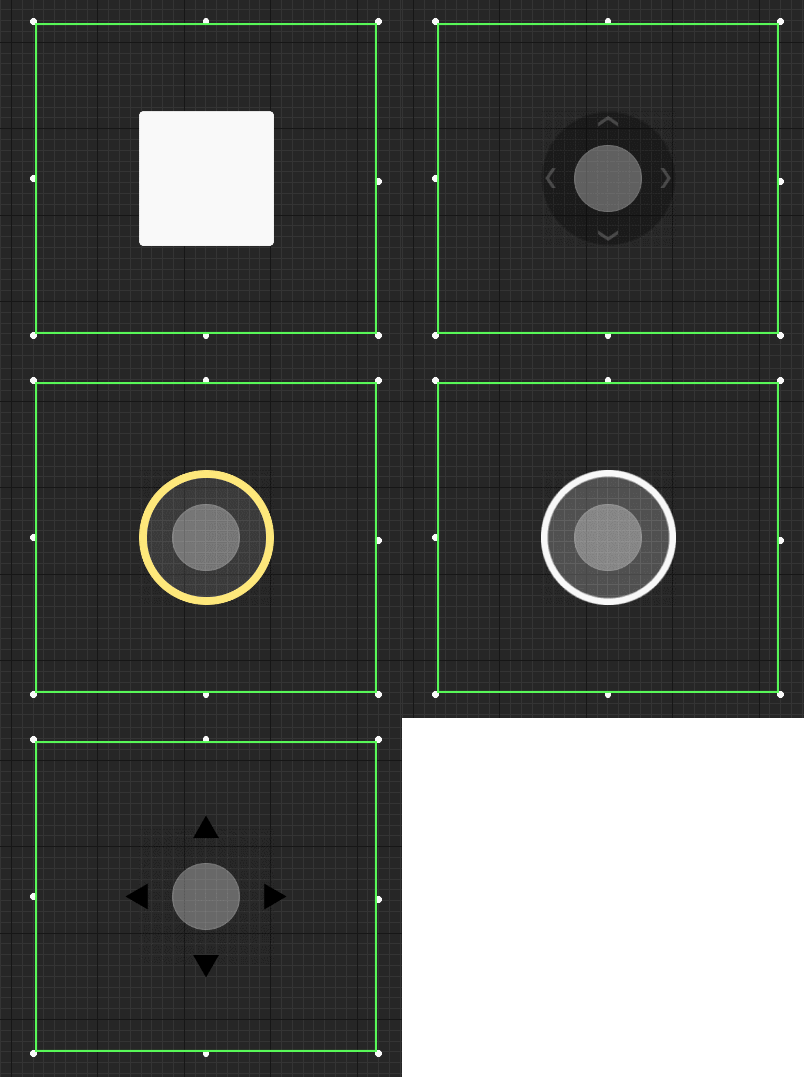
Center Image
- Function description: The central image of the configuration joystick, image related property introduction
- The role of press image and disable image related property is: inWhen the joystick is pressed/disabled, center the joystickThe image produces different effects, similar to the transition mode of a button.
- Diagram:
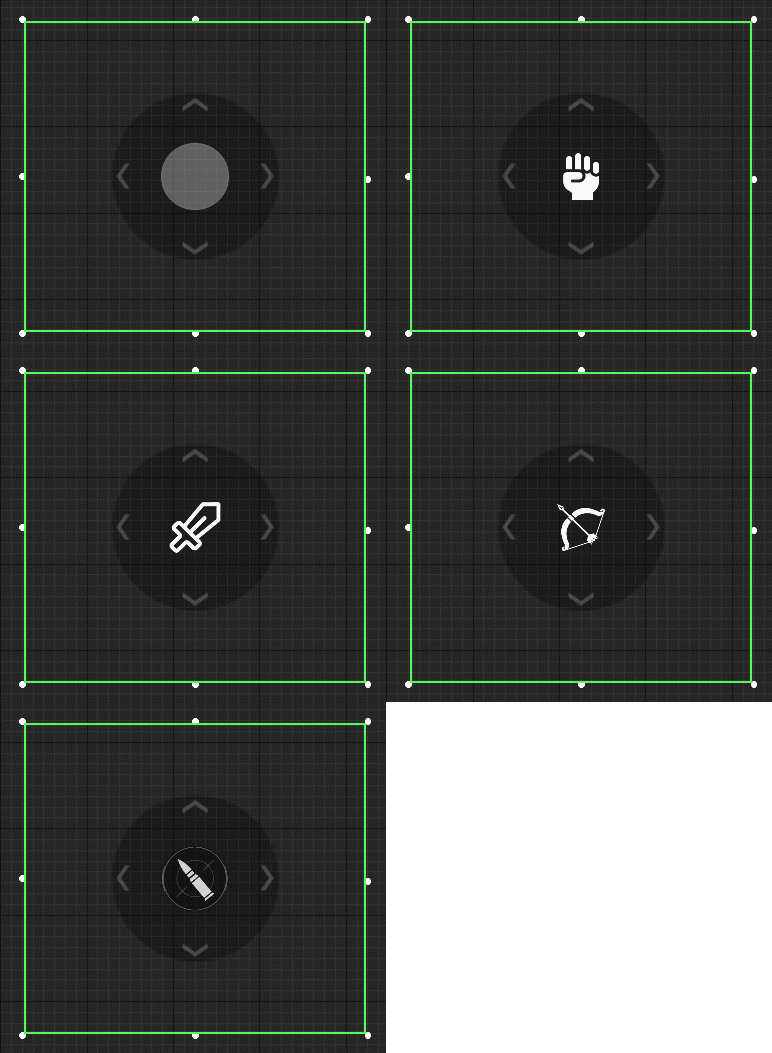
How to use the joystick?
- joystick can be used not only to control character moves, but also to craft attacks that require aimButtons such as shooting/releasing magic will require attacks crafted with joysticksButtons, such as holding and dragging the joystick to strafe, or dragging the joystick to aim and releaseBack hair ejaculation
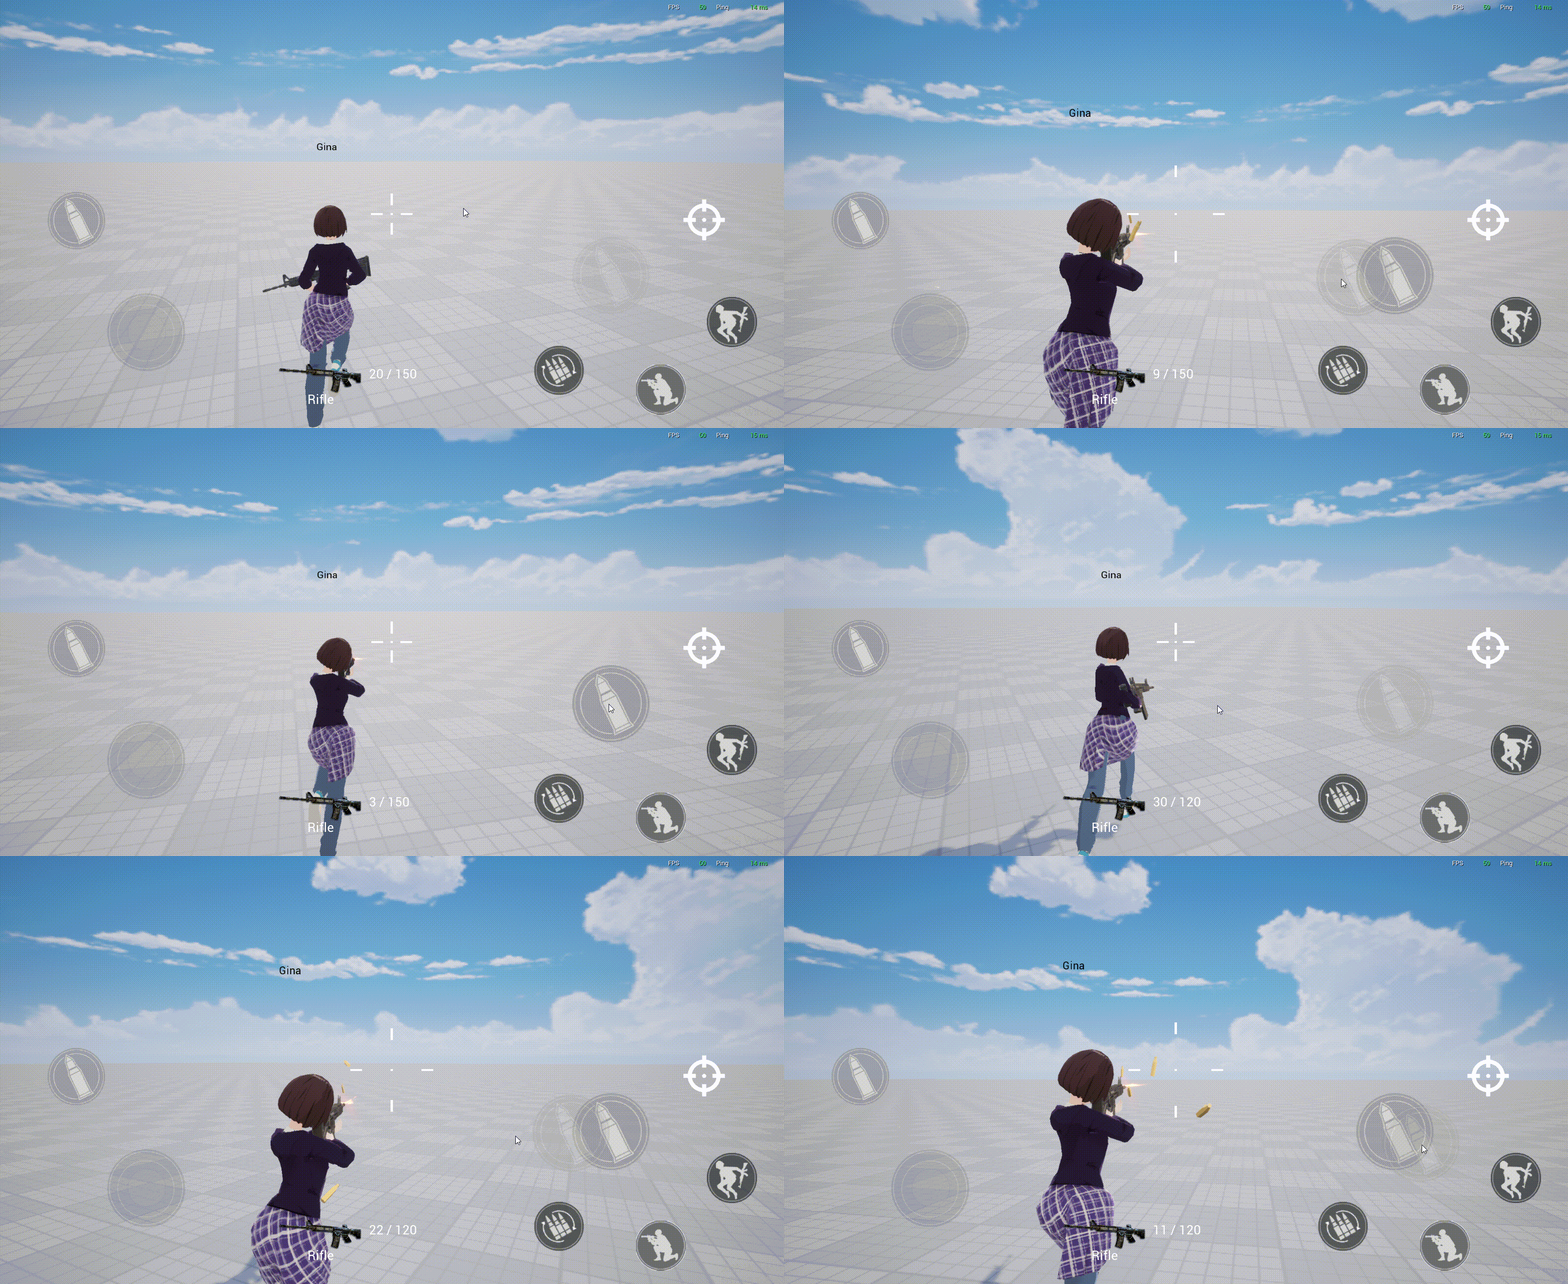
Example 1: Use joystick to create a shoot button that can strafe
Here we want to achieve hold down the joystick shoot while dragging joystick control Camera direction to strafe, release the joystick to stop shooting:
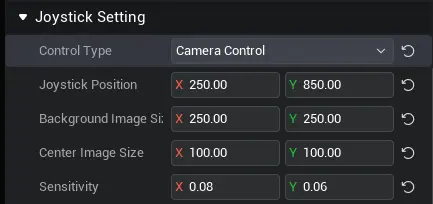
- First, we set the joystick mode to camera control, and then write Script
- The recommended sensitivity ratio is (0.08, 0.06), and the sensitivity of lateral rotation is slightly higher than that of longitudinal rotation
- Example script:
export default class WeaponUI extends WeaponUI_Generate {
    protected onStart() {

        press joystick, start shoot
        this.right_fire.onJoyStickDown.add(() => {
            console.error("right_fire onJoyStickDown");
            if(!this.curWeapon) return;
            this.curWeapon.startFire();
        });

        release joystick, stop shoot
        this.right_fire.onJoyStickUp.add(() => {
            console.error("right_fire onJoyStickUp");
            if(!this.curWeapon) return;
            this.curWeapon.stopFire();
        });
    }
}
export default class WeaponUI extends WeaponUI_Generate {
protected onStart() {
press joystick, start shoot
this.right_fire.onJoyStickDown.add(() => {
console.error("right_fire onJoyStickDown");
if(!this.curWeapon) return;
this.curWeapon.startFire();
});
release joystick, stop shoot
this.right_fire.onJoyStickUp.add(() => {
console.error("right_fire onJoyStickUp");
if(!this.curWeapon) return;
this.curWeapon.stopFire();
});
}
}- Effect Demo:
Example 2: Use joystick to make a aim back hair skill button
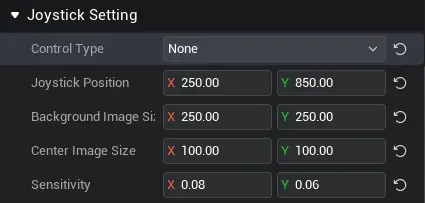
Here we want to achieve with the joystick control character facing directionaim, release the joystick back hair shooting skill:
- First, we set the joystick mode to [None], and then write the logic after dragging the joystick by ourselves
- Example script:
export default class AbilityUIControl extends UIScript {
    player: Player;
    _Joystick: VirtualJoystickPanel;
    _rotation:Vector
    Construct() {
        this.InitEvents()
    }

    InitEvents() {
        Find the joystick to match
        let _Joystick = this.uiWidgetBase.findChildByPath('Canvas/VirtualJoystickPanel') as VirtualJoystickPanel
        After press joystick modify FOV and sensitivity
        _Joystick.onJoyStickDown.add(() => {
            Camera.currentCamera.fov=70
            _Joystick.inputScale=(new Vector2(0.2, 0.2))
        });
        Record the direction when you turn the joystick and change the direction the character is facing
        _Joystick.onInputDir.add((vec : Vector2)=>{
            if(vec.length>0){
                this._rotation=new Vector(0,0,Camera.currentCamera.worldTransform.rotation.z-Math.atan2(vec.normalized.y, vec.normalized.x)/Math.PI*180+90)
				Get the Player of the current client (yourself)
				let myPlayer = Player.localPlayer;
				Get the character of the current Player control
				let myCharacter = myPlayer.character;
				myCharacter.moveFacingDirection=1
				myCharacter.movementAxisDirection=this._rotation            }
        });
        When you release the joystick, send the shooting event and direction, and turn the FOV and sensitivity back
        _Joystick.onJoyStickUp.add(() => {
            Event.dispatchToServer("_magicattacking",this._rotation);
            Camera.currentCamera.fov=90
            this._Joystick.inputScale=(new Vector2(0.5, 0.5))
        });
    }
}
export default class AbilityUIControl extends UIScript {
player: Player;
_Joystick: VirtualJoystickPanel;
_rotation:Vector
Construct() {
this.InitEvents()
}
InitEvents() {
Find the joystick to match
let _Joystick = this.uiWidgetBase.findChildByPath('Canvas/VirtualJoystickPanel') as VirtualJoystickPanel
After press joystick modify FOV and sensitivity
_Joystick.onJoyStickDown.add(() => {
Camera.currentCamera.fov=70
_Joystick.inputScale=(new Vector2(0.2, 0.2))
});
Record the direction when you turn the joystick and change the direction the character is facing
_Joystick.onInputDir.add((vec : Vector2)=>{
if(vec.length>0){
this._rotation=new Vector(0,0,Camera.currentCamera.worldTransform.rotation.z-Math.atan2(vec.normalized.y, vec.normalized.x)/Math.PI*180+90)
Get the Player of the current client (yourself)
let myPlayer = Player.localPlayer;
Get the character of the current Player control
let myCharacter = myPlayer.character;
myCharacter.moveFacingDirection=1
myCharacter.movementAxisDirection=this._rotation }
});
When you release the joystick, send the shooting event and direction, and turn the FOV and sensitivity back
_Joystick.onJoyStickUp.add(() => {
Event.dispatchToServer("_magicattacking",this._rotation);
Camera.currentCamera.fov=90
this._Joystick.inputScale=(new Vector2(0.5, 0.5))
});
}
} Editor Doc