Asset Upload
TIP
It takes about 15 minutes to read this article.
In order to help developers quickly understand and use the asset import and upload tool, this article mainly includes the following two contents:
- What is the asset import upload tool?
- asset Import and Upload Tool User Guide
asset Import and Upload Tool Introduction
What is the asset import upload tool?
- The asset import and upload tool provides developers with a way to import and upload art asset
- asset import support script, prefab, UI file, character, material, static models, texture, and sound asset .
- asset upload support static models, UI texture, scene texture, character data, prefab, and sound effects .
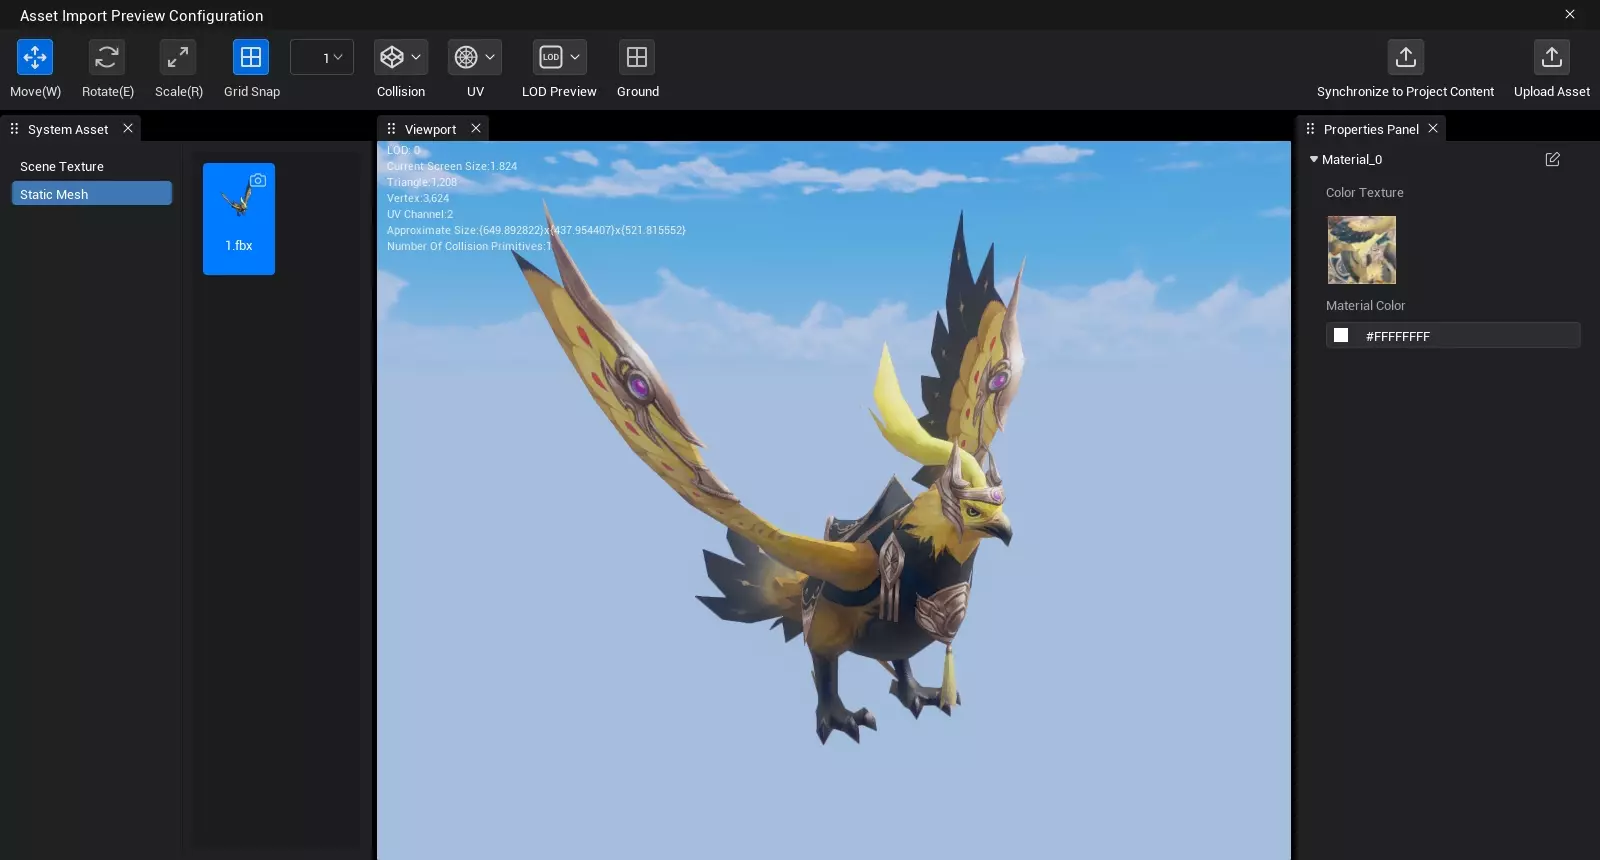
- The asset are imported into the local project and will enter the review process after uploading. After the asset pass the review and are packaged, the developer can use the uploaded asset in My asset .
asset Import and Upload Tool User Guide
support import asset types and specifications
- The file name of the imported asset cannot contain Chinese characters, otherwise the import will fail.
| asset Type | file extension | asset Specifications |
|---|---|---|
| script | .ts | none |
| prefab | .zip | Only support prefab asset produced using the Pocket editor |
| UI file | .ui | Only support UI file produced by Pocket Ark editor |
| character | .asset | Only support character asset produced using the Pocket Ark editor |
| material | .mat | Only support material asset produced by Pocket editor |
| static Model | .fbx | The number of mesh vertices must be ≤ 65535 |
| UI texture | .jpg .png .tga | Only 32-bit compressed format are support The maximum support resolution is 2048 |
| scene texture | .jpg .png .tga | Only 32-bit compressed format are support The maximum support resolution is 2048 The resolution must be a power of 2 |
| Sound | .wav | asset size must be ≤ 3MB |
asset import tool entry
- Developers can drag and drop asset to the [editor-Project Content] area
- Developers can also click the asset import function button in the lower left corner of [Project Content]
- Developers can also import asset by right- click the blank space under each asset type category in [Project Content]
asset verification
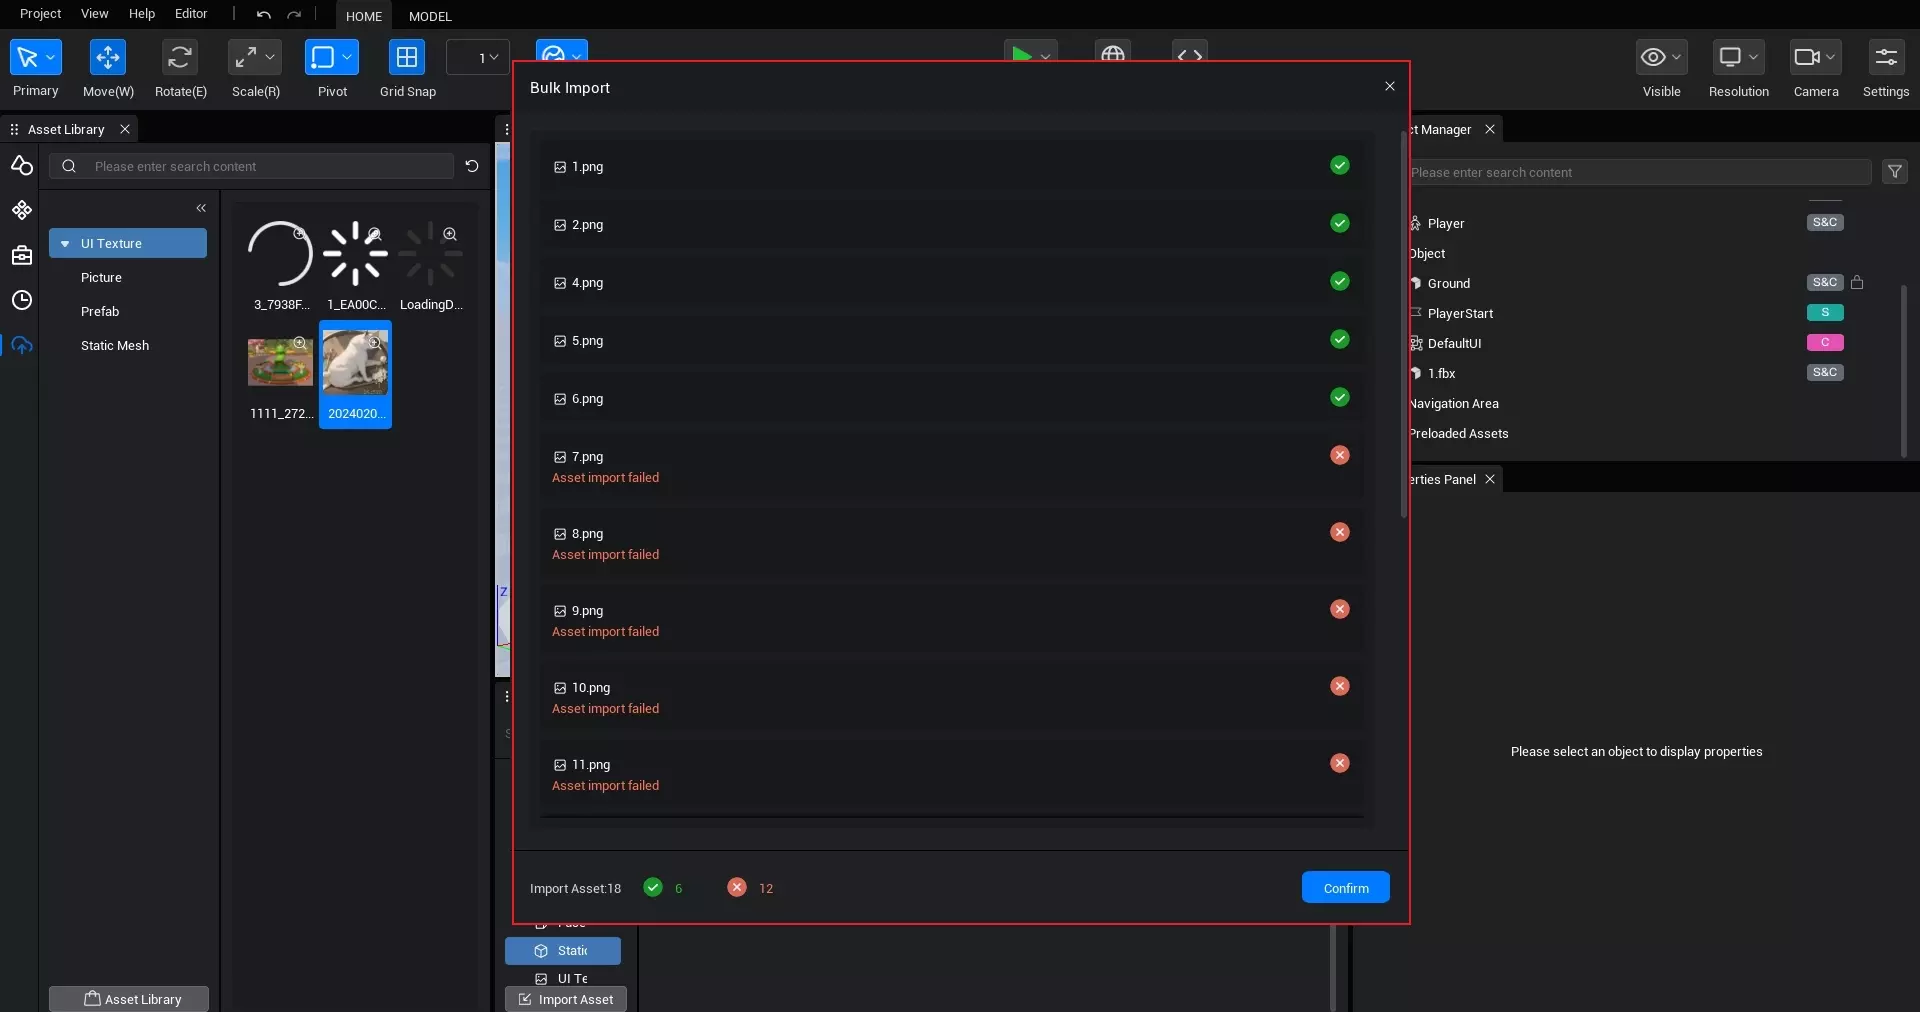
- After importing assets, verify assets and a window will pop up to display the verification results.
!
asset import configuration
static model asset
- When the model asset texture reference relationship is correct, the referenced texture asset can be parsed and automatically imported when importing a static model
scene texture/UI texture
- Because the asset specifications for importing UI texture and scene texture are different, a single import of texture asset only support selecting one type of UI texture or scene texture for import.
- If you need to import UI texture and scene texture, you can import them in batches according to the type.
asset thumbnails
Automatically generate
- After the asset is successfully imported, the asset thumbnail is automatically generate
- Models, prefab, and character data asset will be photographed at a default angle in the scene as thumbnails
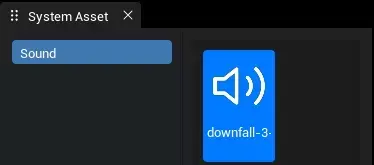
- The sound effect asset use a unified default thumbnail
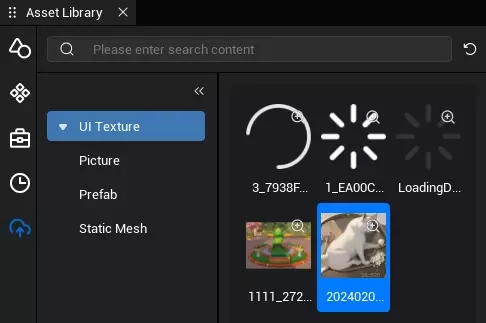
- texture asset use the original image as thumbnail
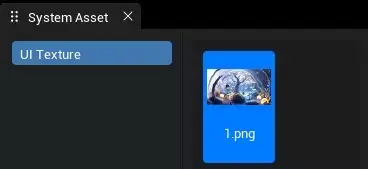
manually generate
- The asset icon will be automatically generate when importing. You can also click the "camera" in the upper right corner of the asset icon to use the manually asset icon generate function.
Preview configuration
- After the asset import is complete, the preview configuration function interface will be displayed, in which you can preview and edit the imported static model asset and texture asset.
- Editable content includes:
- static model: simple collision editing, UV preview, LOD preview, texture reference, material color modification. support opening the material editor for more detailed material property parameter and effect modify
- UI texture/ scene texture: Modify property parameter
sync to project content
- After confirm that the imported asset meet your expectations, click sync to Project Content in the upper right corner of the asset preview configuration interface to display them in each asset category of the project content.
Direct use of local asset
- asset imported into the project content can be directly dragged to the main viewport or object manager to build the project (local asset do not currently support dynamic call loading)
asset upload path
- When importing asset , click the asset upload button in the upper right corner of the asset preview configuration interface . The imported asset will be uploaded while sync to the project content.
- After selecting single/multiple asset in the project content, click the upload button in the upper right corner of the project content to upload.
- Select a asset in the project content and right-click the upload options to upload it.
- Automatically upload local asset when publish the experience .
::: Tip: To reduce the chances of experience publish failures due to failed asset audits, please manually upload local asset that are confirm to meet usage requirements during experience development. :::
creator Center Related
- After developers upload asset , they can view the review status of the asset on the asset management page of the creator Center. The asset that pass the review will be packaged. After the packaging is completed, the configuration information of the asset can be edited or the asset can be made public.
Upload asset status
After the asset is uploaded, there are five possible states:
The normal upload process of asset is: Inspecting - Reviewing - Packaging - Available for use
When the asset fails to pass the verification or is not approved, the asset status changes to "failed to pass the review" and the corresponding reason is noted in the Remark, and the upload process ends.
 Editor Doc