Character Editor
It takes about 20 minutes to read this article
In order to help developers quickly understand and use the character editor, this article mainly includes the following two contents:
- Introduction to character editor
- character editor User Guide
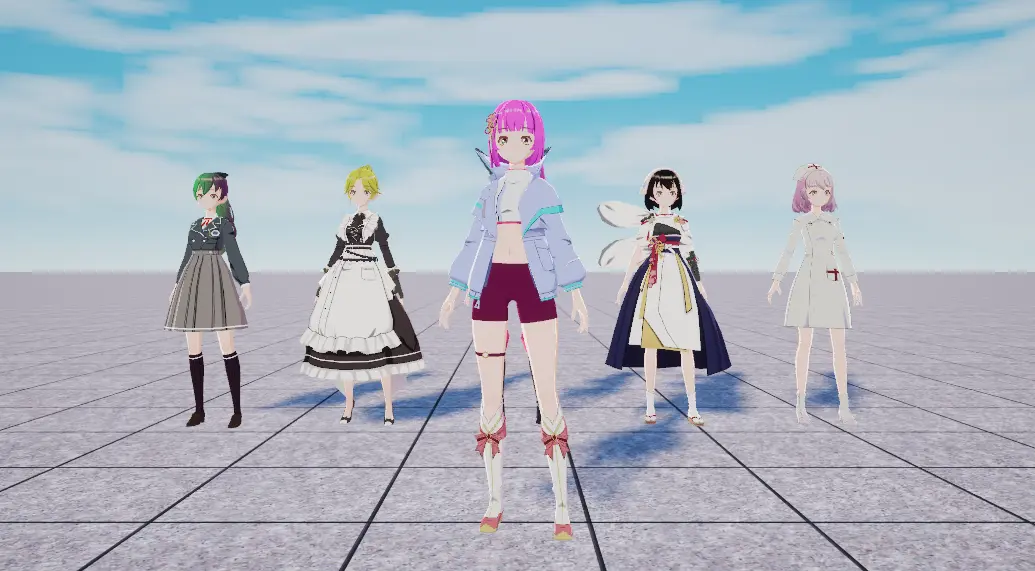
1. Introduction to character editor
1.1 What is the character editor?
The character editor provides developers with visual Character Avatar editing capabilities. By modify body shape, hairstyle, clothing, makeup and other options in the tool, the Character Avatar in the game can be personalized.
1.2 Application scene of character editor
customize the game Character Avatar in the editing state↓
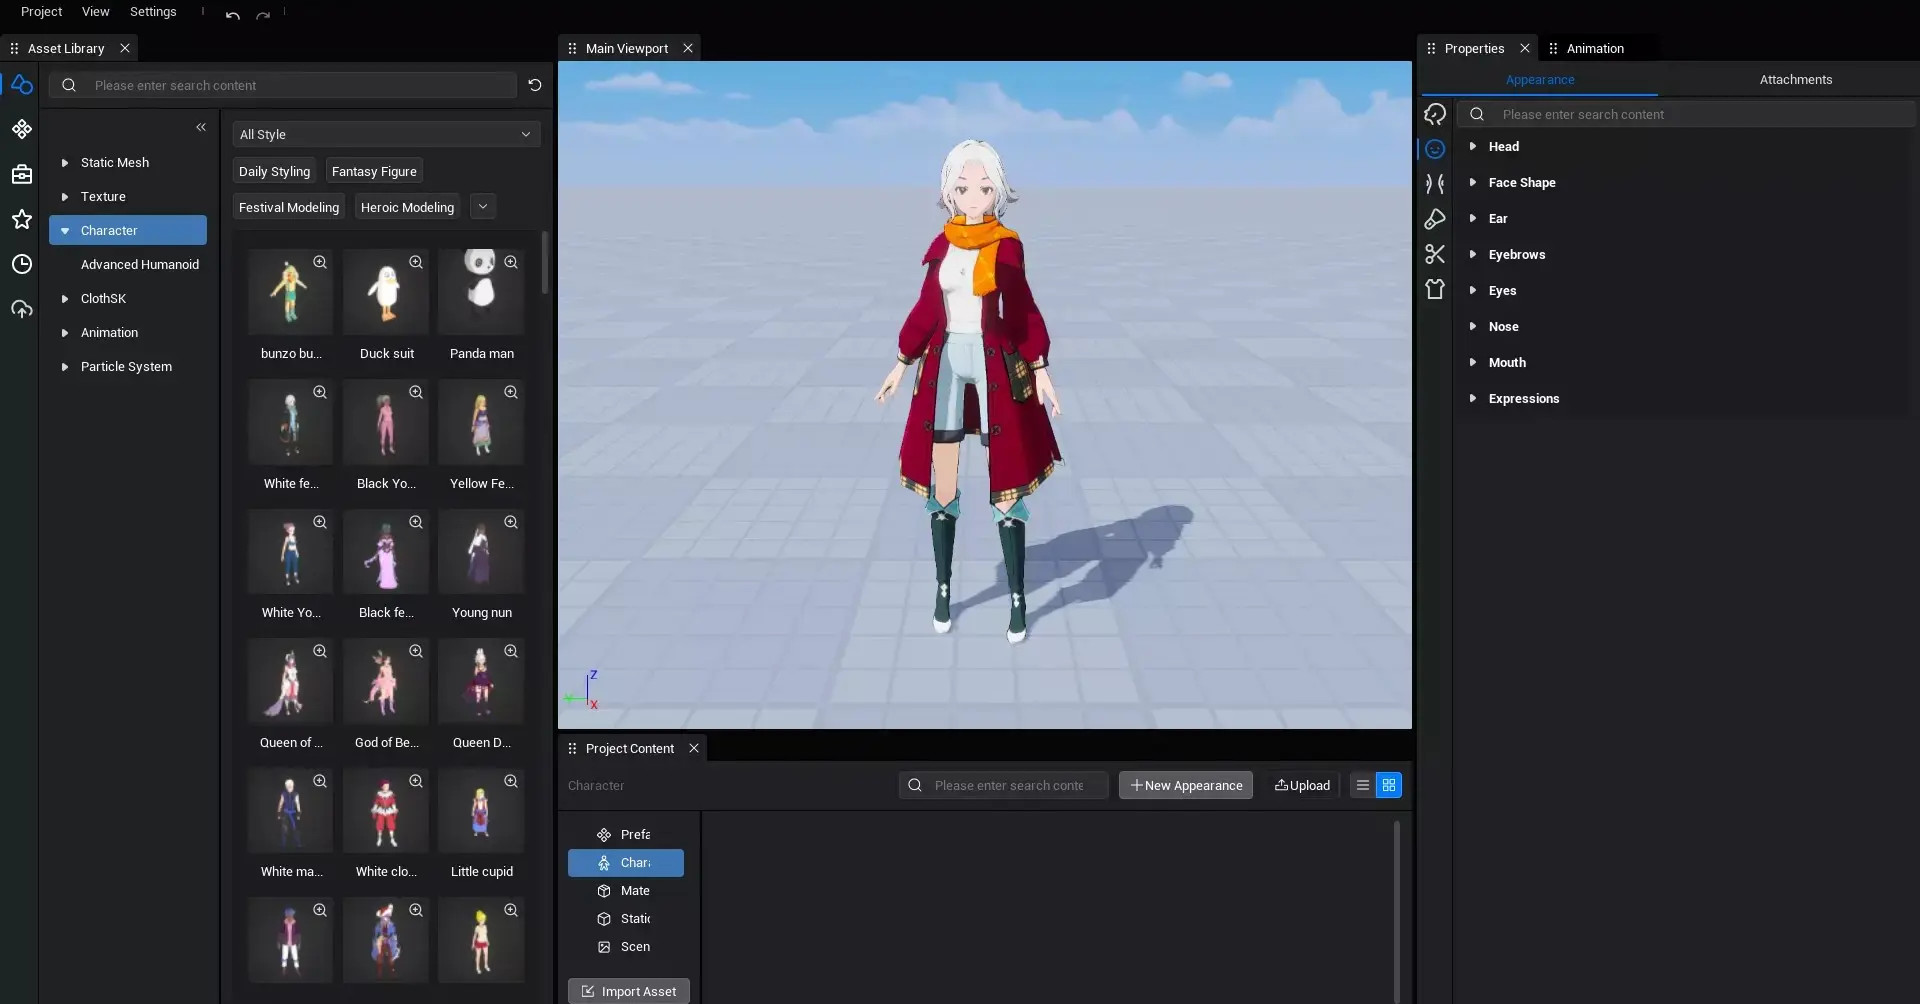
customize game Character Avatar at runtime (via API)
1.3 Basic rules for character editing
1.3.1 character Style
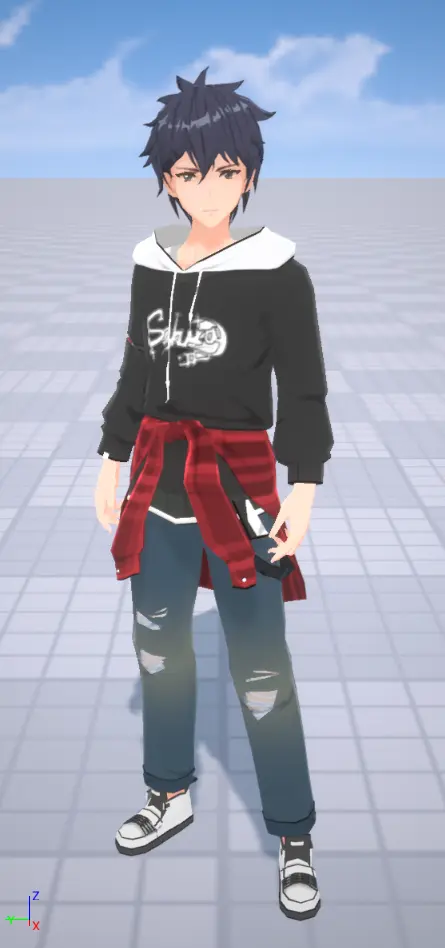
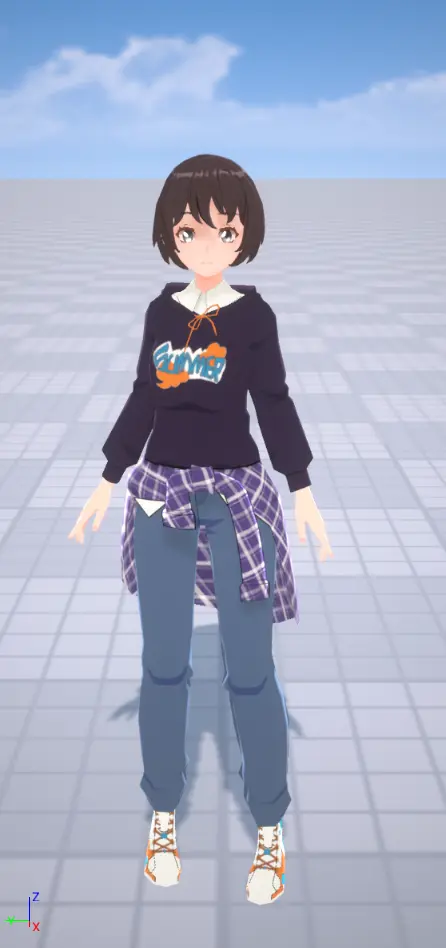
The character styles currently provided by the character editor are mainly divided into: anime style , polygonal style , realistic style and European and American cartoon style .
anime style↓
| male | female |
|---|---|
 |  |
Polygonal style↓
| male | female |
|---|---|
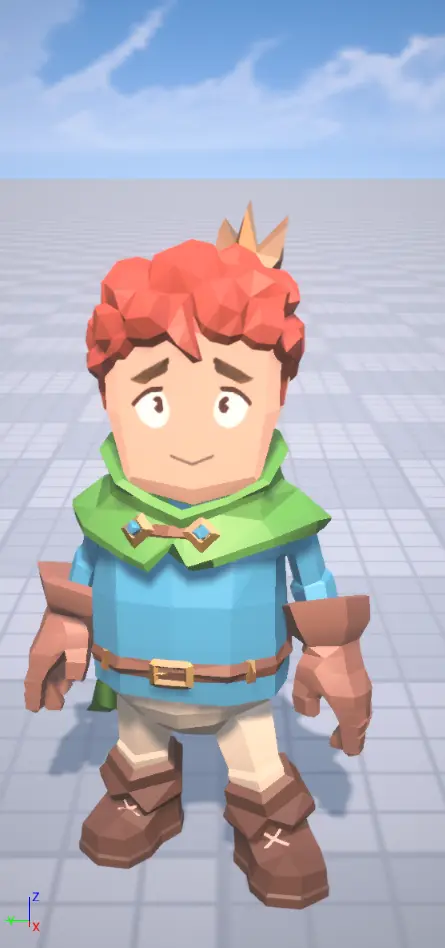 | 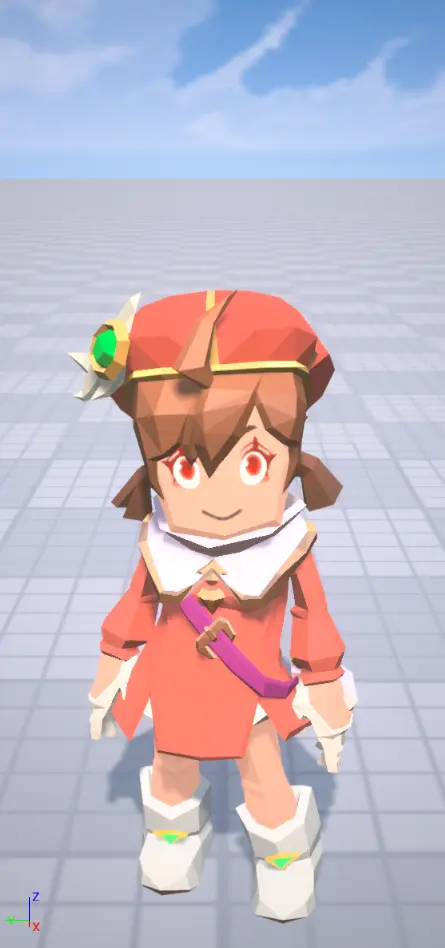 |
Realistic style↓
| male | female |
|---|---|
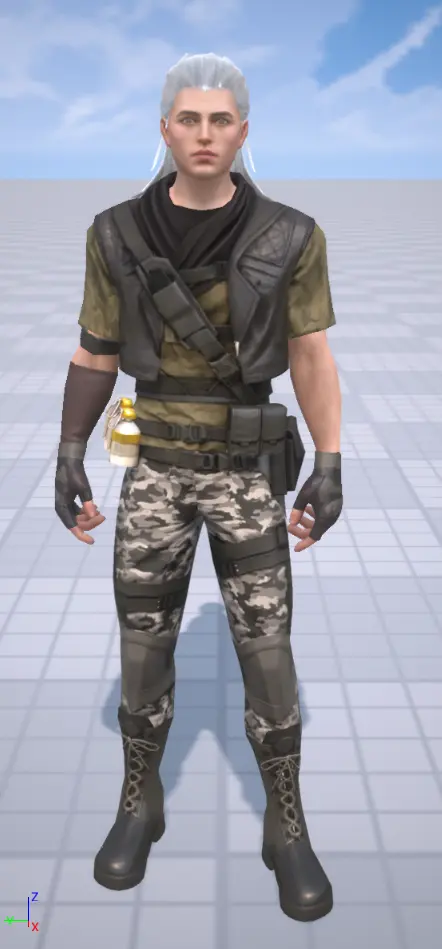 | 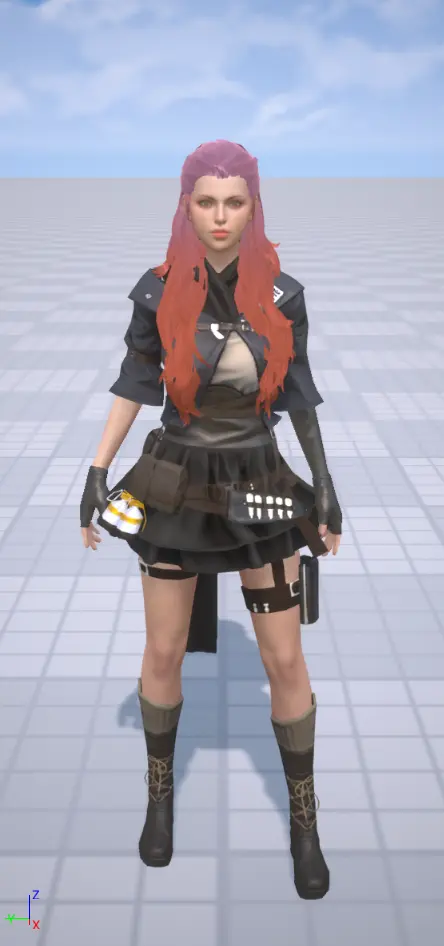 |
European and American cartoon style↓
| male | female |
|---|---|
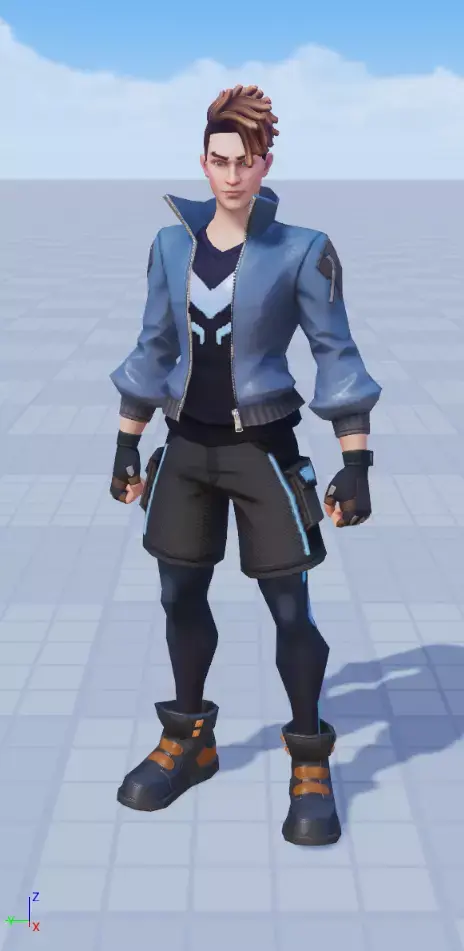 | 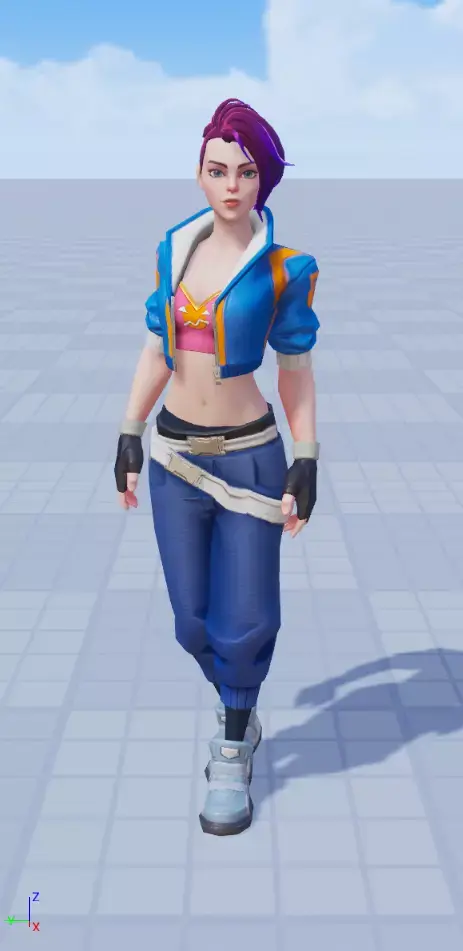 |
1.3.2 Edit Item
Pinch Human
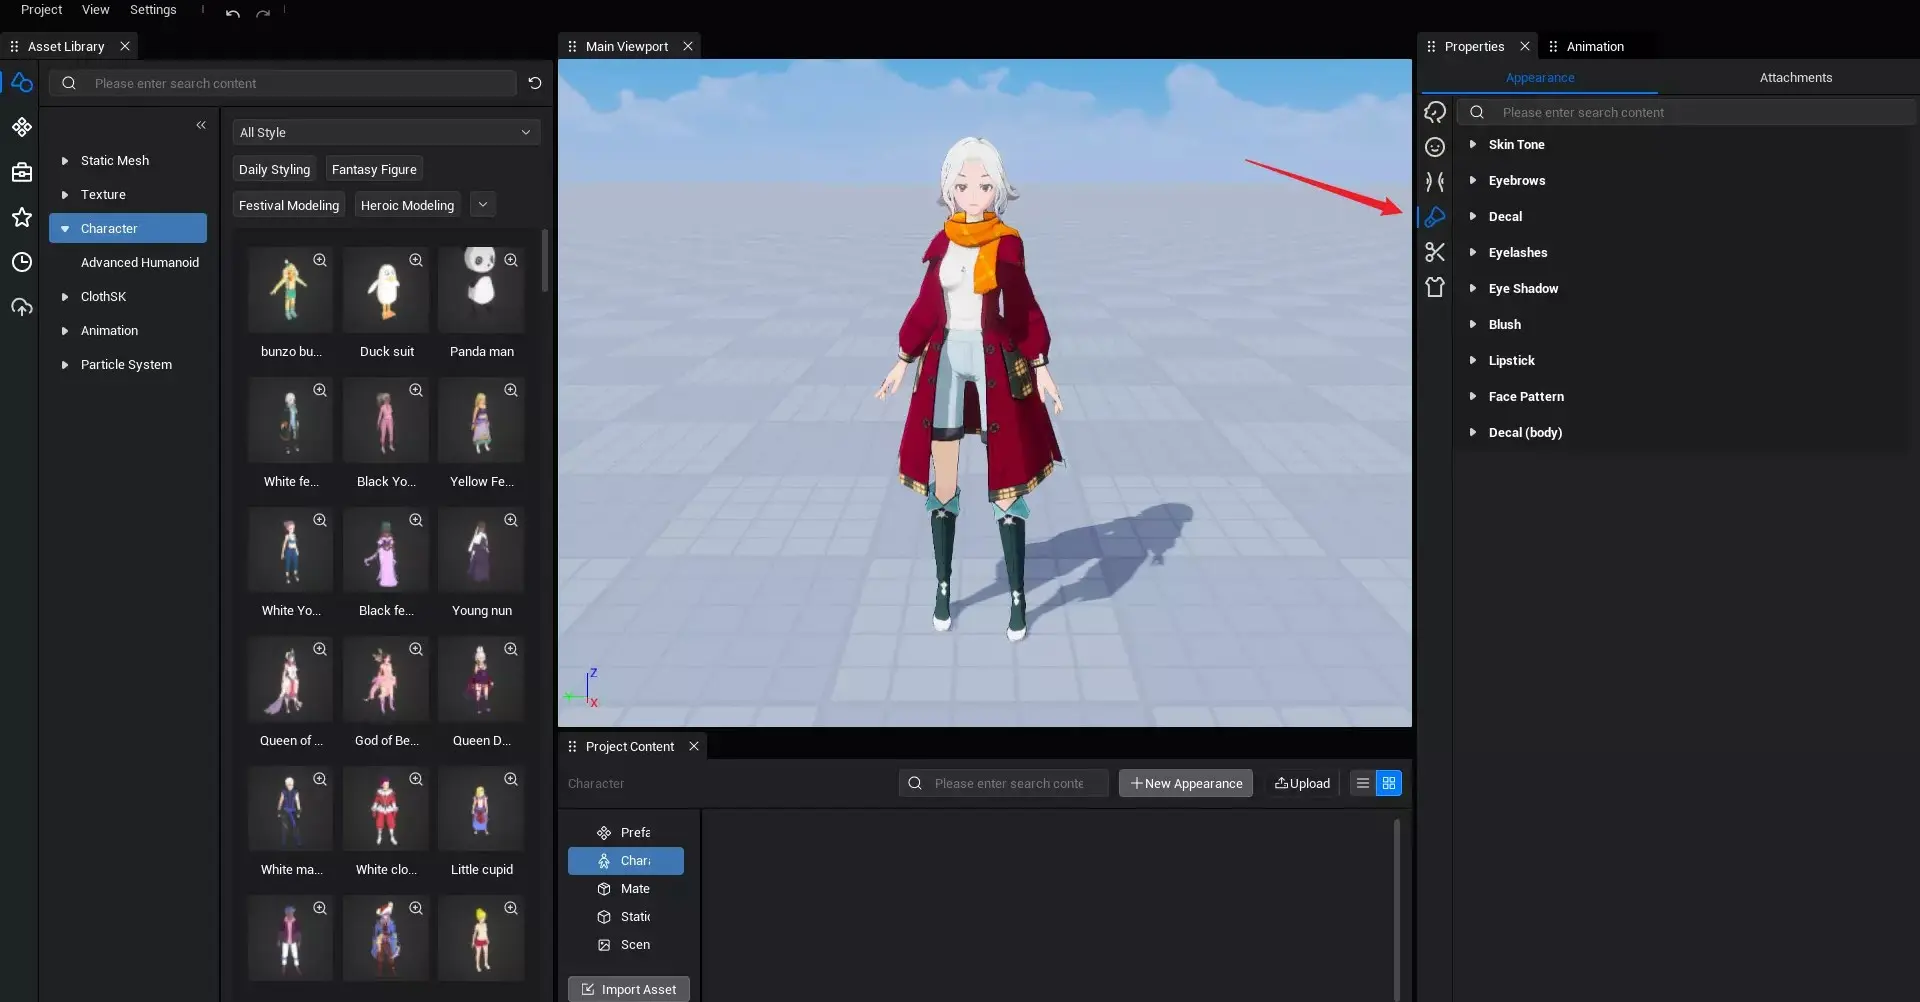
Pinch the human editing item to change the Character Avatar by modify parameter such as part scale and stretching . The adjustable options are: head related and body related .
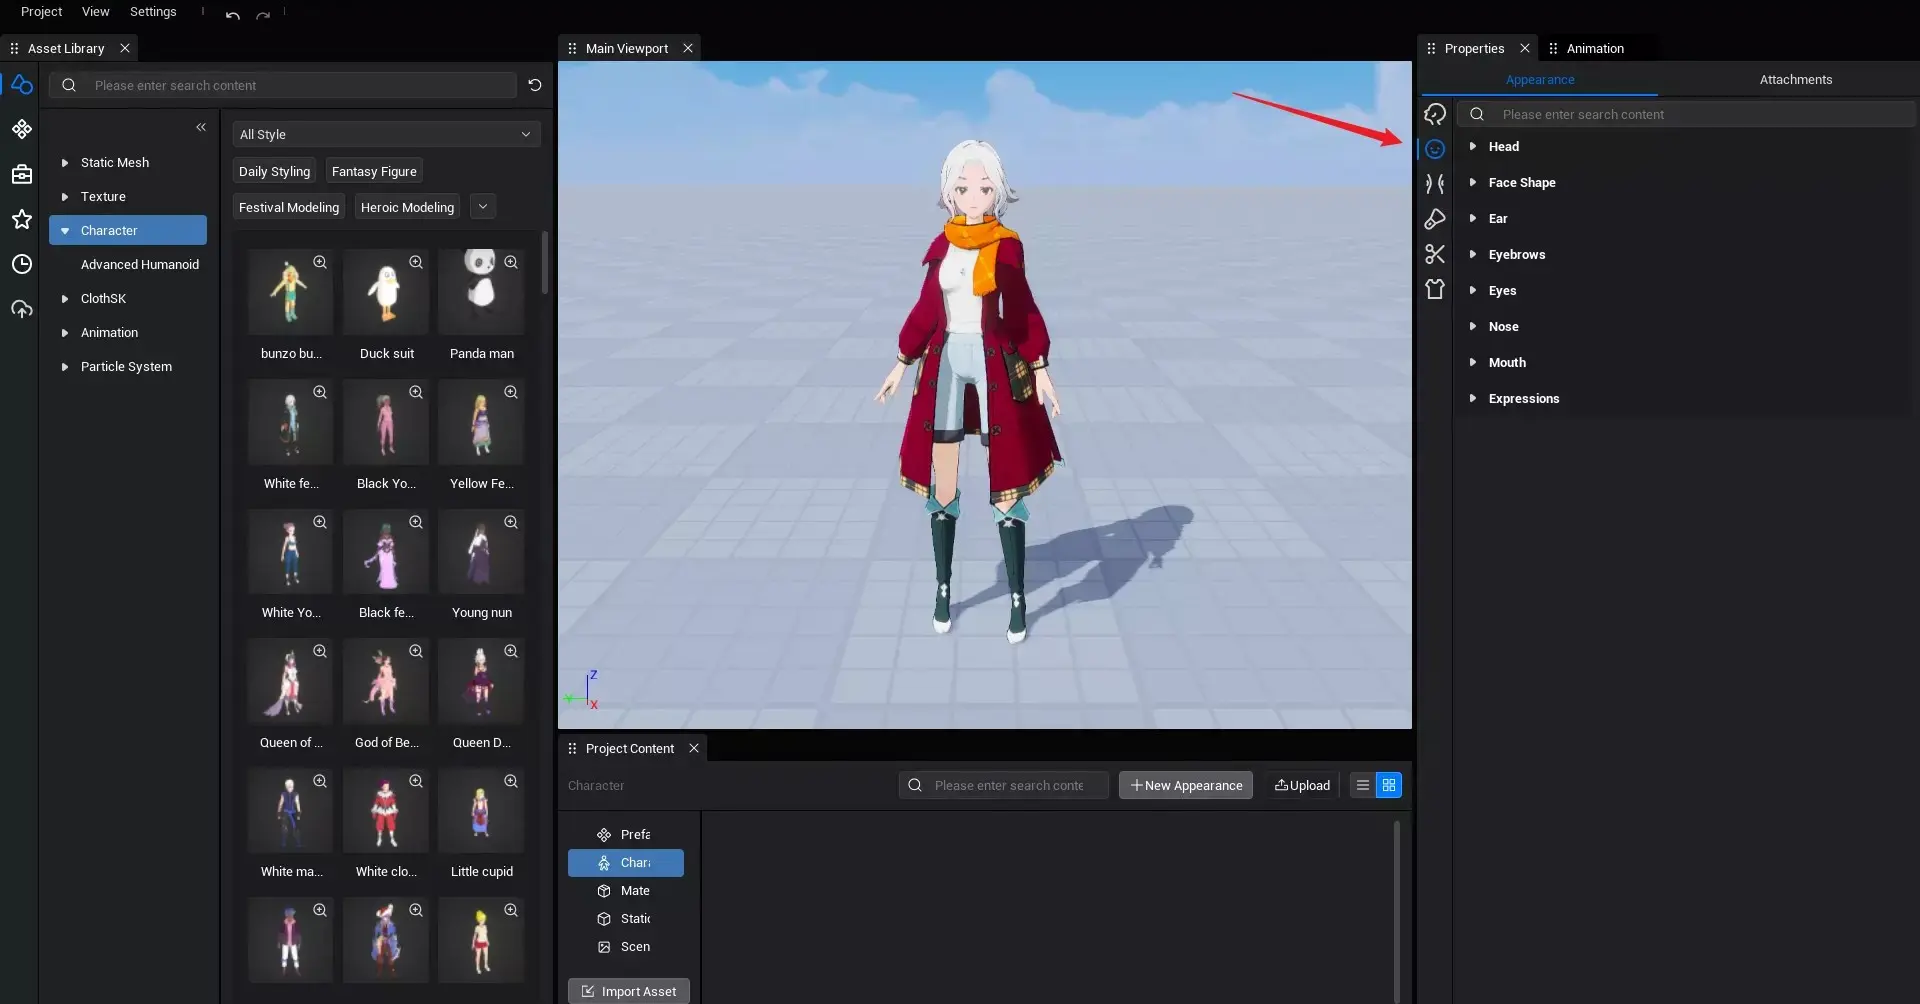
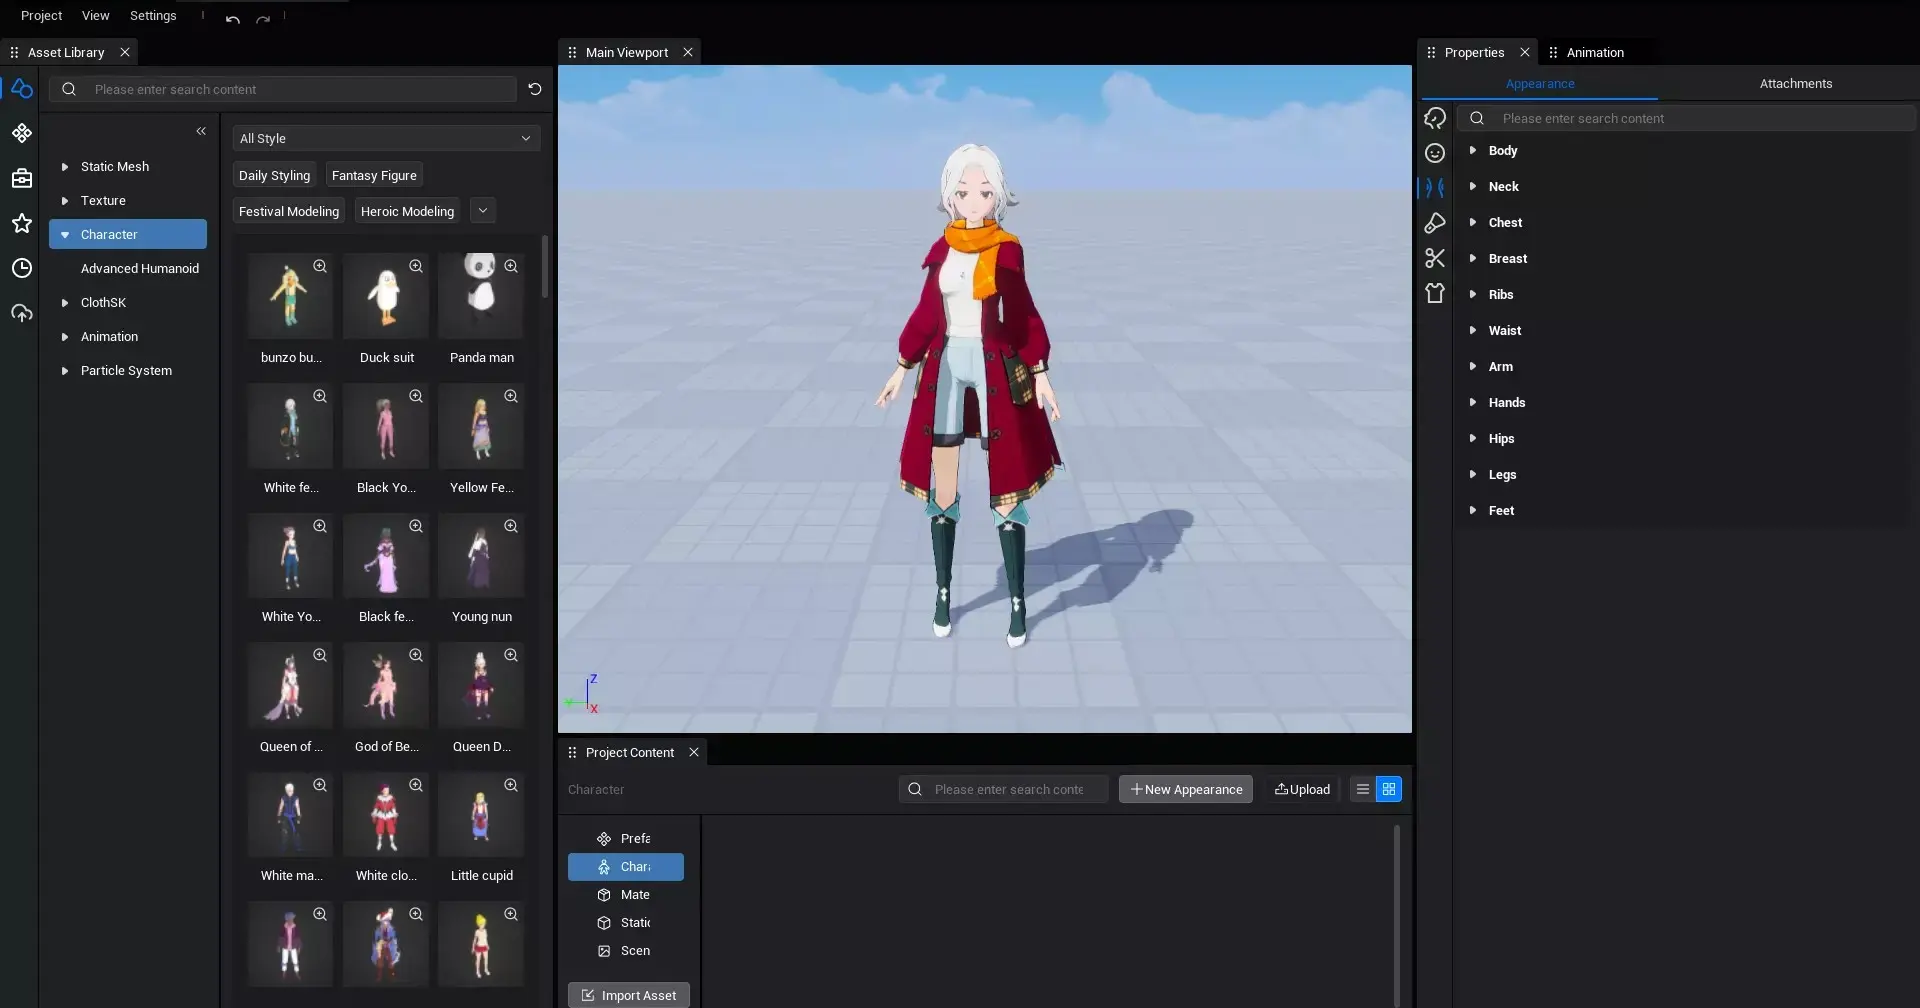
Dress Up
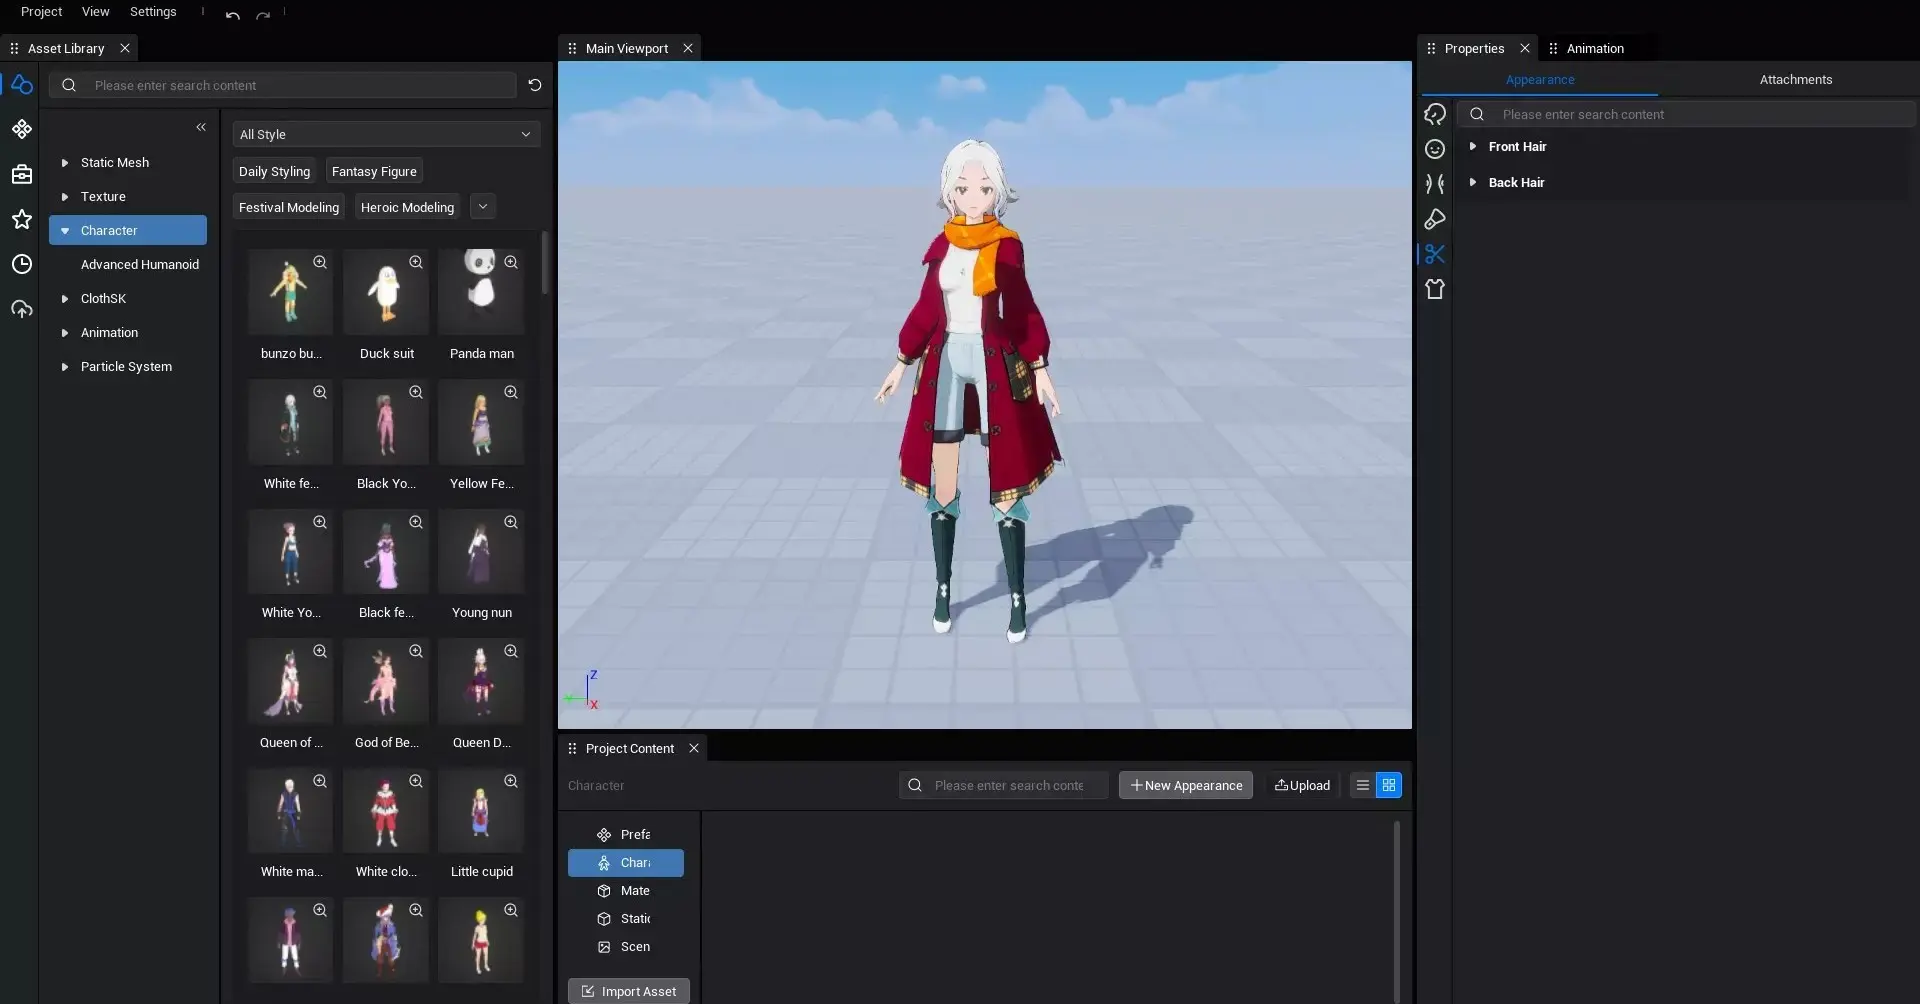
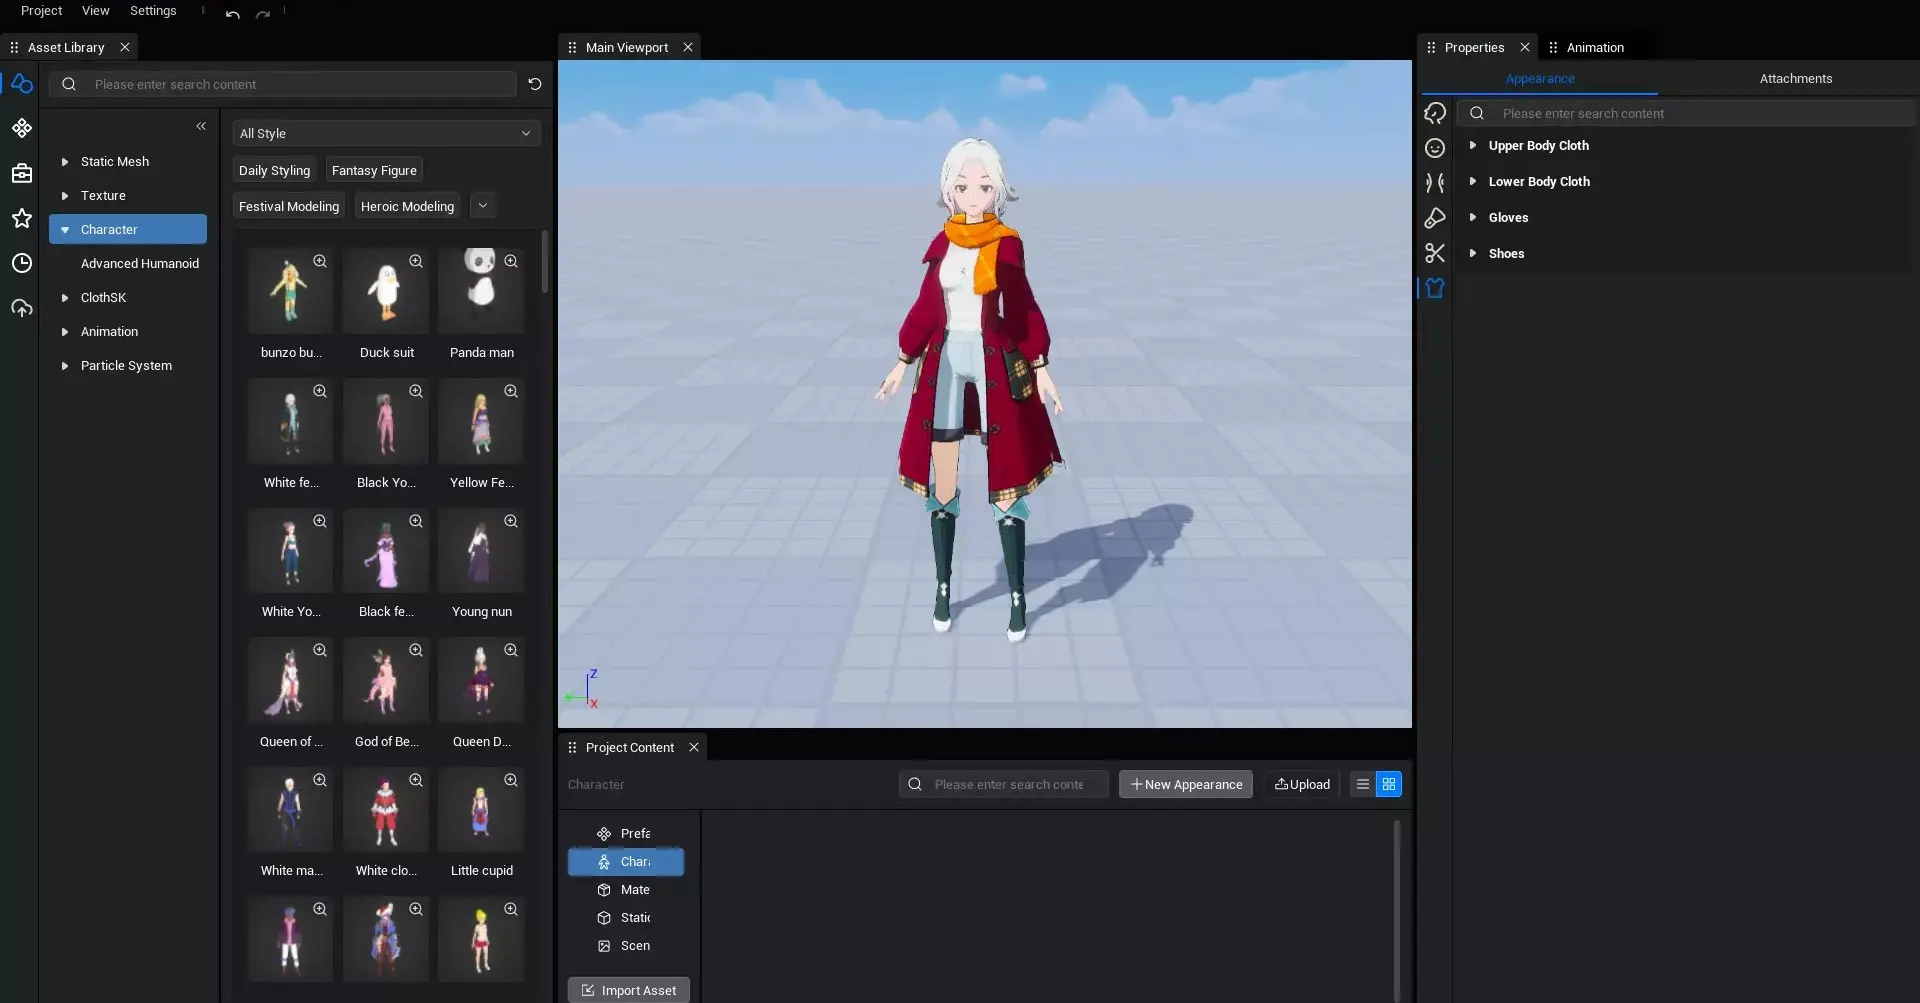
Dress-up editing items can change the Character Avatar by replacing asset , adjusting parameter such as modify and pattern . The asset that can be replaced are: makeup-related , hairstyle-related , and clothing-related .
2. Guide to using the character editor
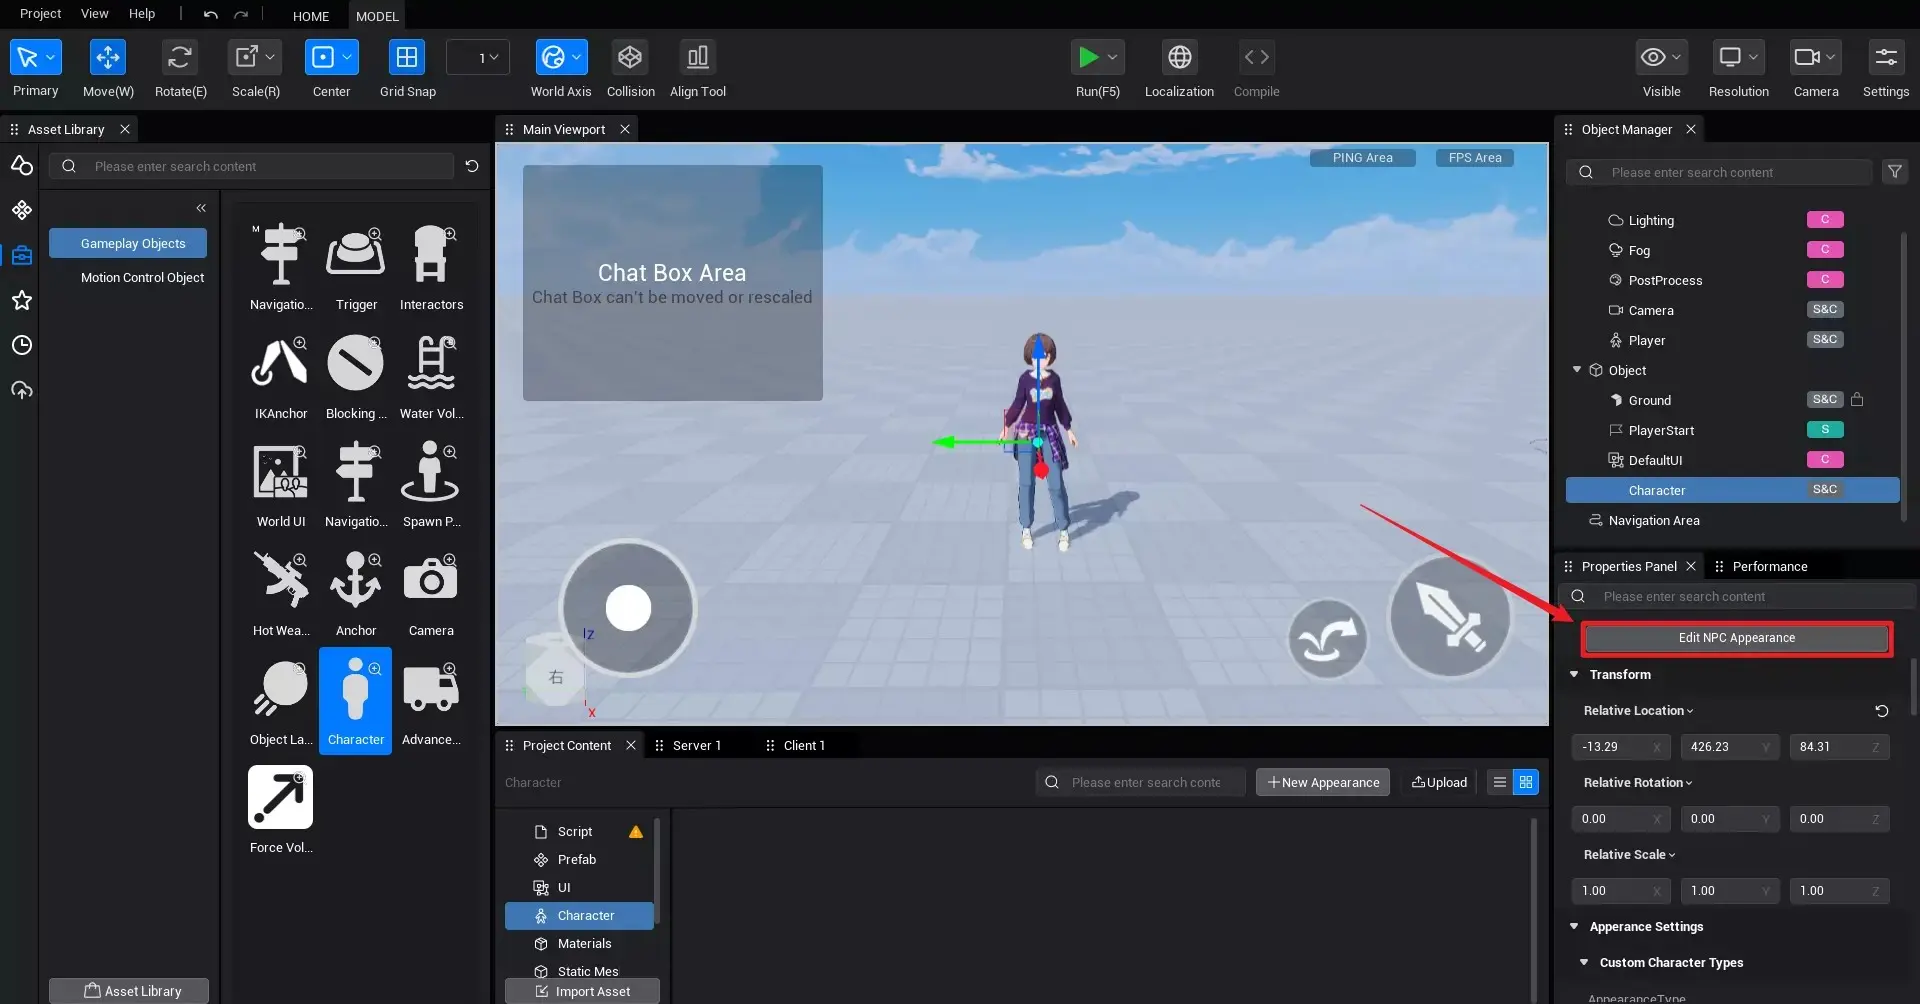
2.1 character editor entry
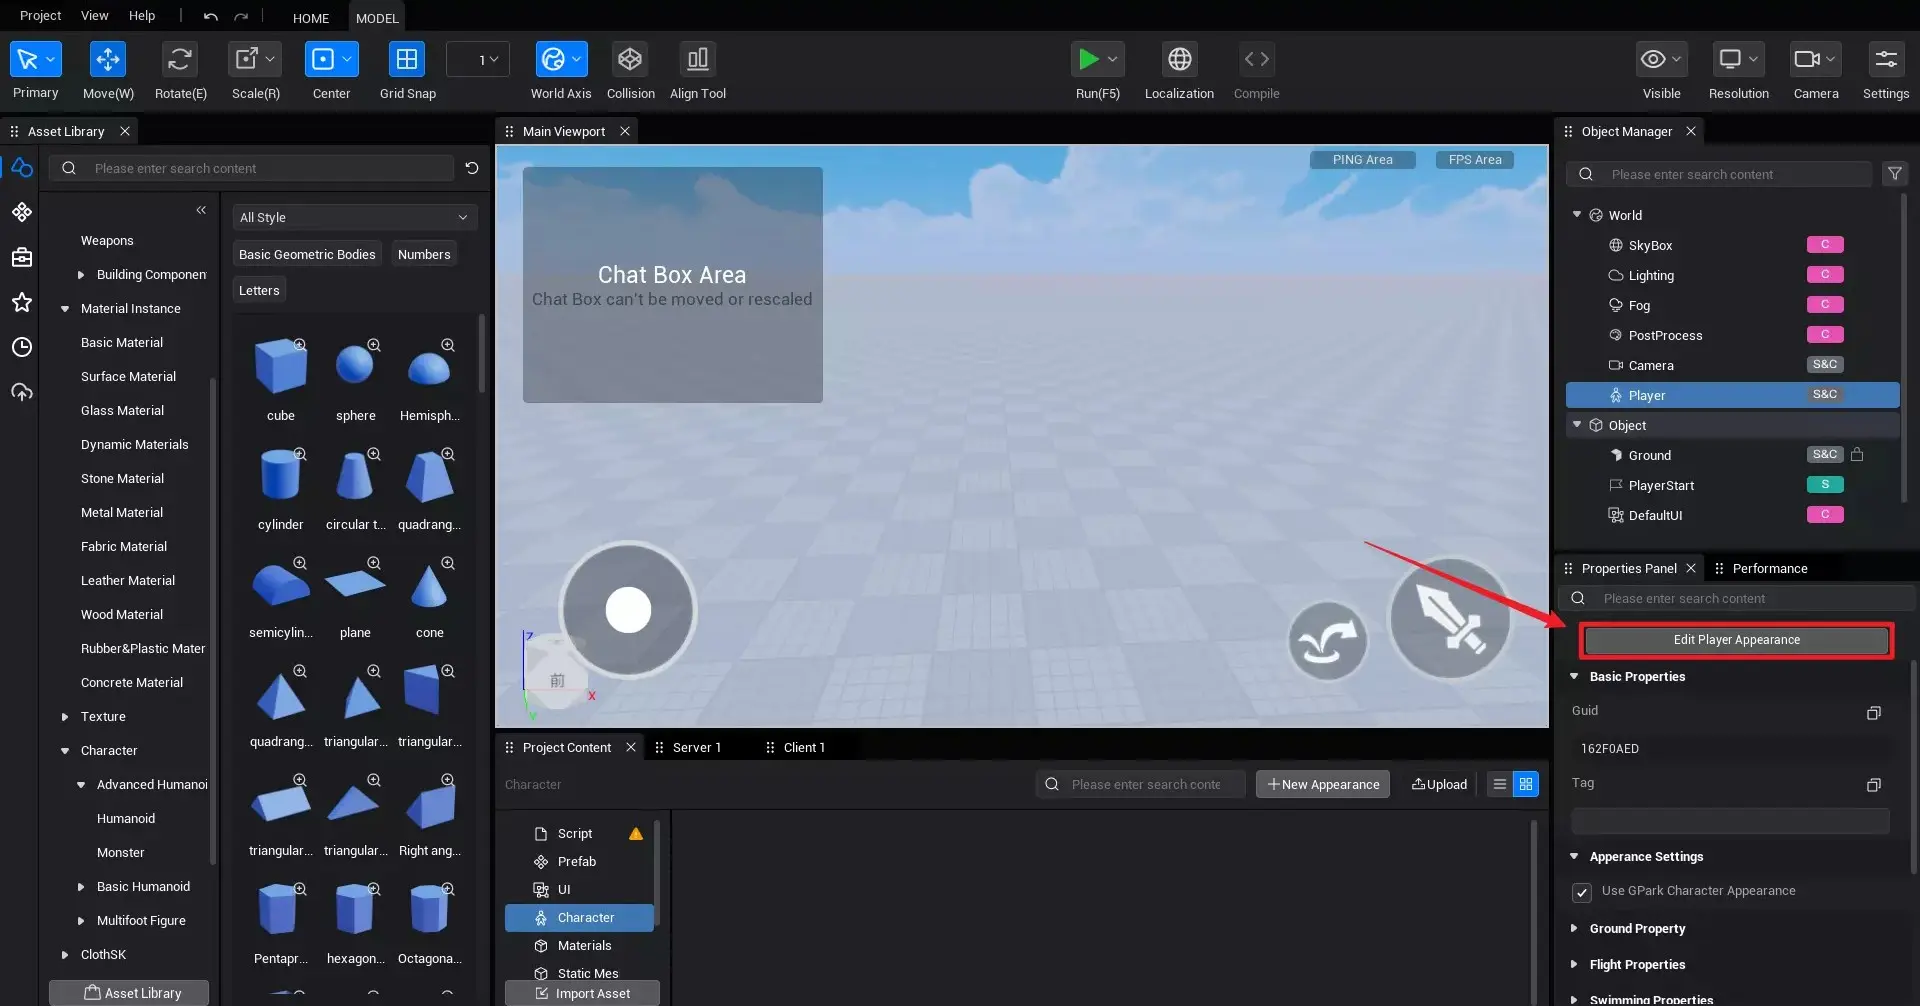
entry 1: Edit Player Character Avatar
click "Edit Player appearance " in the Player object property panel .
entry 2: Edit the object Character Avatar
click on "Edit Humanoid object " in Humanoid object v2.
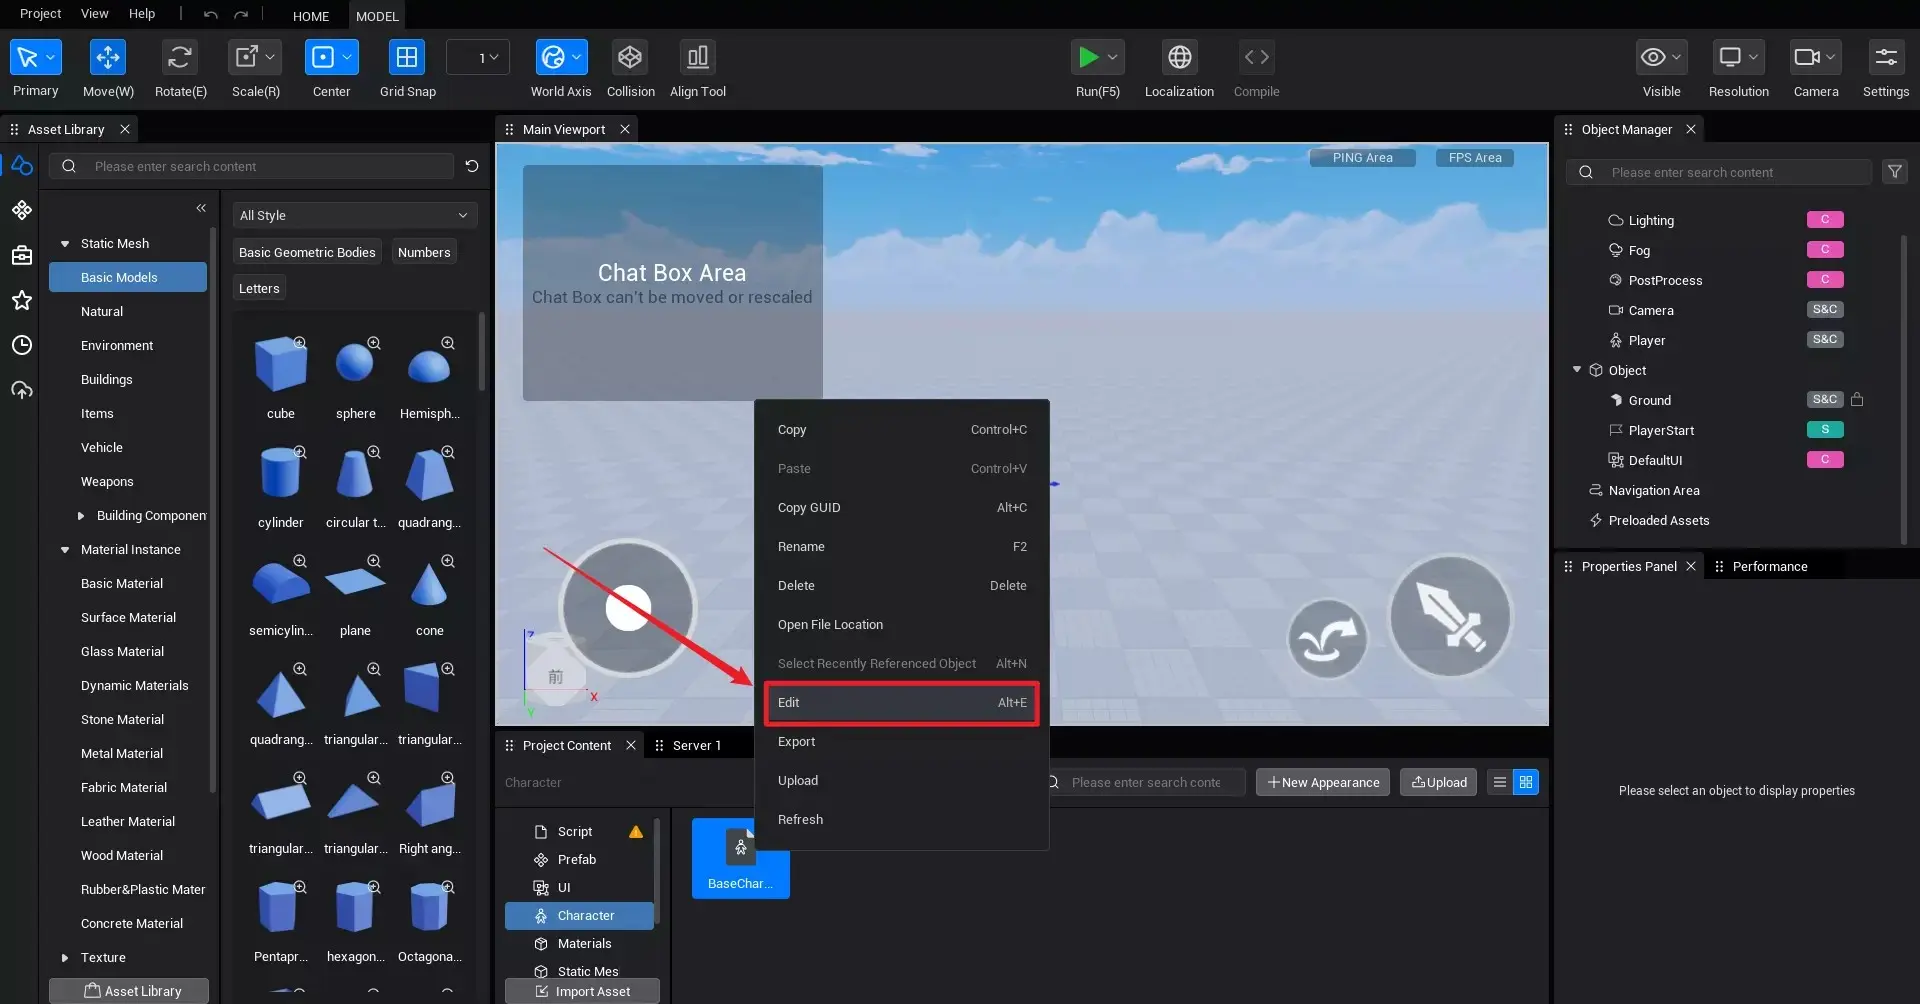
entry 3: Edit local Character Avatar
double-click the Character Avatar data file in the project content, or click the Edit options in the right-click menu.
2.2 Saving and using character editing data
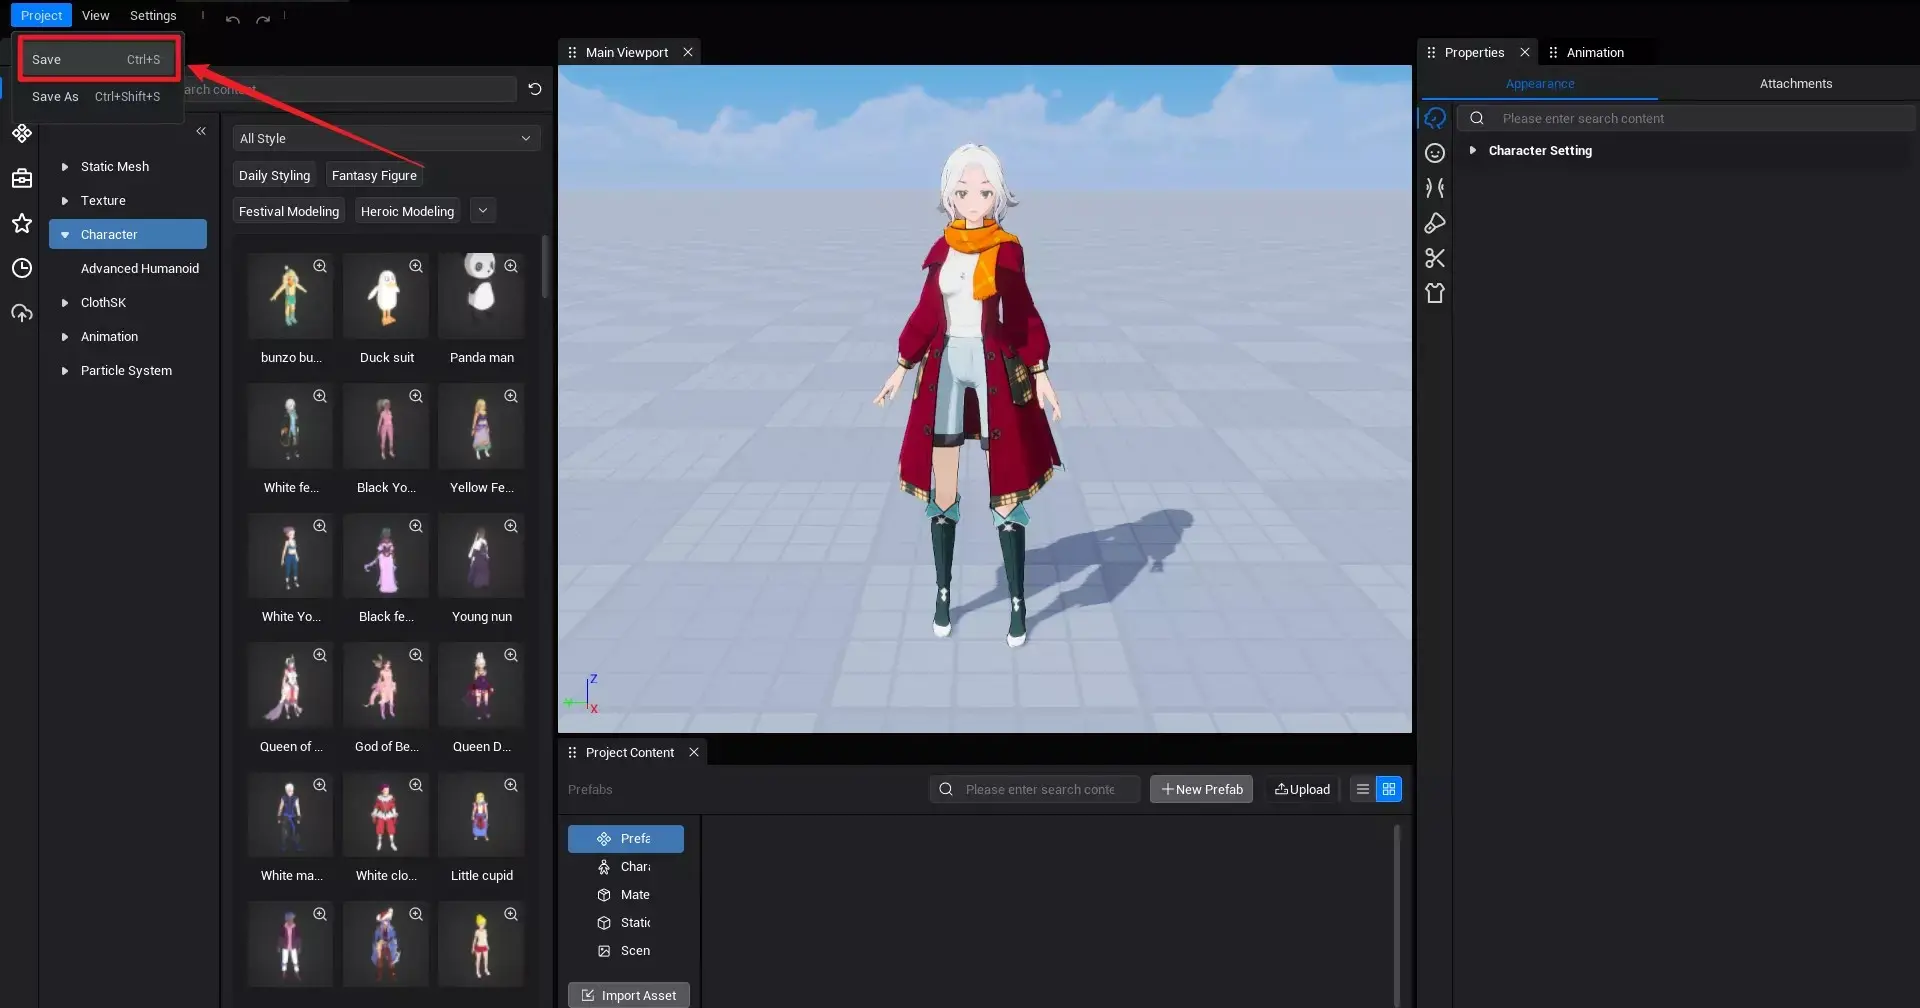
save
When editing PLayer/Humanoid object/Local character file, the Save options is displayed. click Save to update the edited data to PLayer/Humanoid object/Local character file.
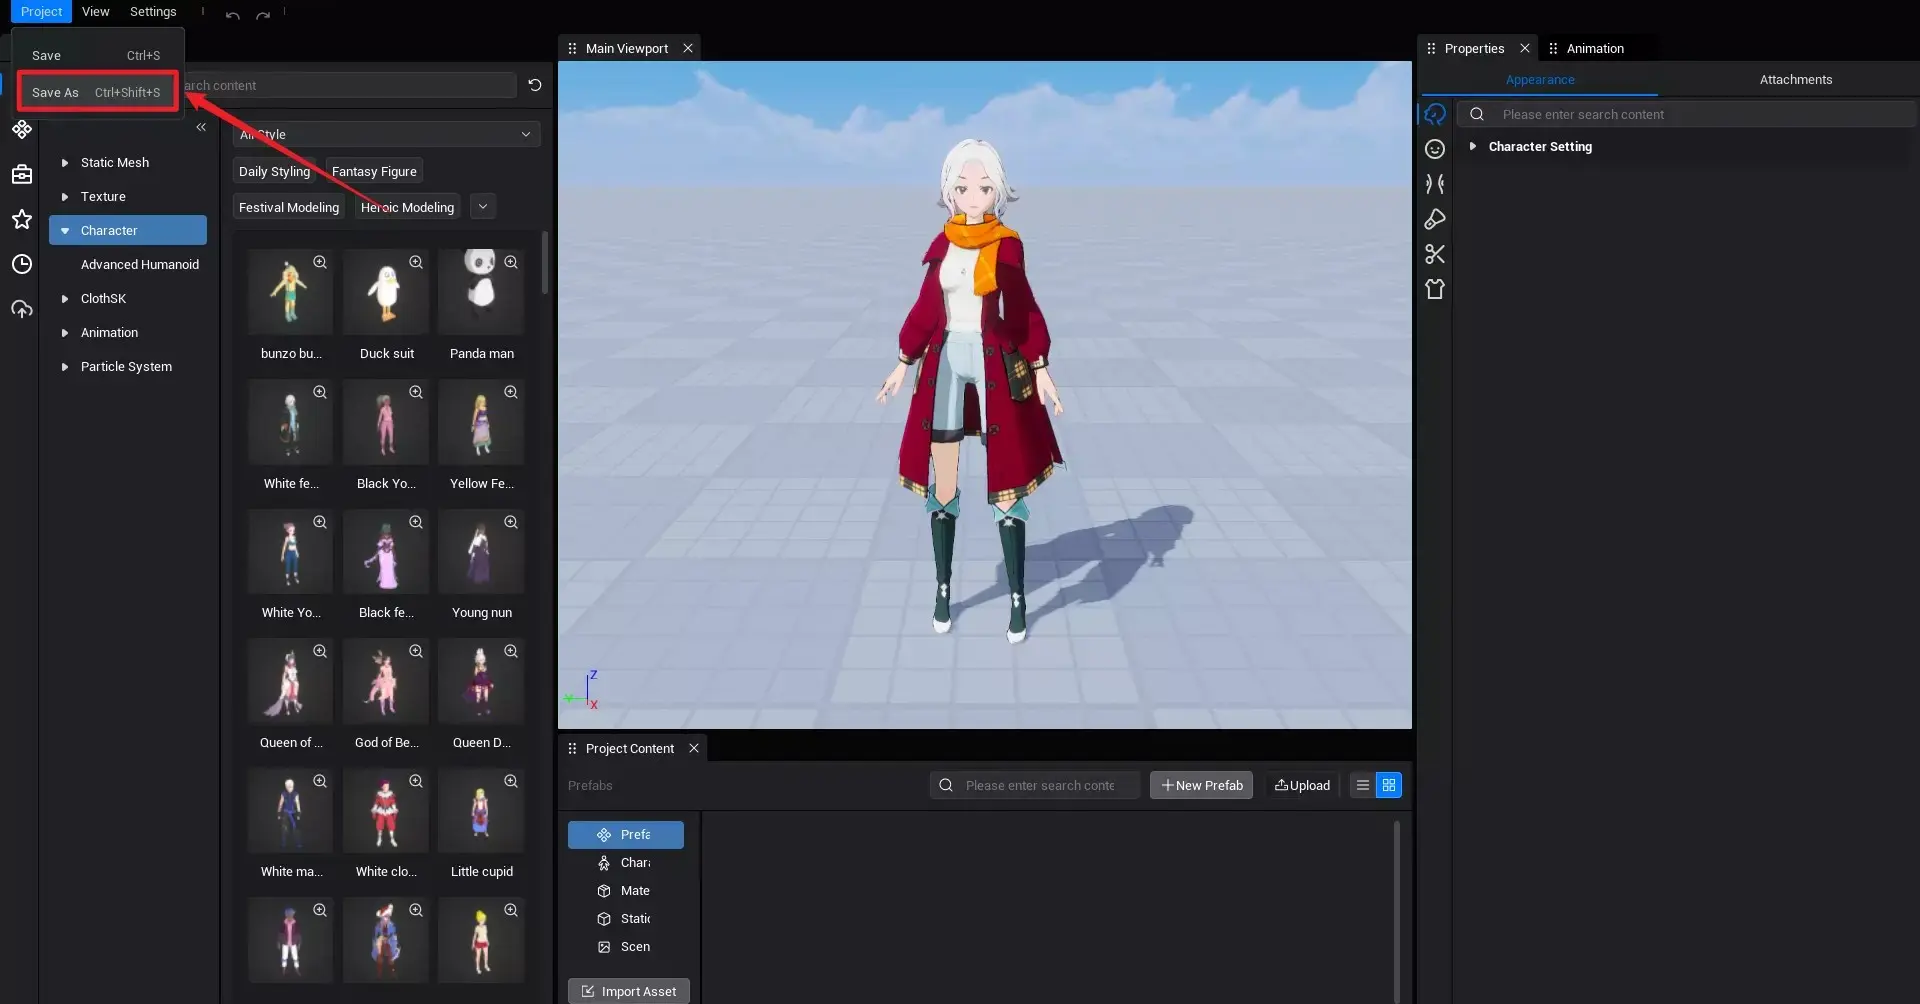
Save As
click Save As to save the character edit data as a whole or in Union under the character category of the project content.
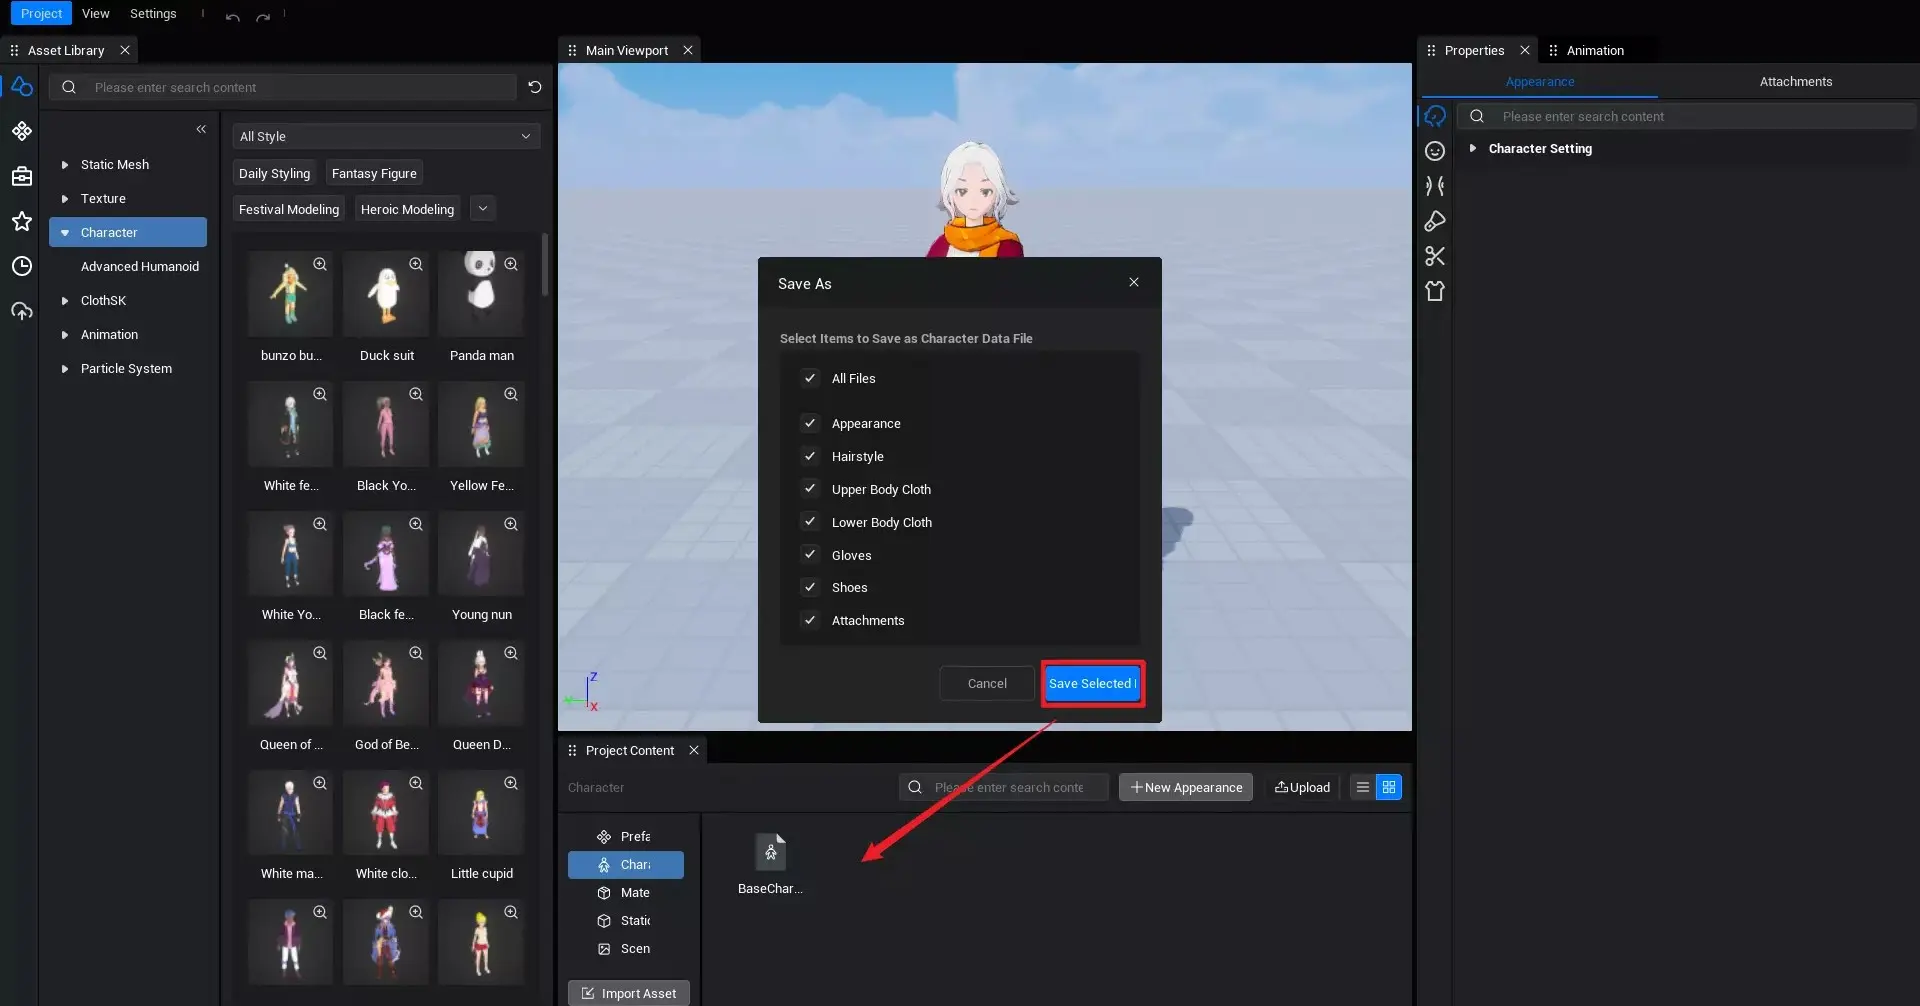
character Editing Data description
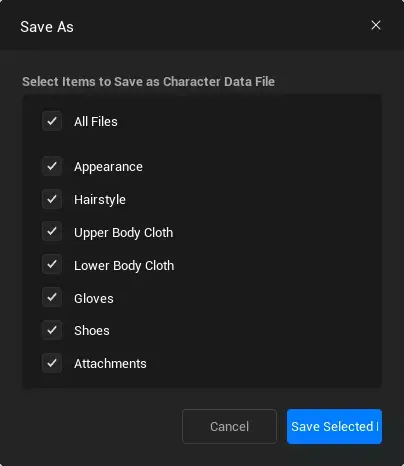
| Data name | use |
|---|---|
| Body shape and stance | Stores basic, face-related, and body-related editing data |
| hairstyle | Store the edited data Front Hair and back hair |
| upper Body Cloth | Stores the edited data of the tops part |
| lower Body Cloth | Stores the edited data of the bottoms |
| Gloves | Stores part of the edited data of the gloves |
| shoes | Stores the edited data of the footwear section |
| slot parameter | Storage slot modify, item preview related editing data |
character Editing Data Application
Apply while editing
Drag the Character Avatar data file into the main viewport to apply the character data stored in the data file to the character.
Runtime Application
Apply data stored in data file to character through the API.
ts// call the project content- character data file Asset ID to change the corresponding data of the humanoid object character.setDescription([desGuid]); // sync the Character Avatar to multiple terminals character.syncDescription();// call the project content- character data file Asset ID to change the corresponding data of the humanoid object character.setDescription([desGuid]); // sync the Character Avatar to multiple terminals character.syncDescription();
2.3 Import and export of character editing data
Import
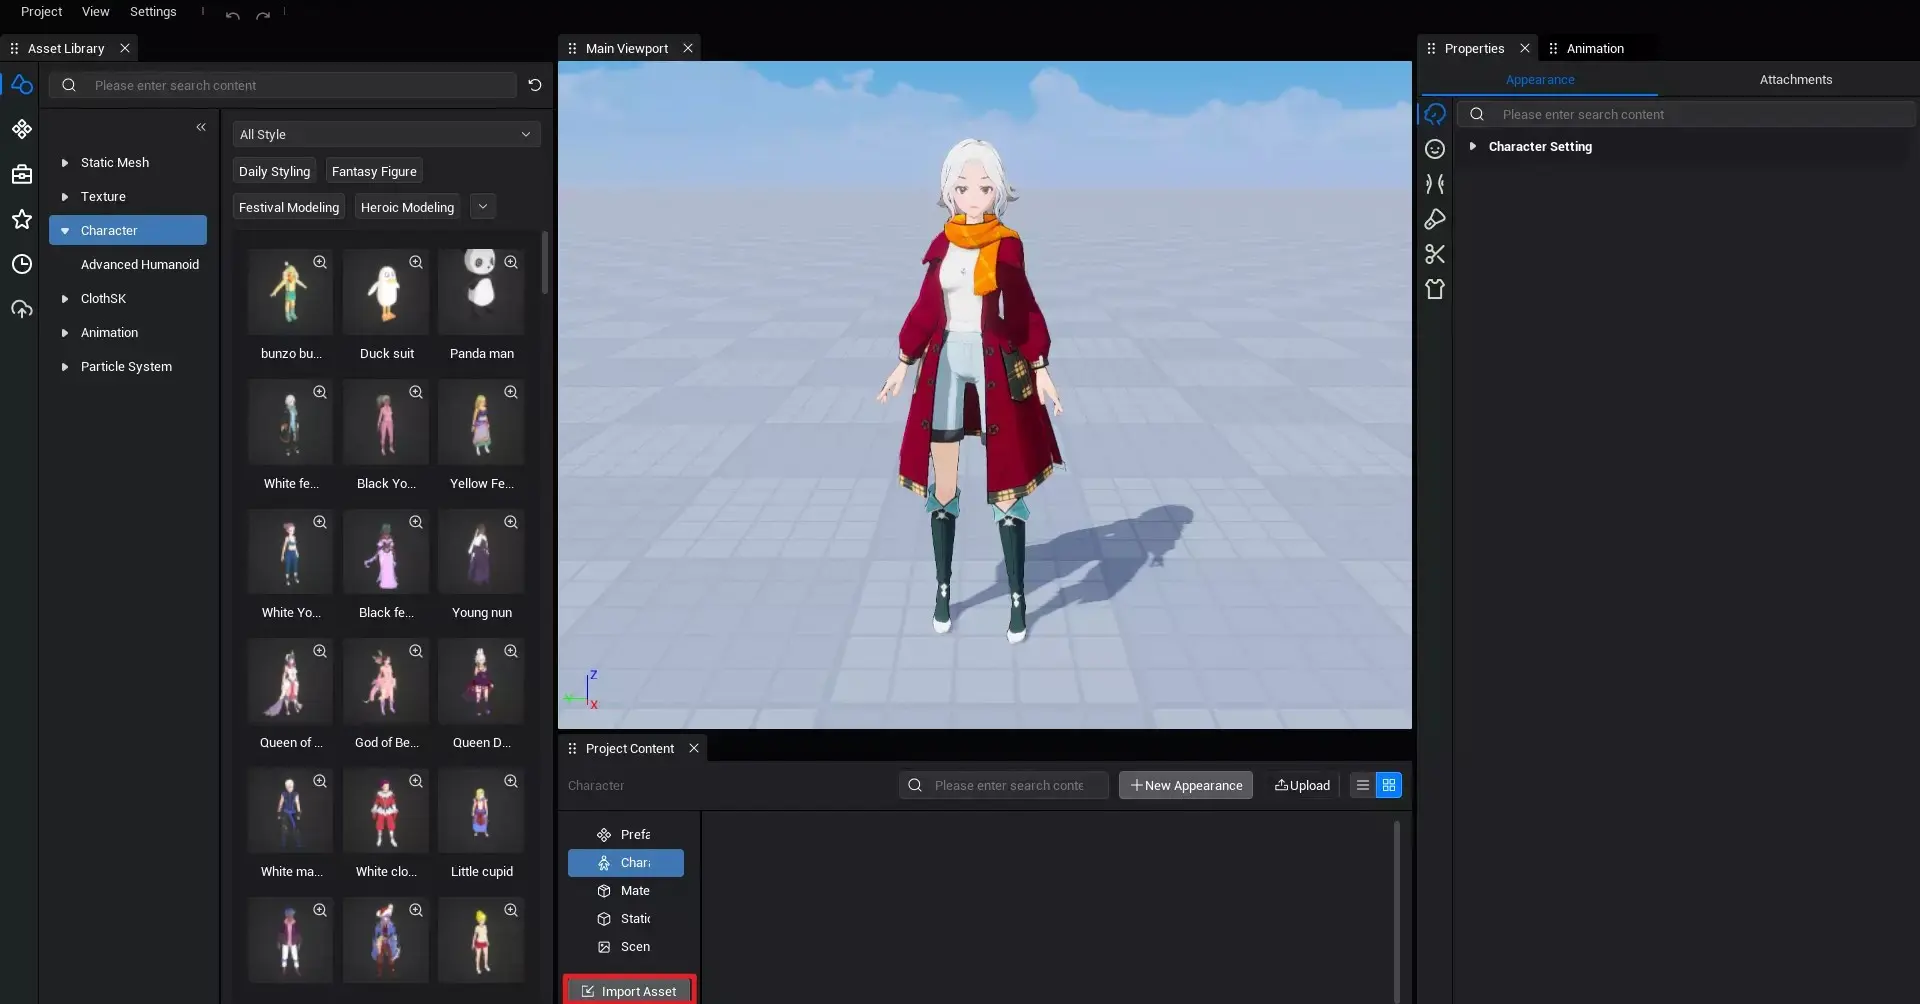
- click the asset import button just below the left category in Project Content, select the character file to be imported in the asset manager and import the data. (Batch import is support)
- support directly dragging character asset file from the external Window asset to the project content panel for data import.
Export
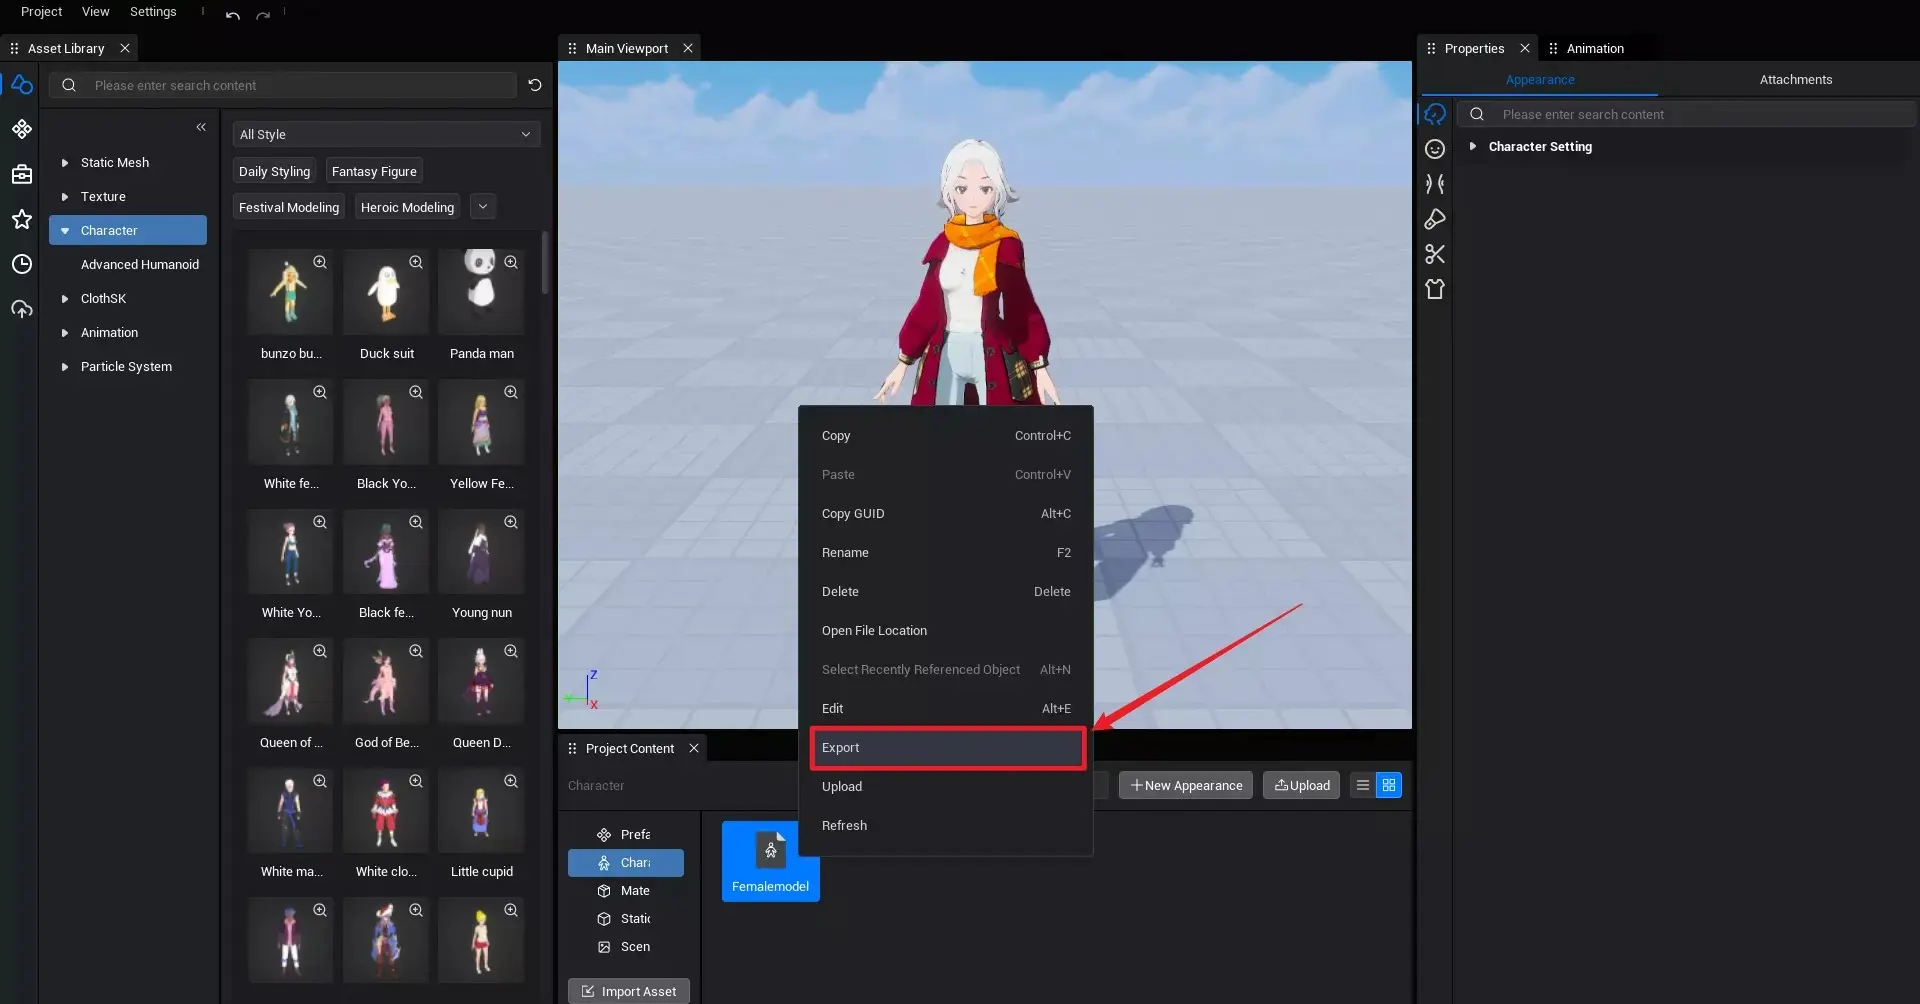
Select a Character Avatar data file under Project Content- character Category, click the Export button in the right-click menu, select the export path in the asset Manager and export the data.
 Editor Doc