Draw mode
It takes about 20 minutes to read this article.
To help developers quickly understand and use Draw Mode, this article mainly contains the following two contents:
- Introduction to Draw Mode
- Draw Mode User Guide
1. Introduction to Draw Mode
1.1 What is Draw Mode
Draw Mode is a mode of placing resource objects into the scene. When Draw Mode is enabled in the toolbar, the selected resource object will follow the mouse cursor in the main viewport. Left-click in the main viewport to create the object at the cursor position; long-click and drag in the main viewport to create multiple models in quick succession in the dragged area.
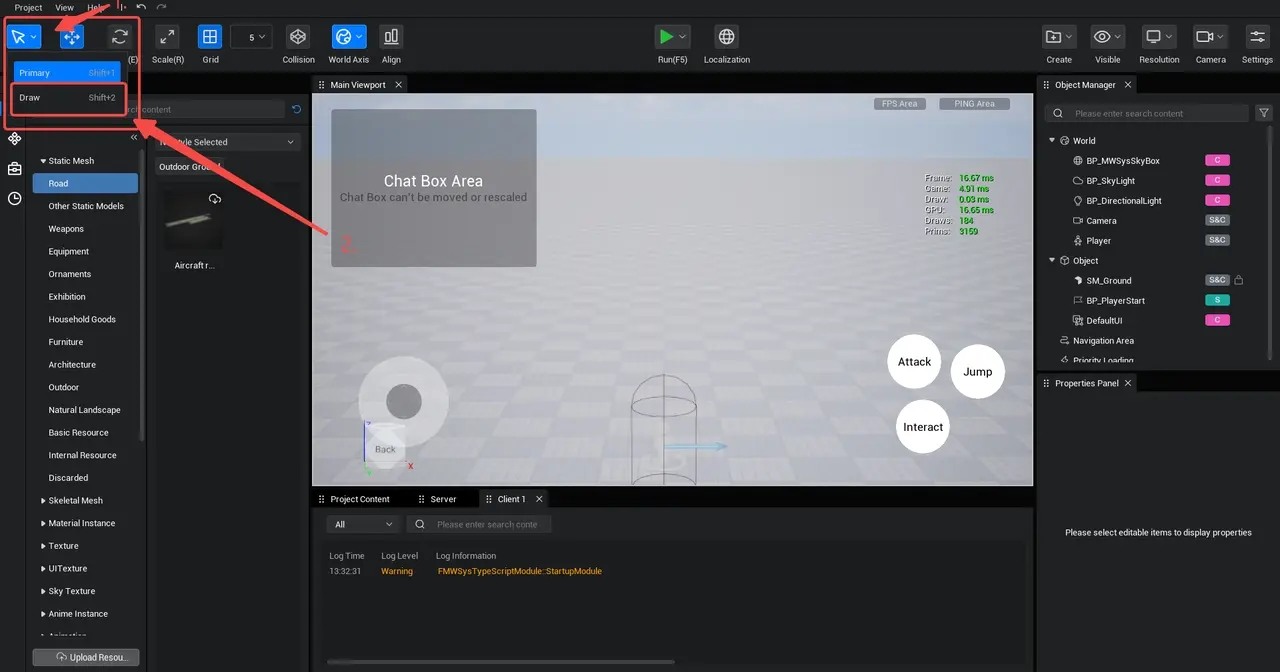

1.2 When to Use Draw Mode
In projects, when building some simple and repetitive scenes, you can use draw mode to improve efficiency, such as trees, fences, floor tiles, and so on.
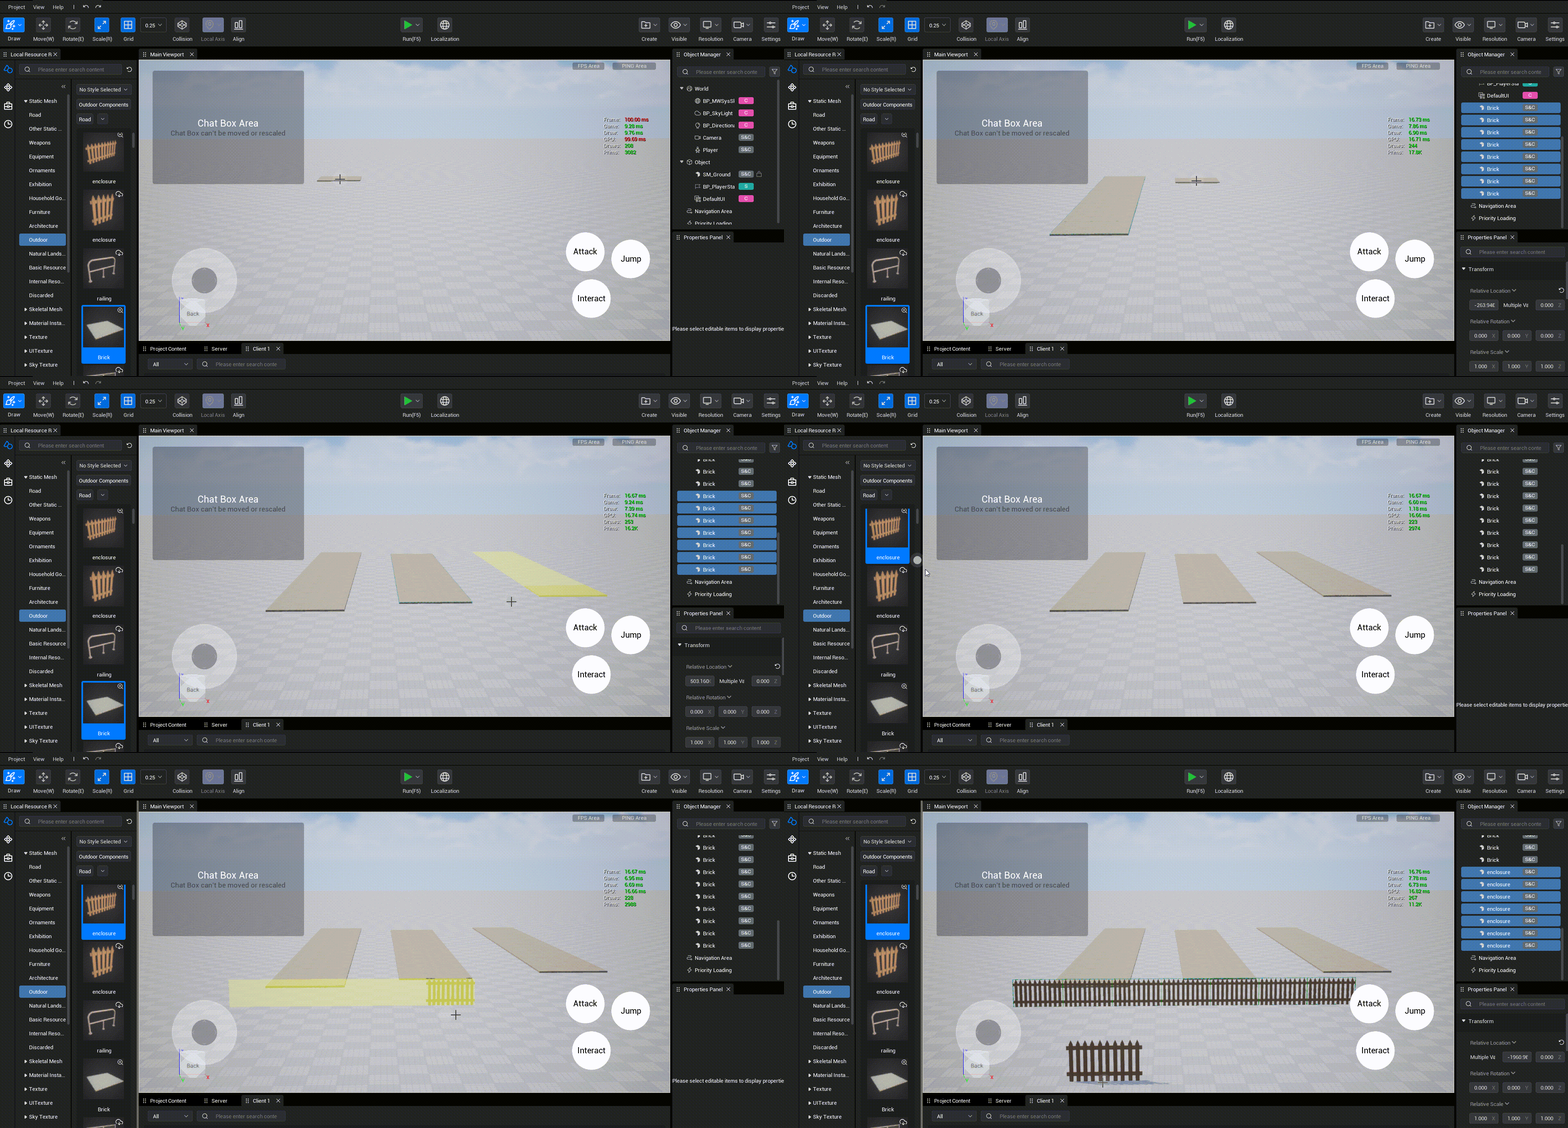
1.3 Draw Mode Basic Rules
- Only static models asset support use Draw Mode.
- In Draw Mode, non-static models can still be added to the scenes by dragging and dropping.
2. Draw Mode User Guide
2.1 Select the drawing object
overview
Follow the mouse cursor as you move in the main viewport that you want to create in the scene. An object is called a draw object. Currently editor support there are two ways to choose how to draw object, which are in Asset library and in Main viewport.
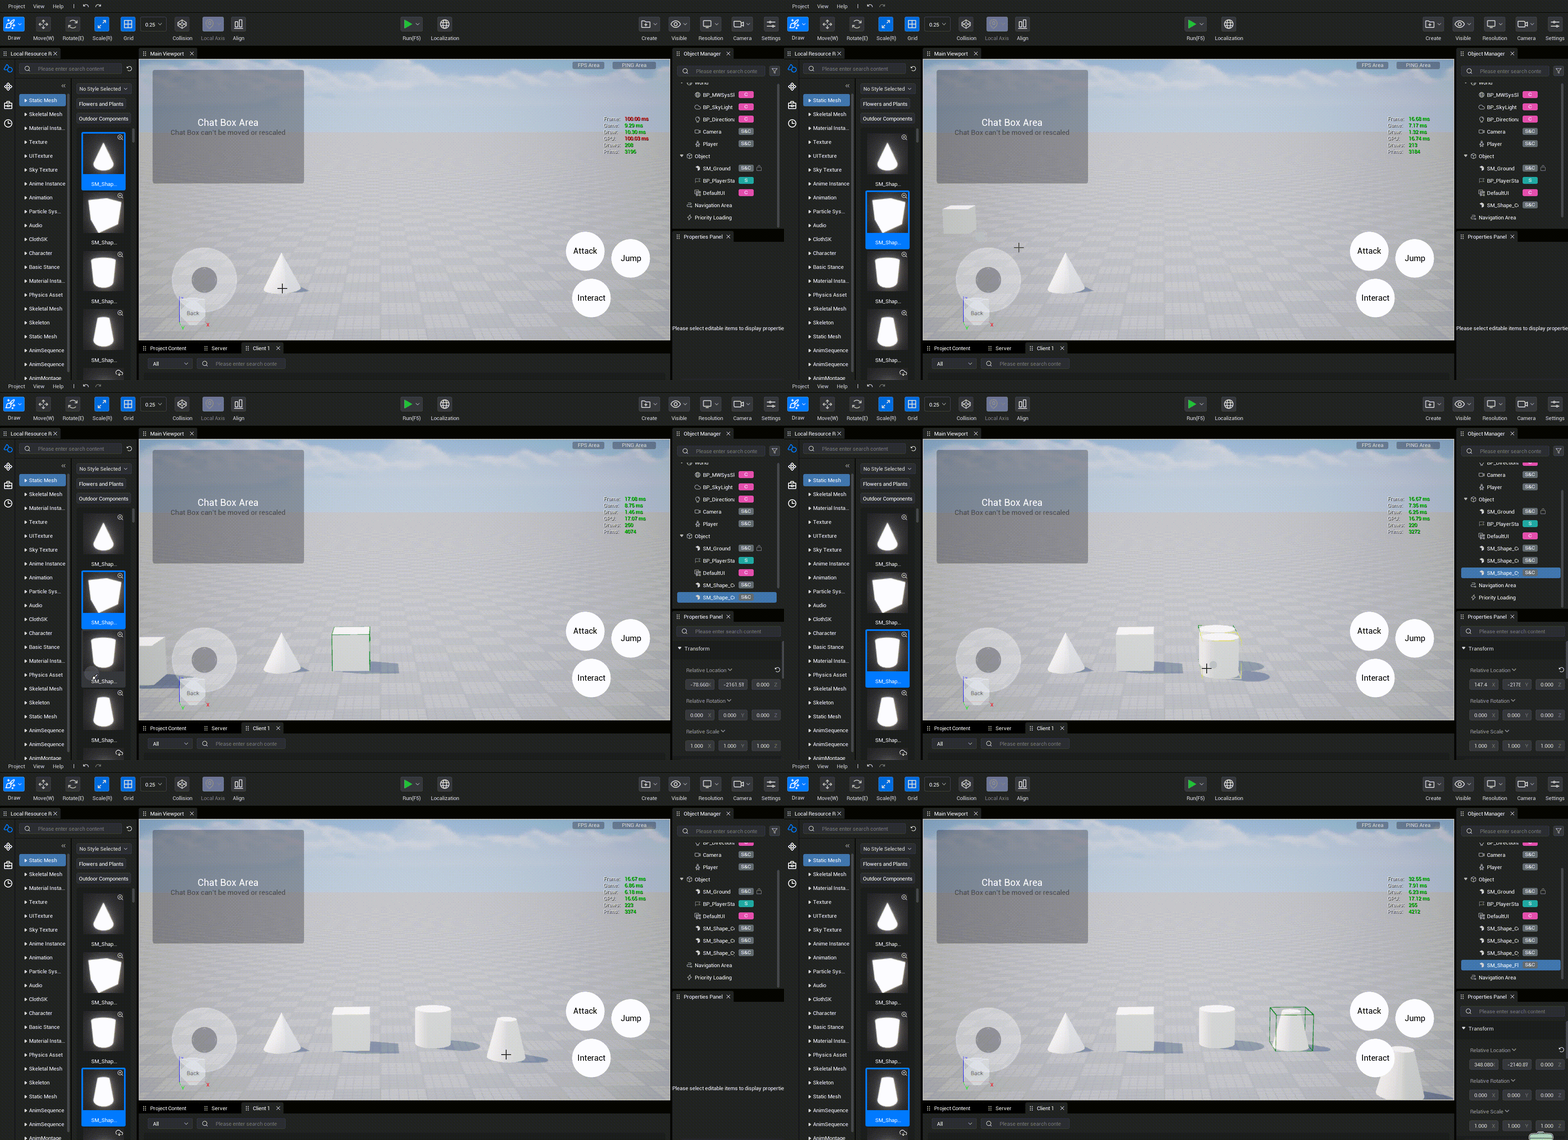
Select the drawing object in the asset library
In Draw Mode, when you click a static model in the asset library, the model is set to draw Object, following the mouse cursor as it moves in the main viewport.
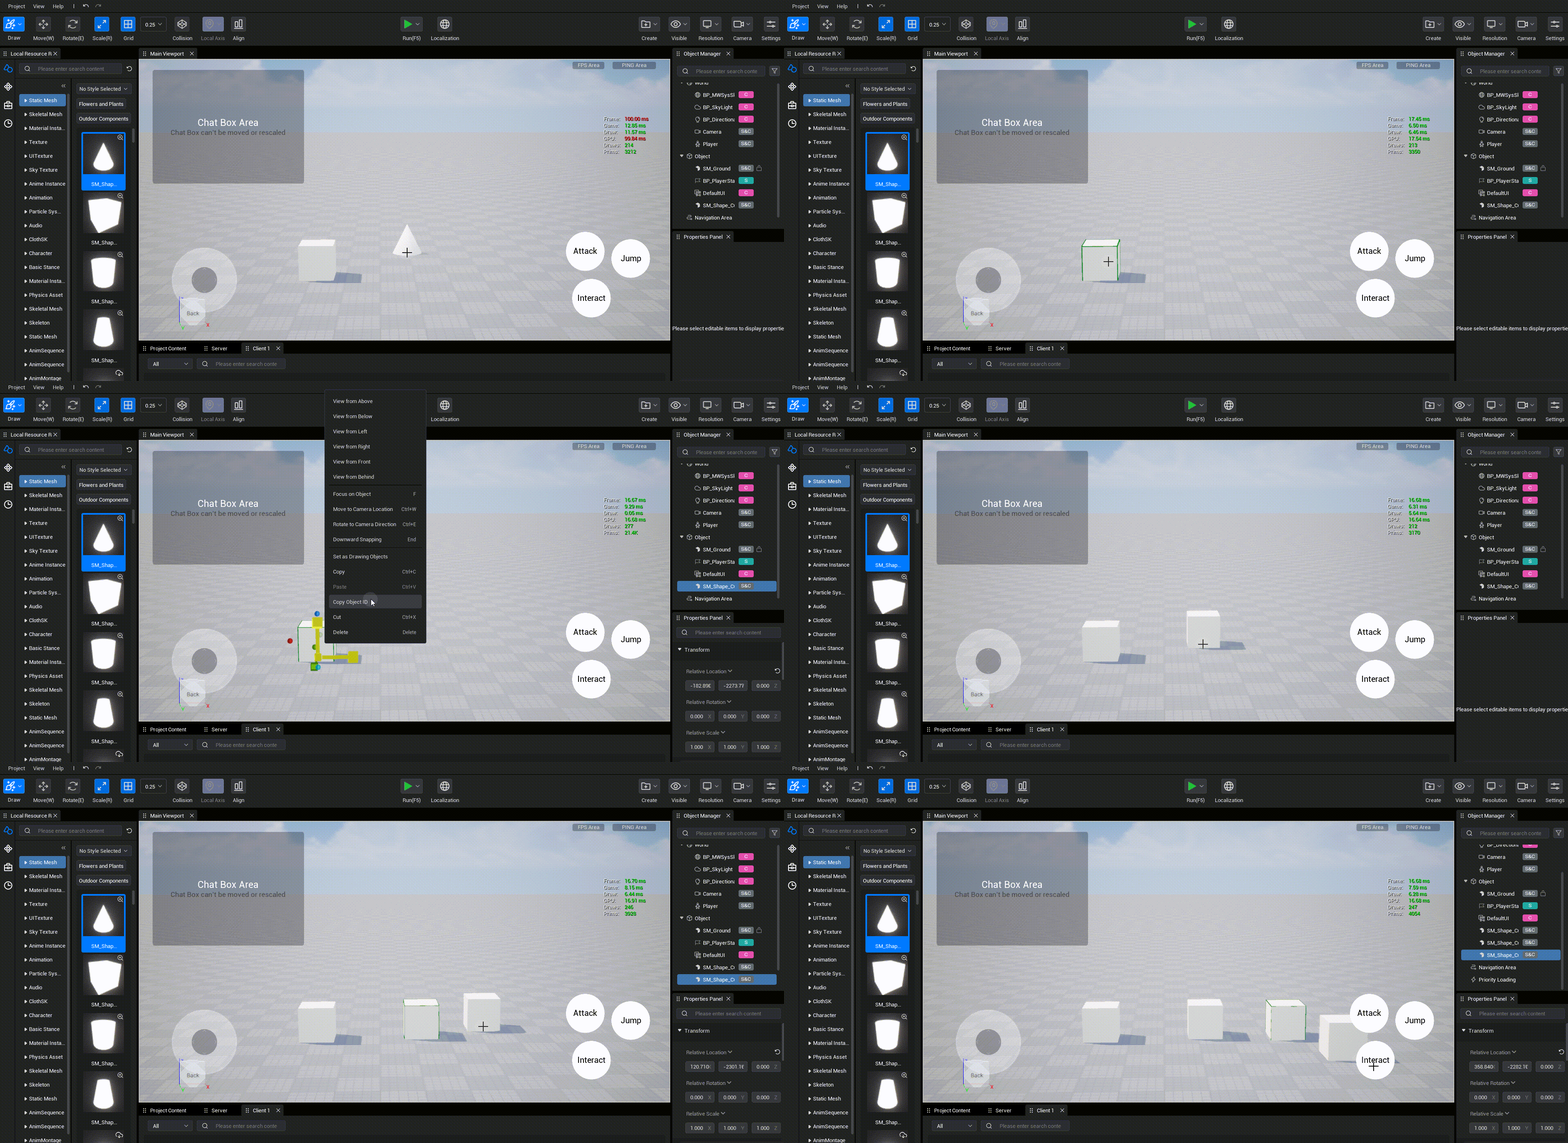
Select the drawing object in the main viewport
In Draw Mode, right-click to select a static model in the main viewport, and select Set as Draw Object in the context menu. The static model asset is fetched and set as the drawing object, following the mouse cursor in the mainViewport. If the selected object has a mounted child, only the single model selected by the cursor is set as the draw object.
2.2 Draw in the scene
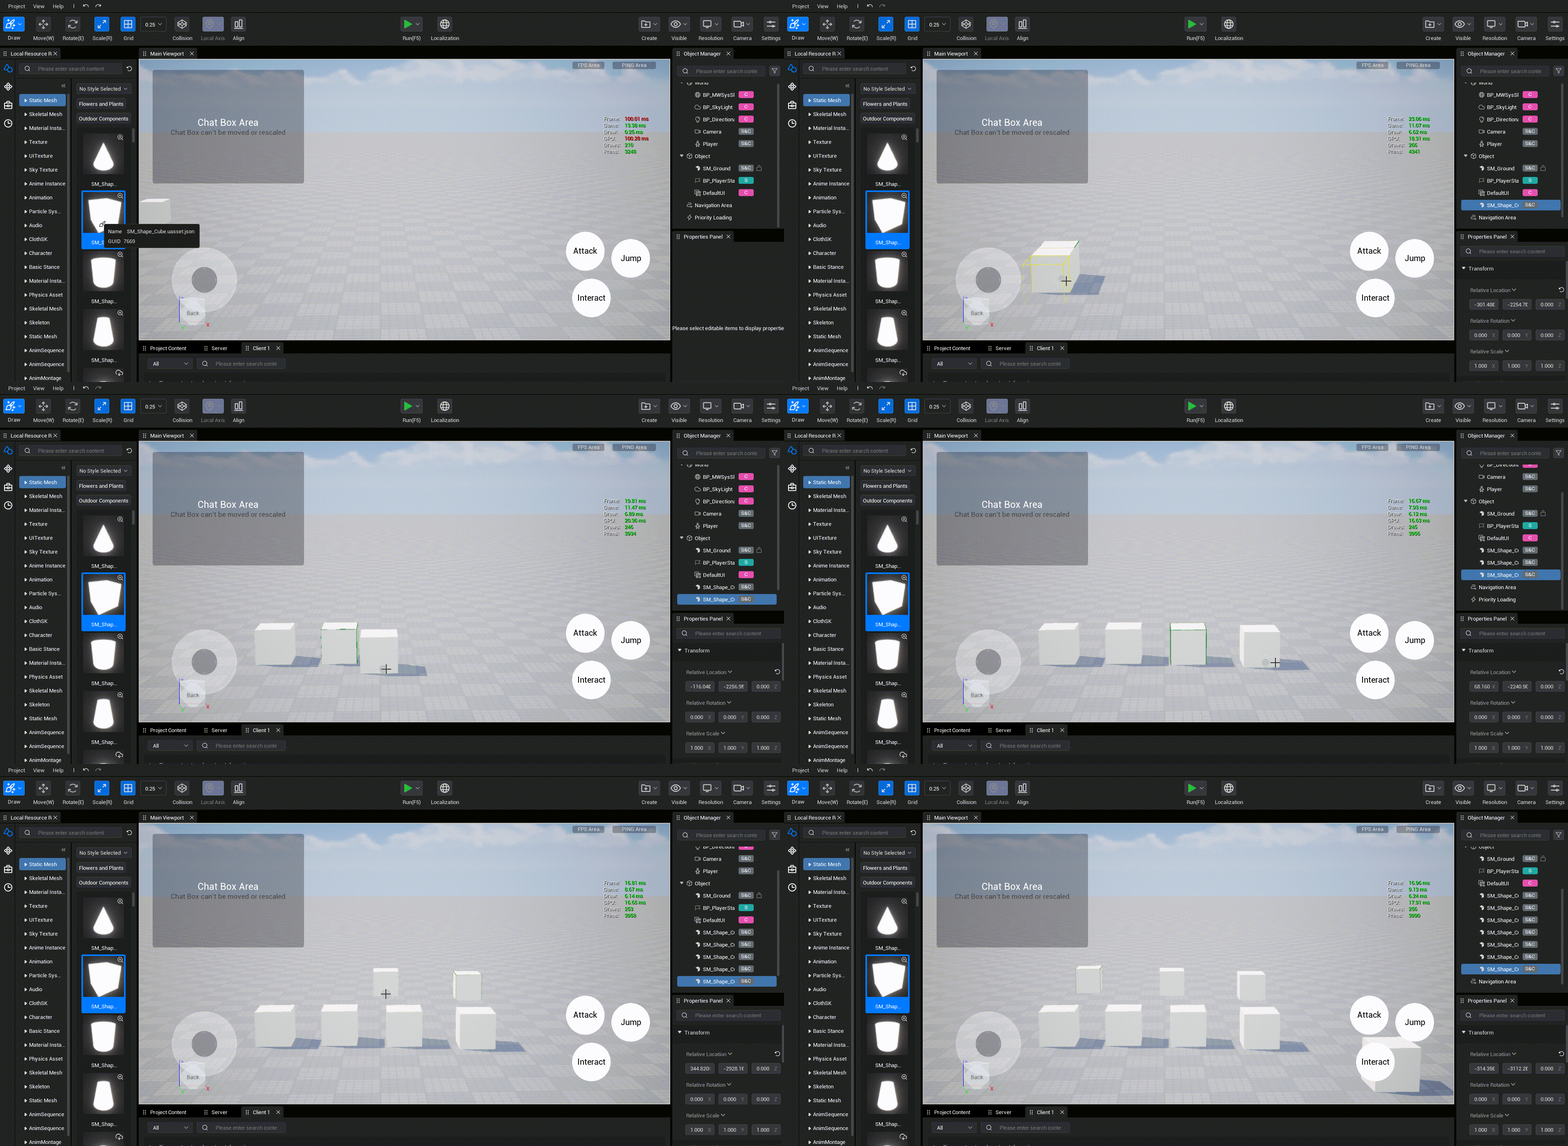
Draw a single model
When the mouse cursor has a drawn object on it, Left-click in the main viewport, the default configuration in the property panel will be used to create the object where the cursor is.
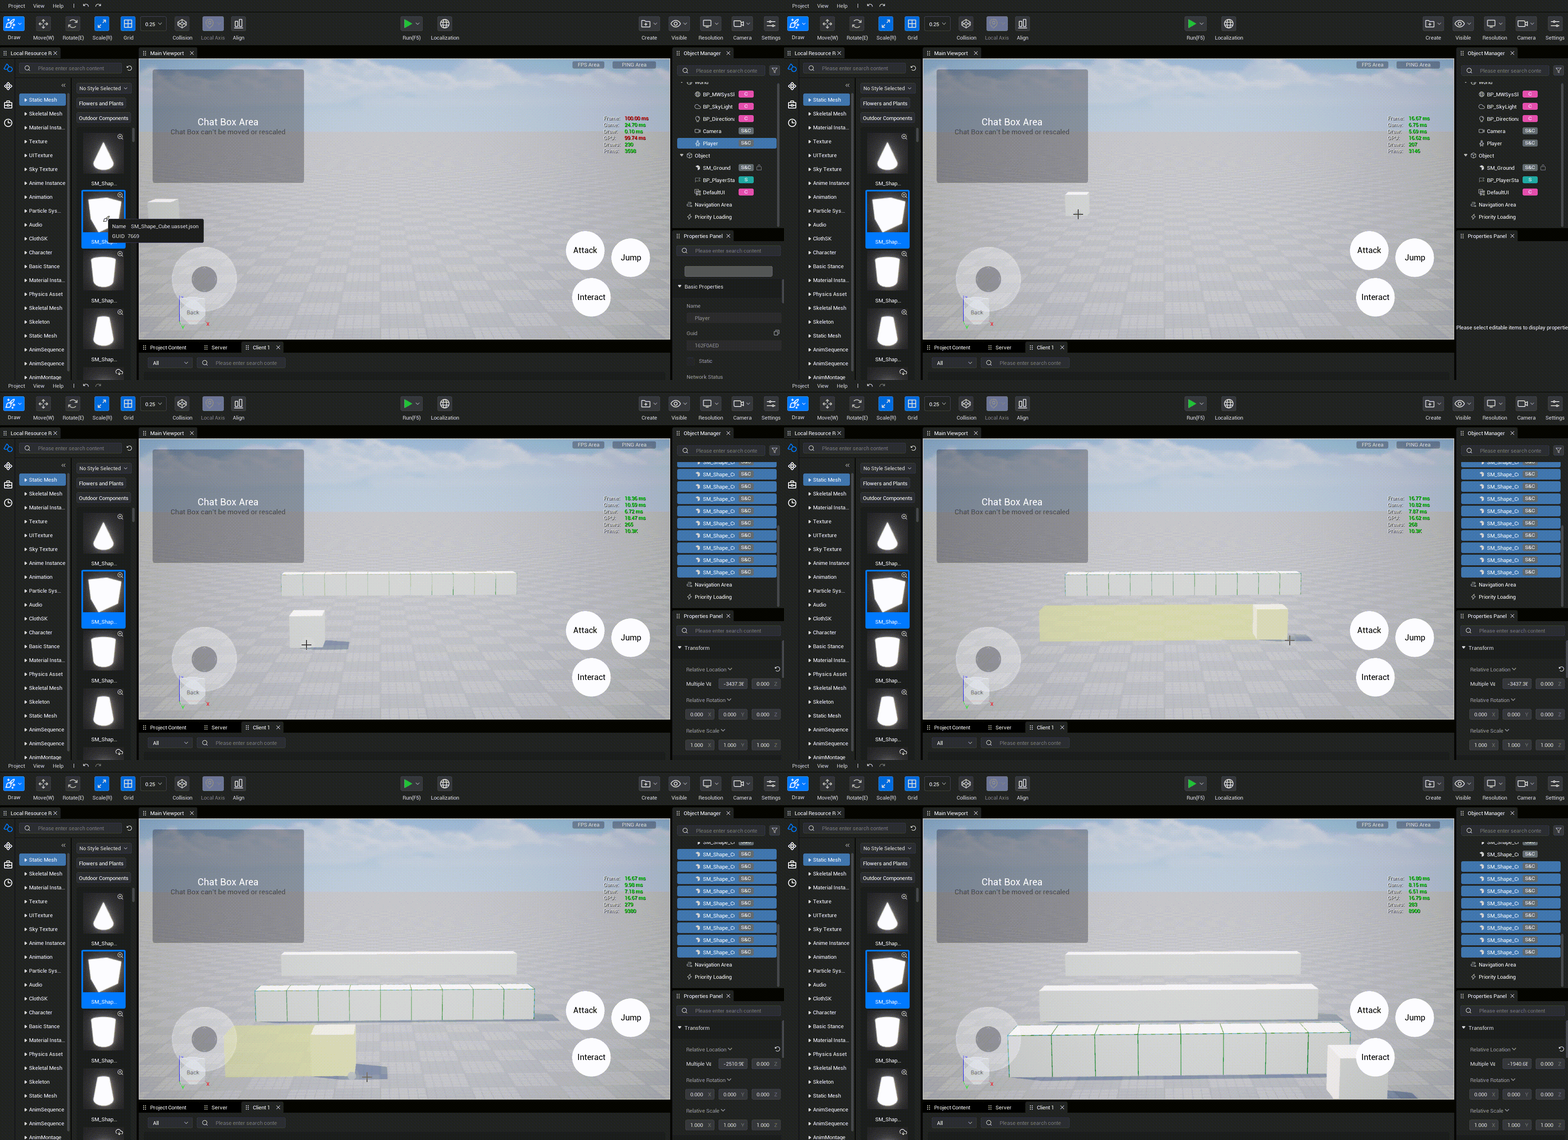
Draw multiple models
Method 1: Mouse drag to create. When the mouse cursor has a drawn object on it, in the main viewport hold down the left button and drag, one will appear predefined areas, release the left button, and create multiple objects consecutively in a predefined area.
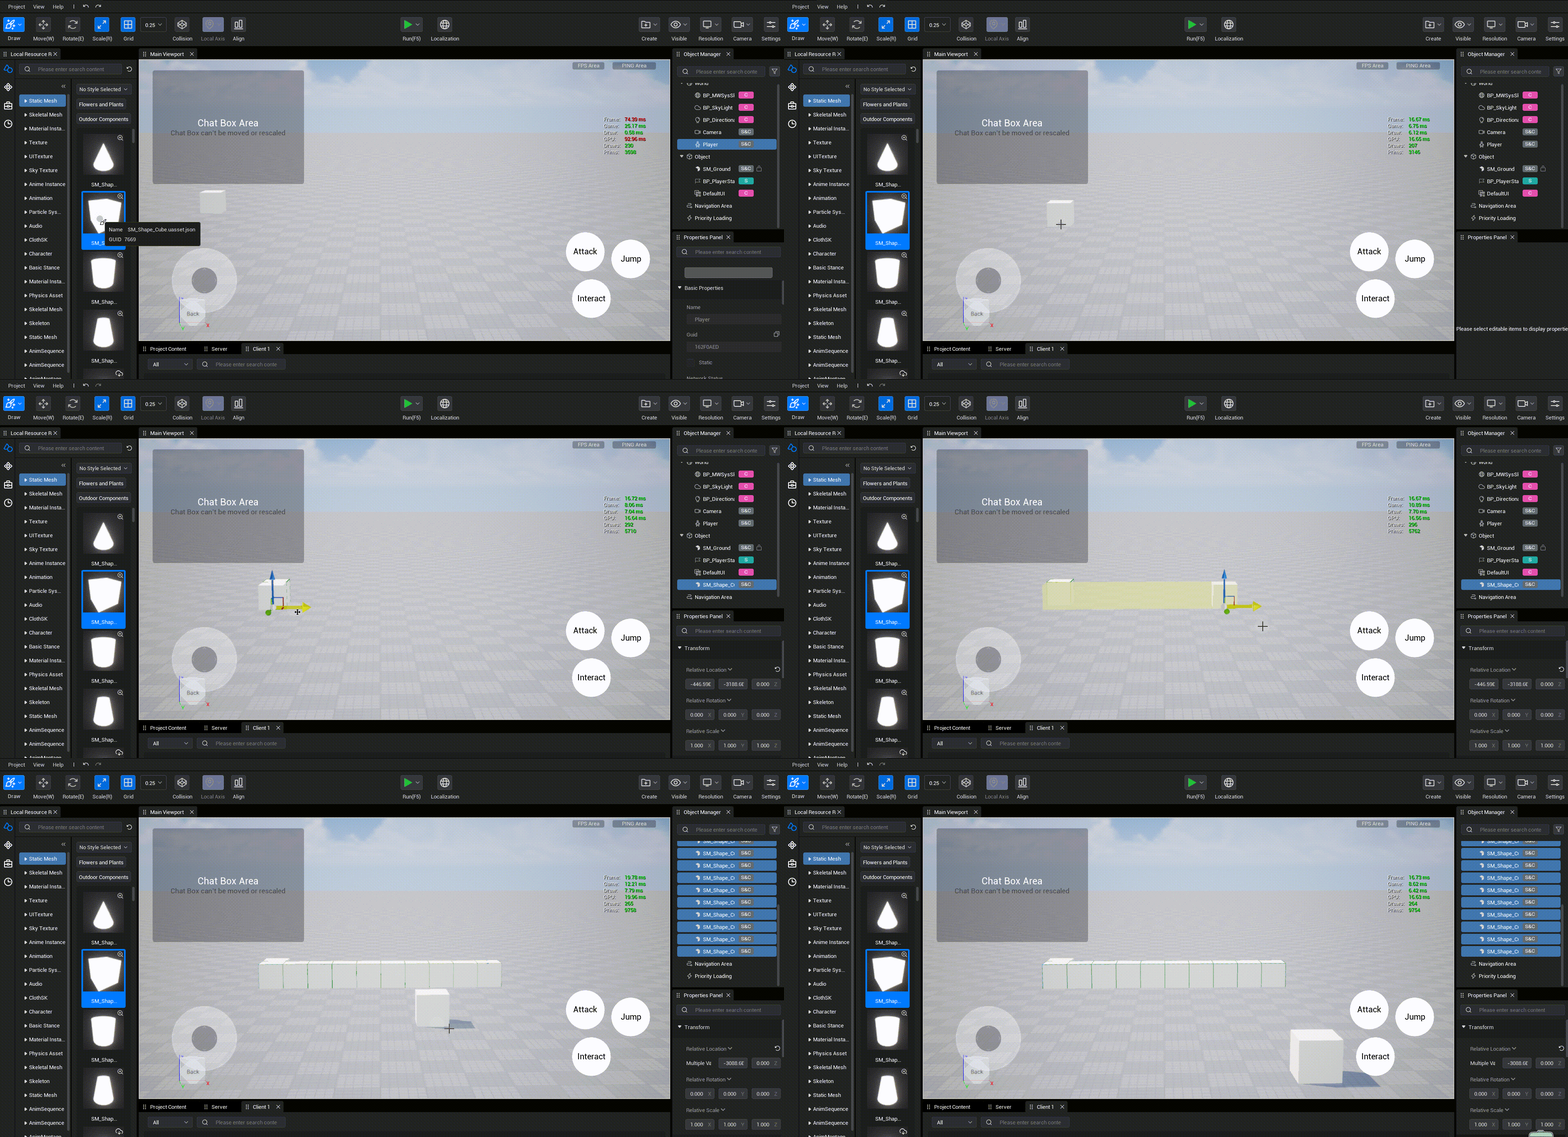
Method 2: Hold down Ctrl and drag the pivot create. When there is a draw object on the mouse cursor, hold down the Ctrl key and the draw object on the cursor will display a pivot, which can be dragged by dragging the pivot delineates predefined areas. When you release the left button, multiple objects are creating consecutively in a predefined area.
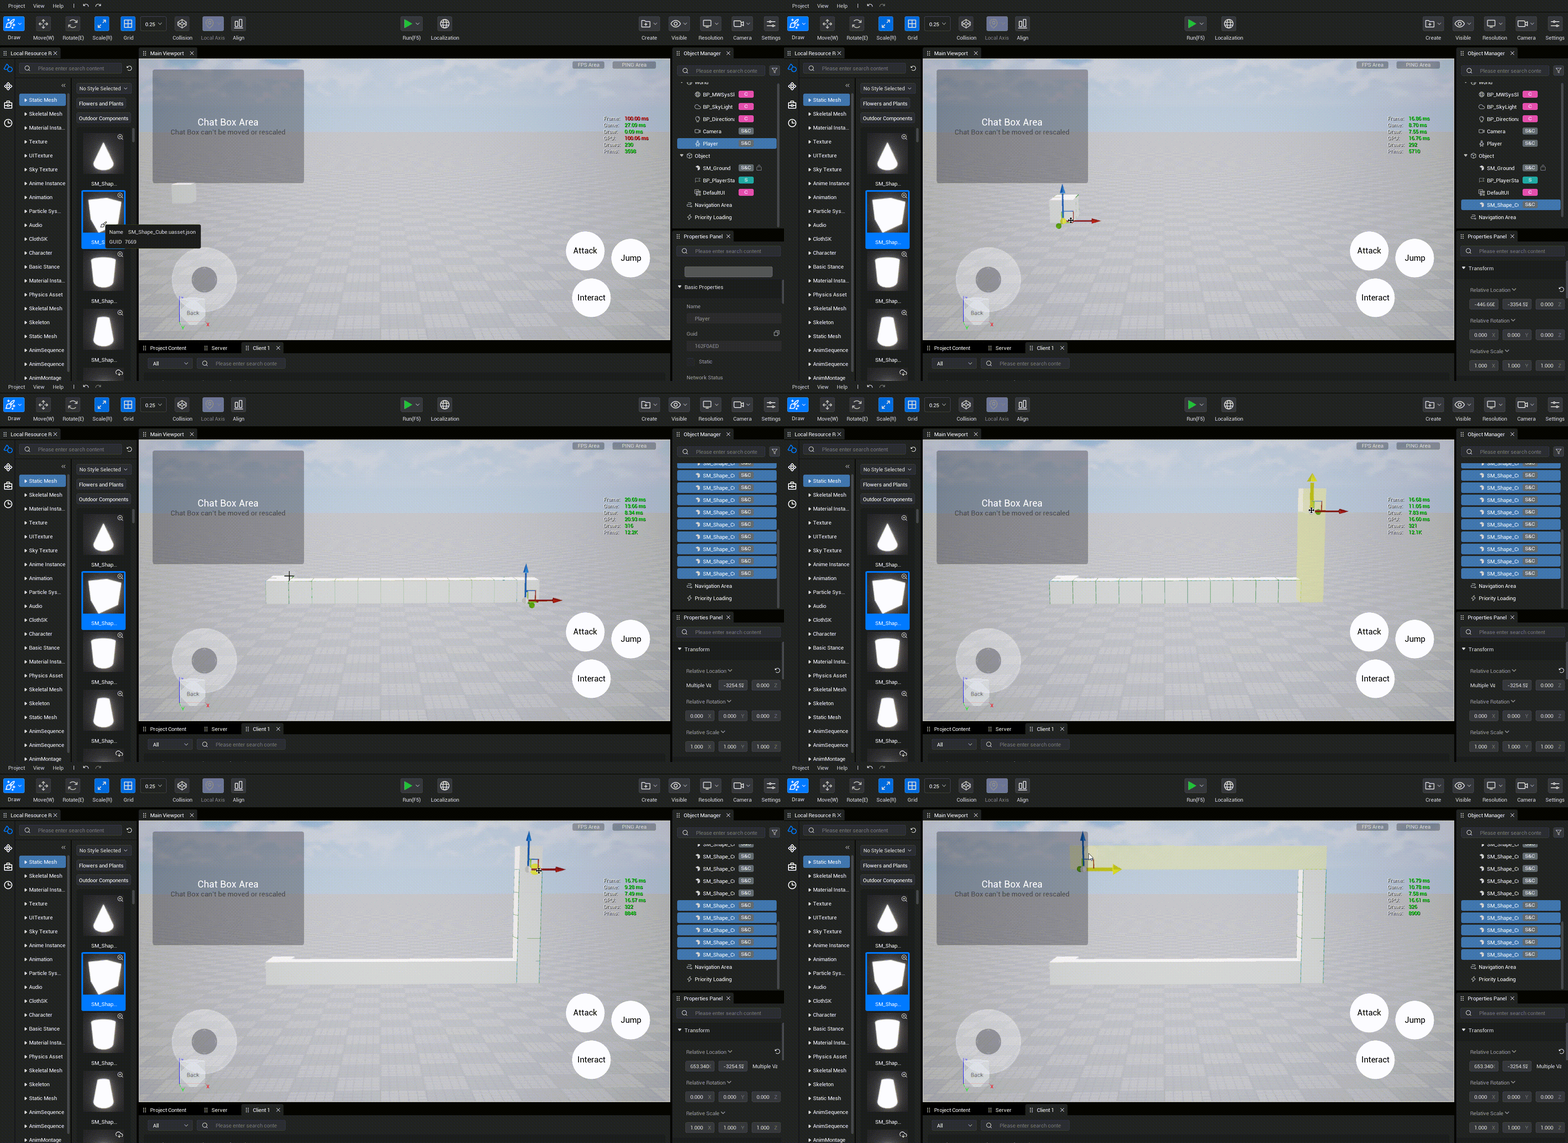
If you release the left button without releasing the Ctrl key, the pivot will be displayed on the new drawing object after create object, and you can continue dragging pivot to create.
Prediction Model
After create object in the main viewport, if the mouse cursor is already there, on a certain side of the create object bounding box, the next placement is automatically calculated according to the axis direction of the surface where the cursor is located and generate a predictive model.
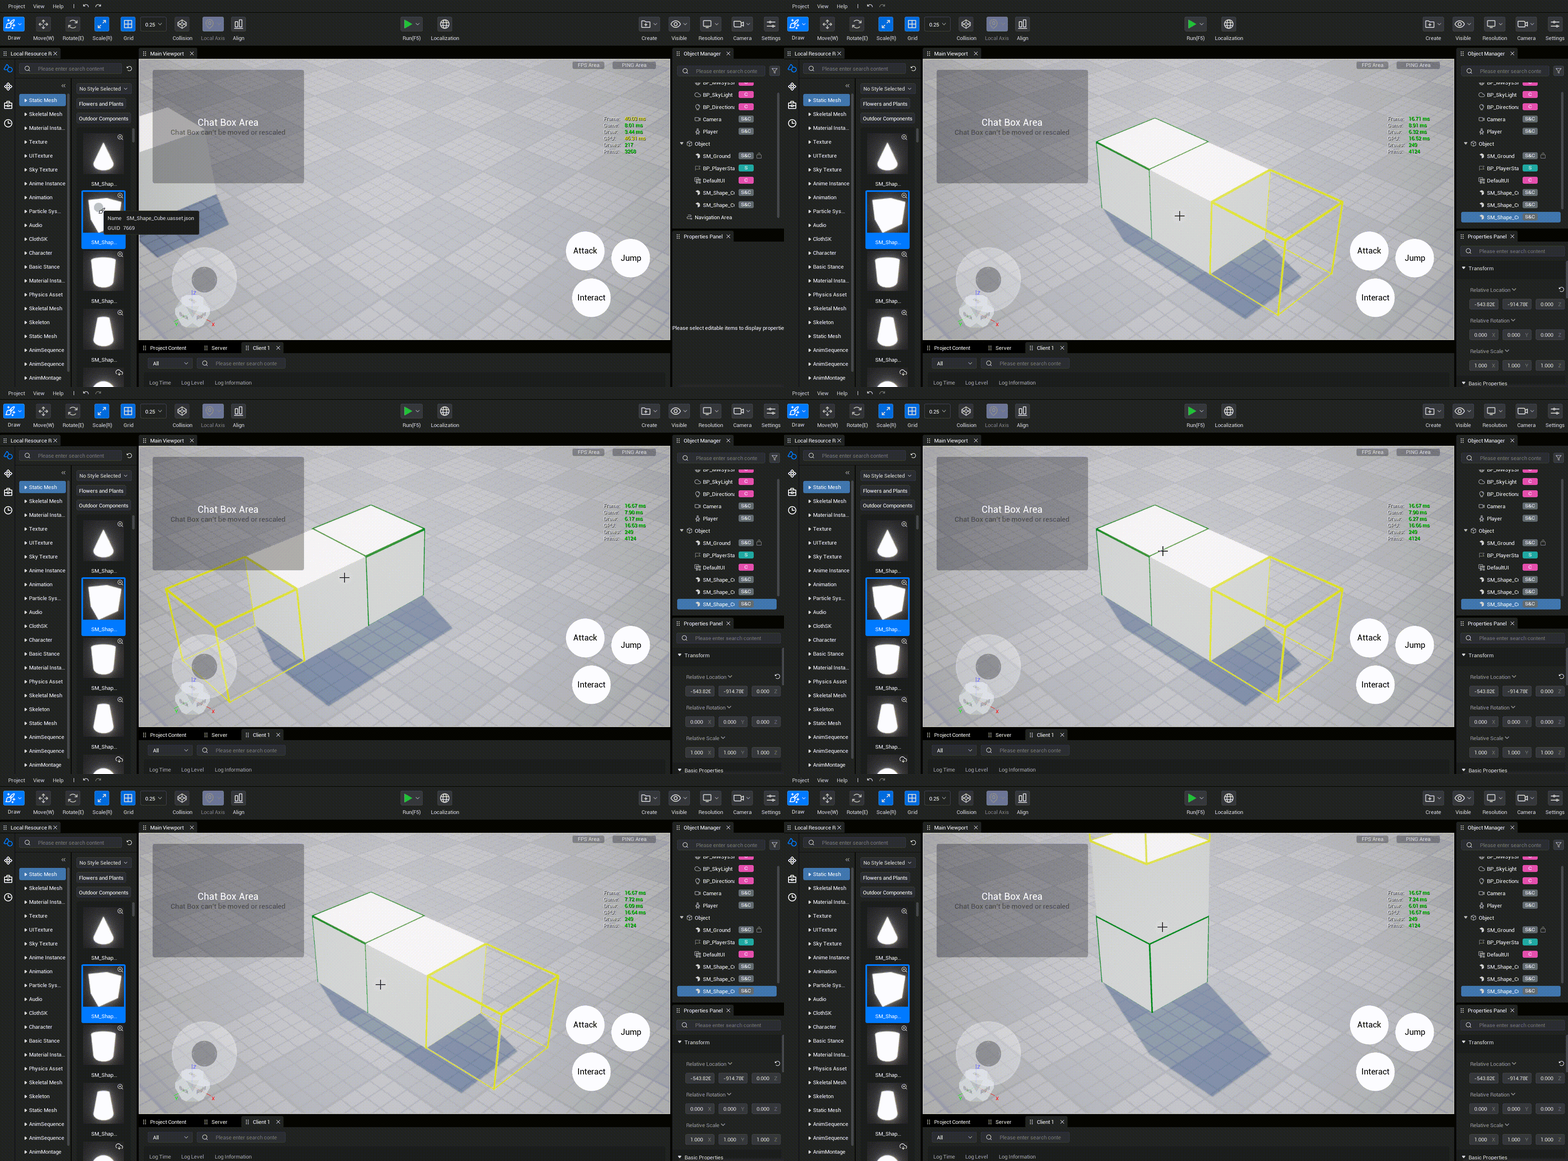
If you click the left mouse button when a prediction model has been generated, an object is generated at the location of the prediction model. The drawing object on the mouse cursor will automatically generate at the location of the next prediction model, after which a new prediction model will appear.
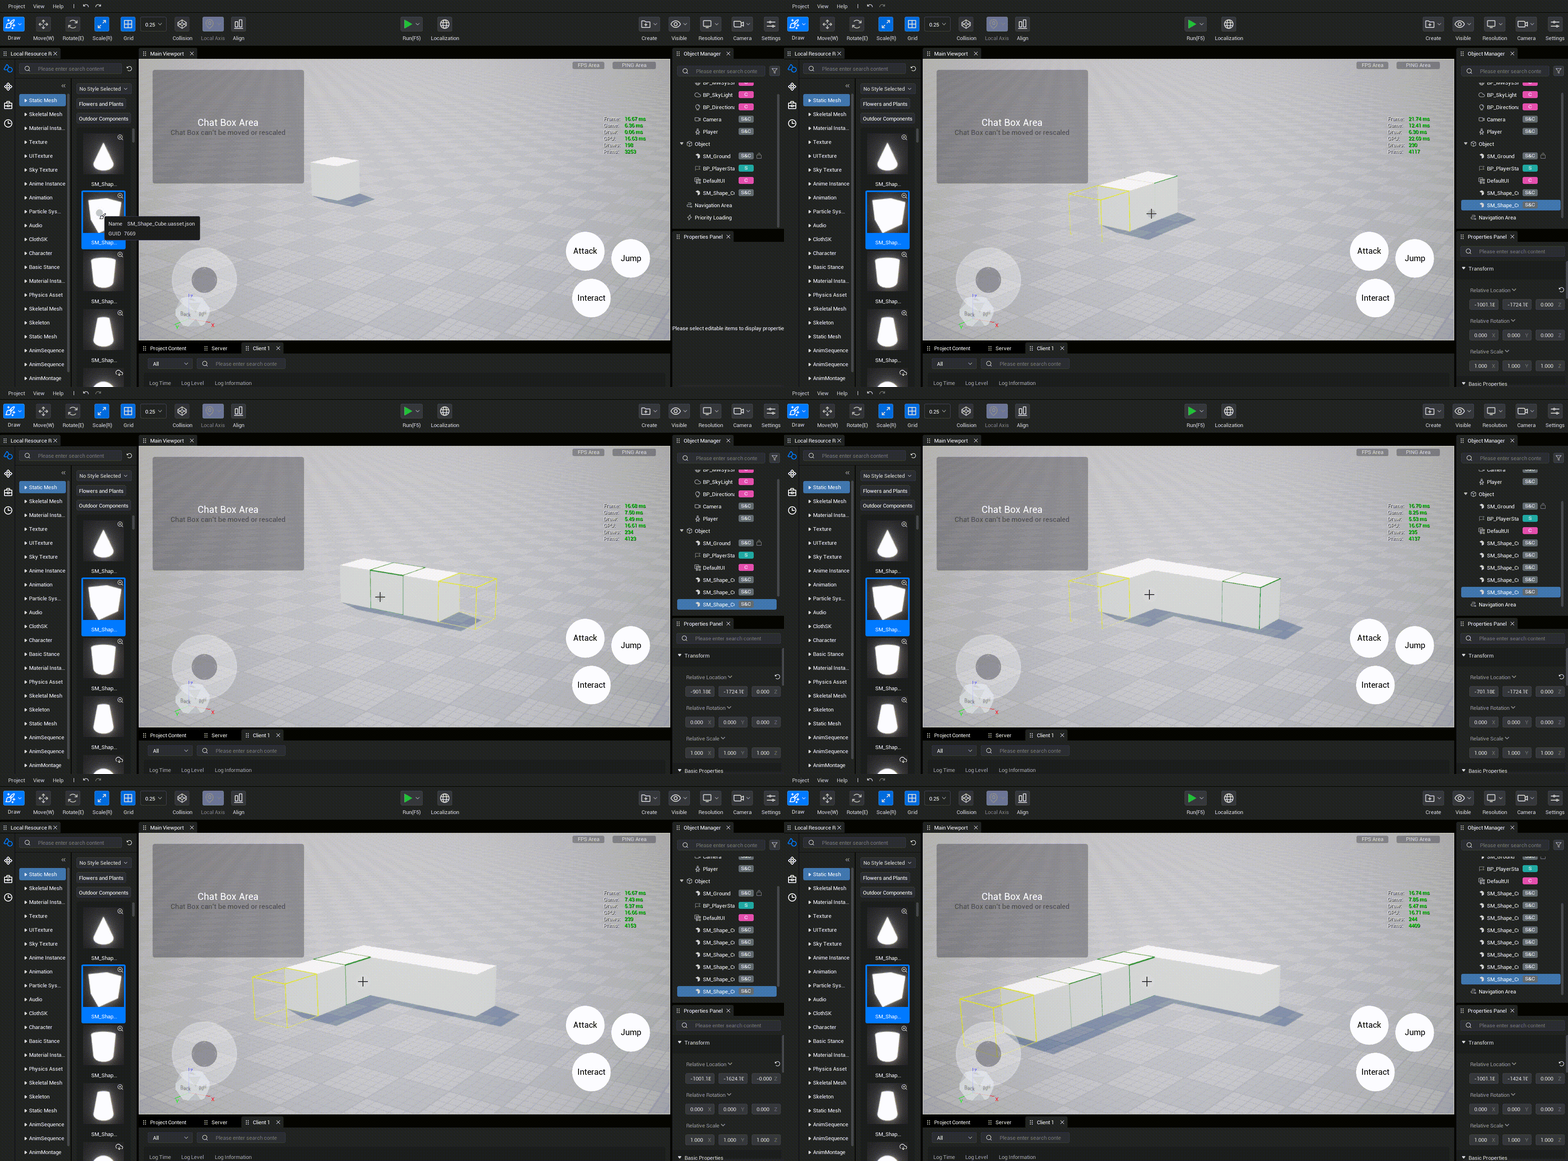
Left-clicking without moving the cursor will keep generate new draw object along the predictive model.
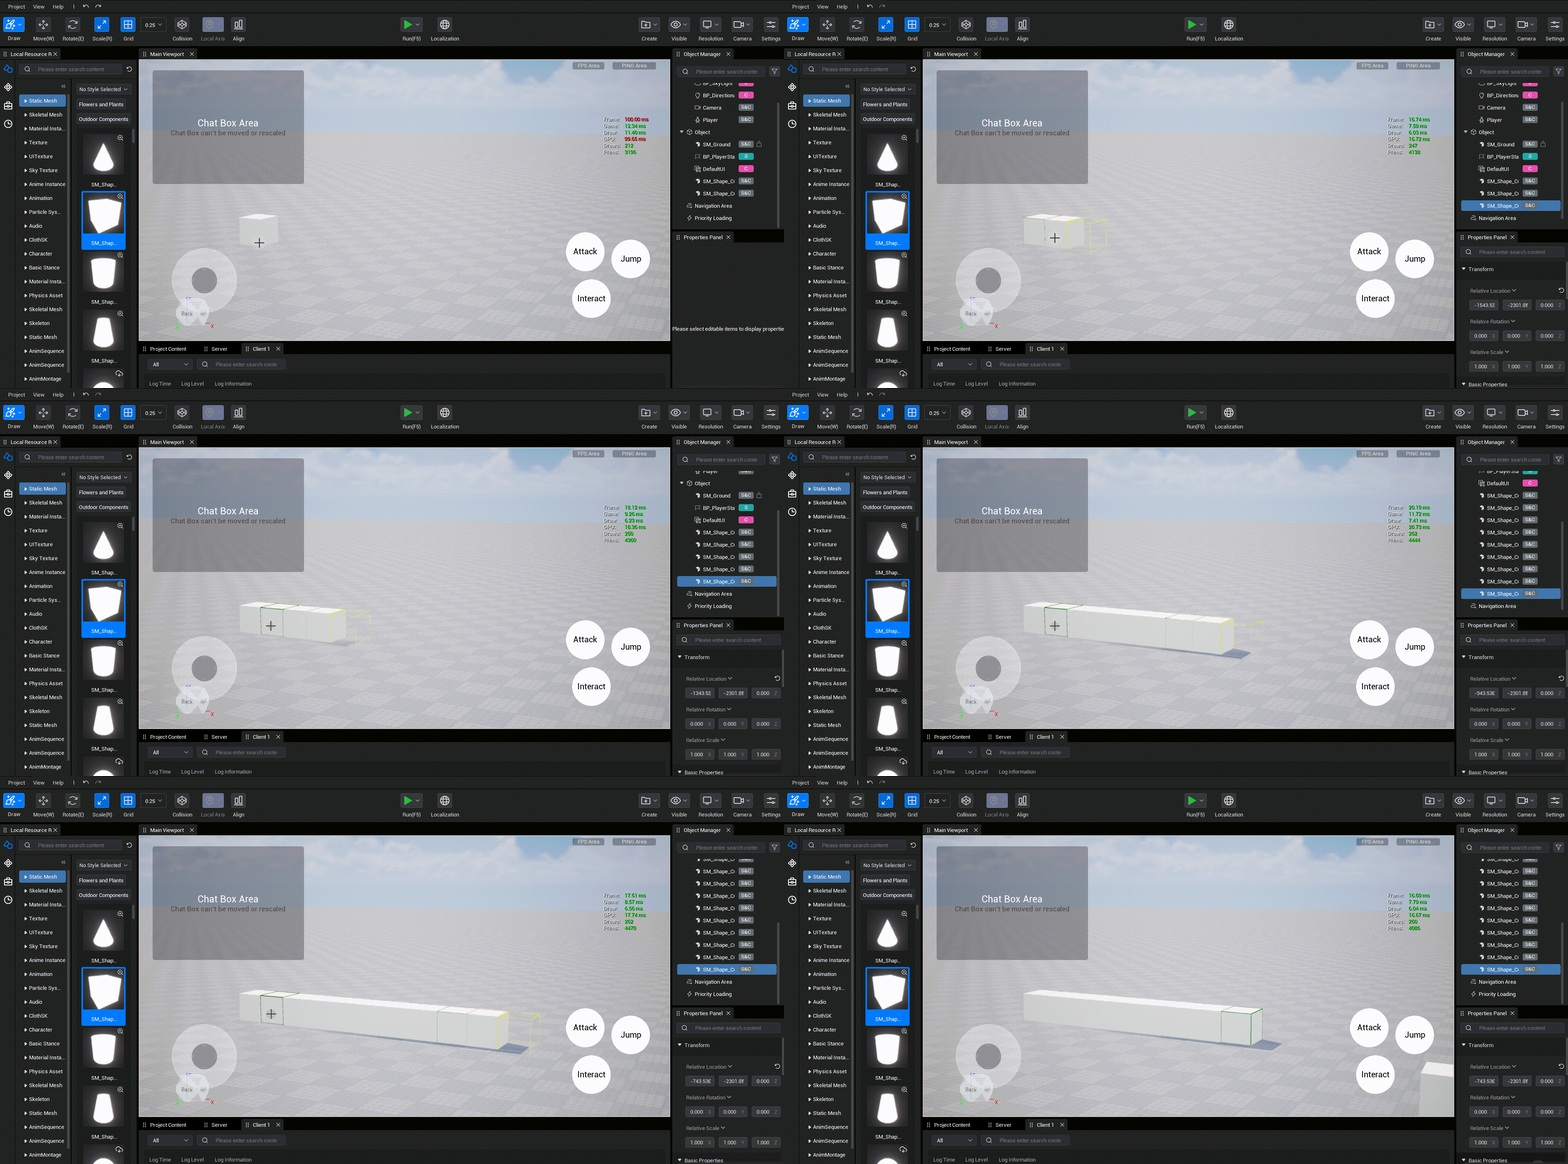
2.3 Remove drawing objects
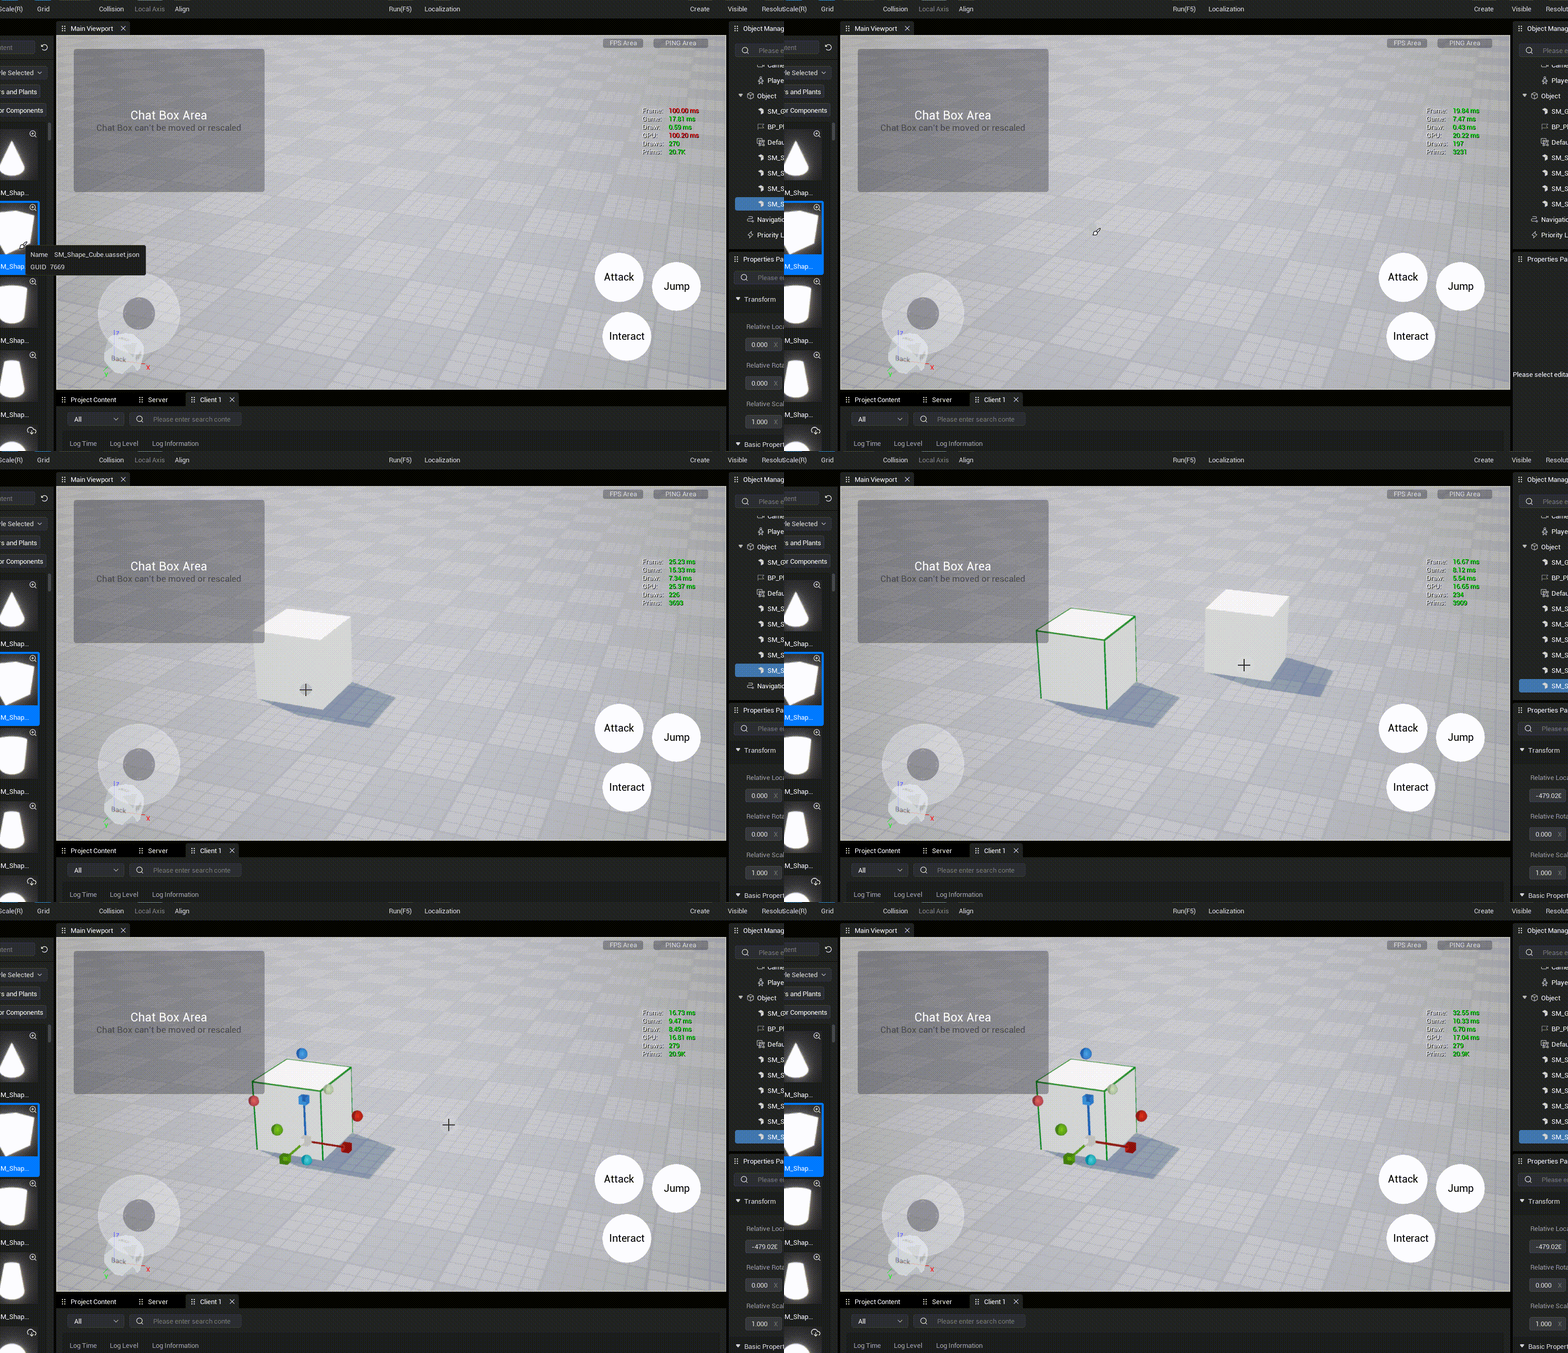
click mouse right-click to remove the drawing object on the mouse cursor.
 Editor Doc